

Introduction: Access Control With Arduino + Keypad 4x4 + Servo (UPDATE)


Step 1: The Parts for the Project
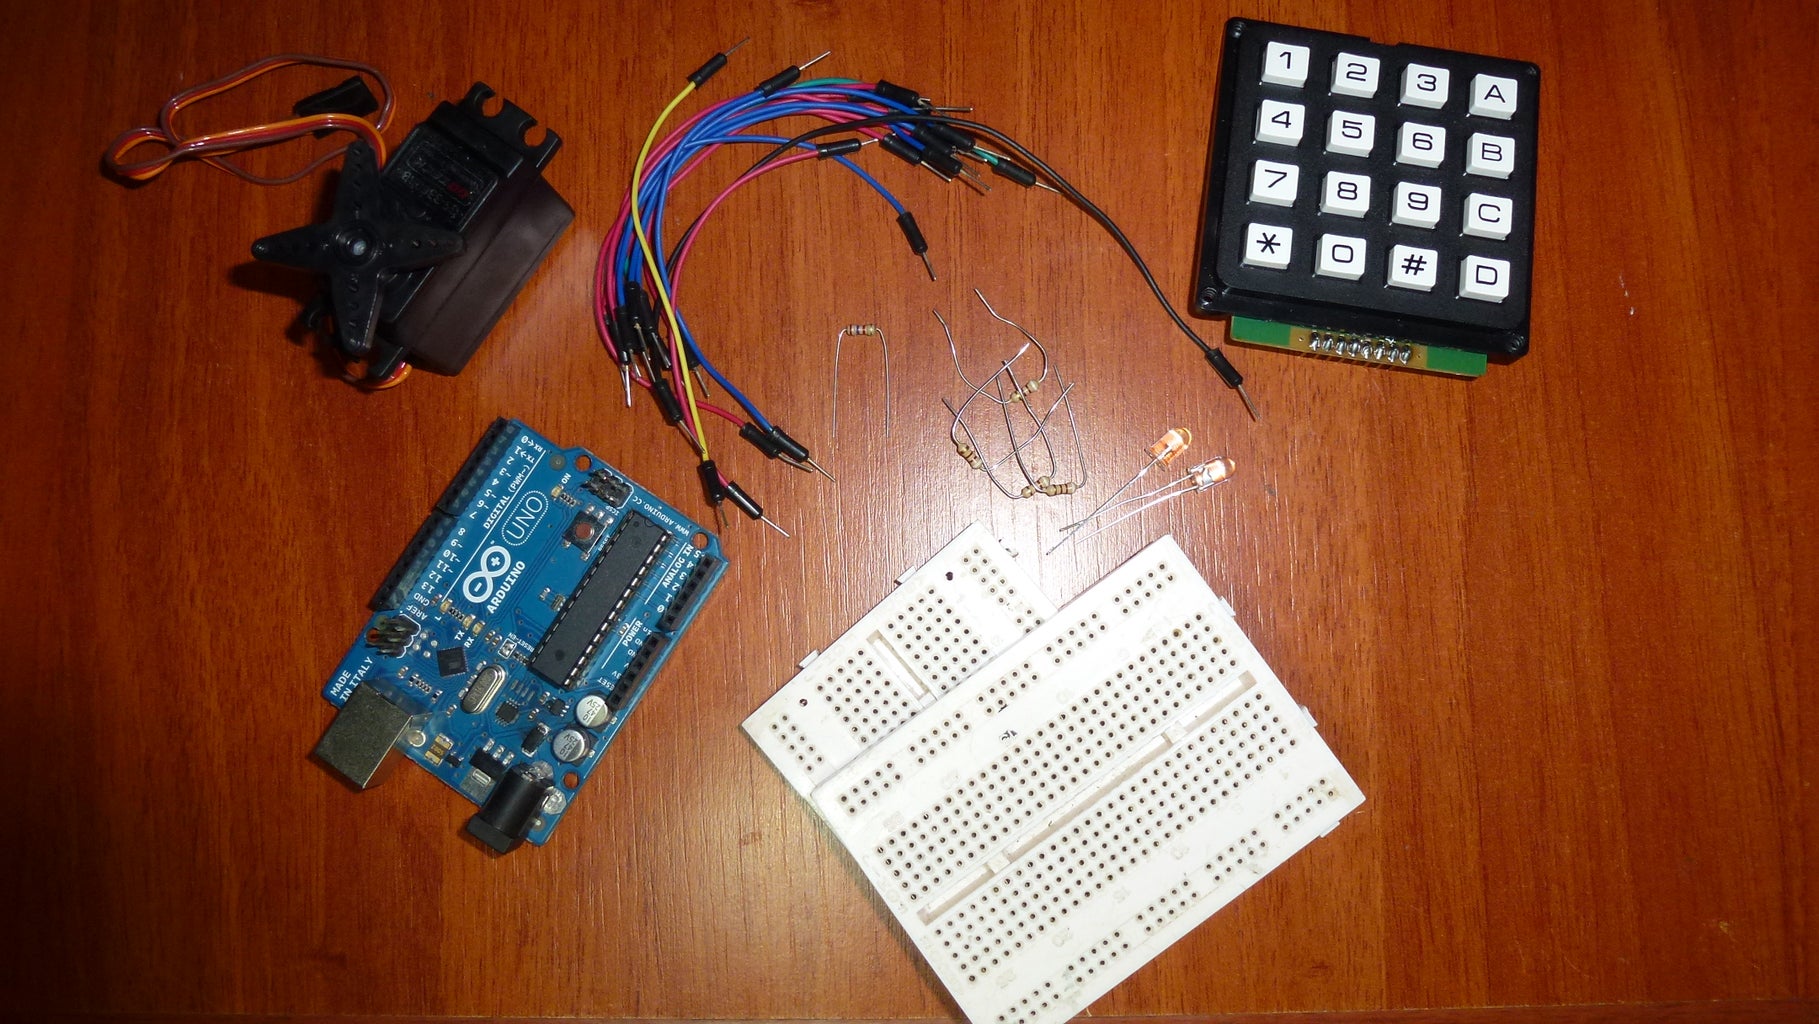


We will need this parts for the proyect:
Arduino UNO or similar ($29.95)
http://www.sparkfun.com/products/11021
Servo motor - Large ($12.95)
http://www.sparkfun.com/products/9064
KEYPAD 4X4 (or similar) ($7.79)
http://www.ebay.com/itm/DATA-KEYPAD-4X4-BLACK-BLACK-KEYS-4-4-Switch-Key-x-/270347954381?pt=UK_BOI_Electrical_Components_Supplies_ET&hash=item3ef1fe68cd#ht_2720wt_1037
Proto Board ($9.58)
http://www.olimex.cl/product_info.php?currency=USD&products_id=170&product__name=Proto_Board_Bread_board
Breadborad jumper wire pack ($10.59)
http://www.olimex.cl/product_info.php?cPath=21_138&products_id=872&product__name=Breadborad_jumper_wire_pack
Four resistor of 910 ohm
One resistor of 1k
Step 2: Preparing the Keypad


Well, now we must put the resistors,remember the potion of the pins of the keypad.
Output pins of keypad:
1 pin = col 1
2 pin = col 2
3 pin = col 3
4 pin = col 4
5 pin = row 1
6 pin = row 2
7 pin = row 3
8 pin = row 4
(look at the second image)
Now they must put three 910 ohm resistors on pin 1, 2 and 3 of the keypad, then put in the arduino digital pins of the NEXT form:
pins keypad | pins arduino
---------------------------------------
1 | 8
2 | 7
3 | 6
4 | 9
5 | 5
6 | 4
7 | 3
8 | 2
Step 3: Preparing the Servo


You need put the servo of the next form :
Step 4: Connecting the LEDs


You need put Accepted LED (green) and Denied LED (red) in this way:
Step 5: (UPDATE) and Now, the Programming
You need this libraries:
Password librarie
Keypad librarie
Well, this is the code for arduino, you only need to change that write in bold and put your password.
And this is my new instructable, enjoy it :D
¡ Good luck !


