

Introduction: Another Slinky Machine


If you're tired of operating your slinky by hand, there is a more complicated and costly way of performing the same useless task.
Step 1:

There are several 3d printed parts involved and I have included the Fusion 360 design files as well as the .stl print files.
The servo connector should be printed at 100% fill--everything else is your choice.
Parts needed:
(2) servo motors (I used Hitec HS-311)
(1) Arduino Uno
(4) AA batteries and holder
(1) slinky
Misc: tape and screws--wood for the base


Step 2:

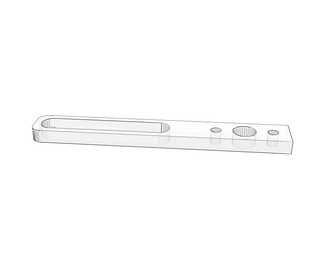
Attach the servo connectors to the servo horns.
Step 3:

Using small wire (I use wire wrap wire), push the wire through the base and attach to each led.
Step 4:

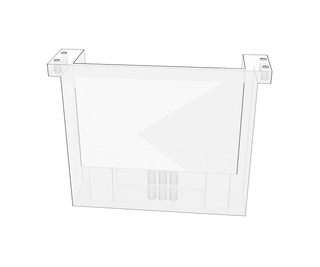
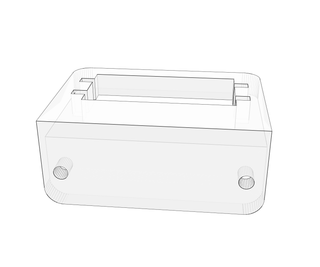
Insert the lifters through the square holes in the base unit.
Step 5:

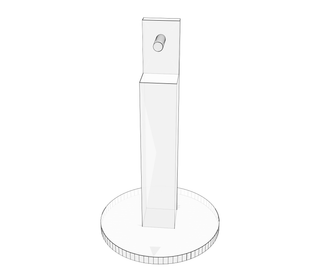
Fasten the servo holders to the wood stand before securing the printed base with screws.
Step 6:

Attach the slinky with duct tape.
Step 7:

Wire according to this schematic and use the sketch for the Arduino. Note that numbers in the sketch for servo position will probably have to be changed to accomodate the way you attach your servos (in my setup, 15 for the left servo and 135 for the right servo represents the "down" position).
Attachments

Step 8:

Power it on and you will have a noisy, blinking automatic Slinky machine.
FYI: This is not quite as useless as it appears--it will probably be decorated and become an automated toy creation for "Santa's Shop" later this year.

Participated in the
Lights Contest 2017

Participated in the
Robotics Contest 2017

Participated in the
Design Now: In Motion Contest


