

Introduction: Air Conditioned Xbox 360 Controller V. 1

Hi,
My name is Jimi and I like making things with my hands, my hobbies include small and large motor mechanics, software and hardware of computers, wood work, metal work and I dabble in plastic work.
This idea came to me, one hot day while putting an Xbox 360 controller back together after fixing a button. It’s a fairly simple idea of placing fans in the place of the vibrating motors, cooling the users hands down.
Thank you all and don’t forget to vote for me, Cheers.
(WARNING: If you have just brought your controller/Xbox 360, you may not want to do this Instructable, as it may void any warranties you may have)
(Picture Shown of it complete without paint, still deciding on Matte Black or Cheese colour)
Step 1: Step 1 Materials & Tools Used
Materials & Tools used:
Xbox 360 controller
2X 20 mm / 2 cm Fan (SUNON 20 mm KDE0501PDB3-8)
(#2) Flat Blade screwdriver
(T9) Torx screwdriver
Pointy Nose Pliers
Drill
Small drill bit of your choice
Hot Glue Gun & Sticks
9V Battery Plug
9V Battery
Shrink wrap
White Cotton T-shirt for Holster
Sandwich bag
Permanent marker
Small knife for making bevelled edges (or you can use a bigger drill bit)
Lighter
Electrical tape
Step 2: Marking Out


Mark out where your hands sit while using the controller with a permanent marker (you may choose to clean your controller before this step so your cleaner doesn't rub off the permanent marker)
Step 3: Pull Controller Apart Carefully


Pull controller apart carefully, the battery springs are slotted into the bottom so they need to be slid out.
Pull the controller holding both top and bottom away from each other: you may have to jiggle it apart a bit
You will need a certain small size flat blade screw driver #2 Flat blade (flat-blade, slot-head, straight, flat, flat-tip) to snap the rod in the middle of the special screws (TR/Security Torx) these controllers have, just turn it clockwise as if your tightening the screw to pry off the rod in the middle to turn it into a Torx screw for easy removal with a T9 Torx screwdriver,
Place all bits you can fit in a sandwich bag so you don't lose the small pieces, you may have to place the big main controller shells into another bag.
Step 4: Start Drilling!
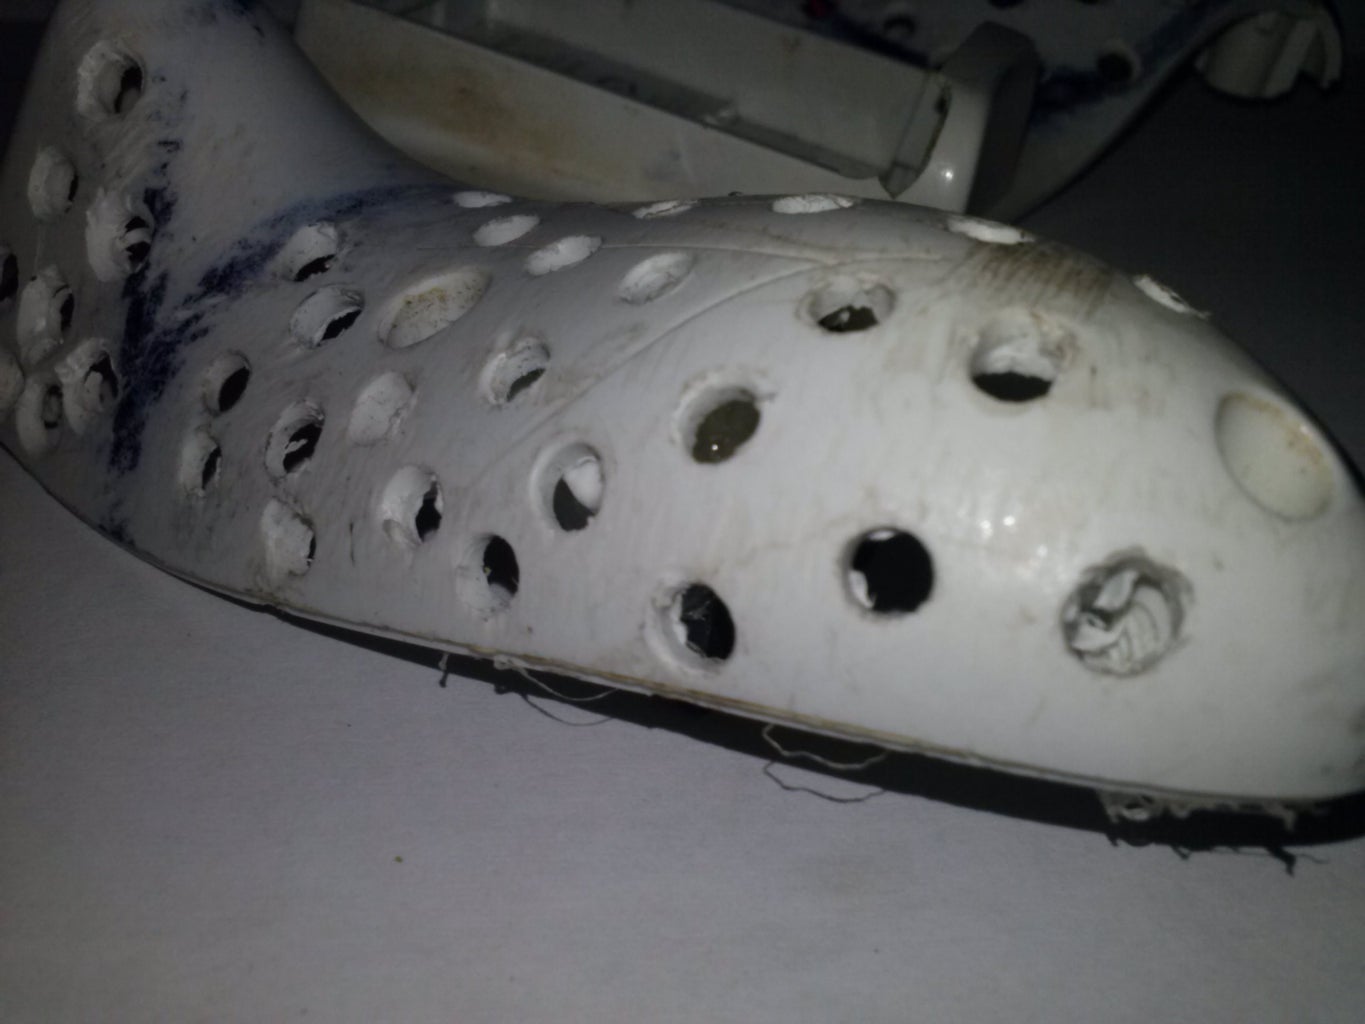

Start drilling holes neatly spaced apart, start at the handles and keep clear of the screw holes and posts, buttons, around the D-pad and directional sticks and the bits that hold the electrical board in.
Now with a small knife, clean up the holes and make bevelled edges for a cleaner look.
Step 5: Search the Internet for a 20MM Fan

Search the internet or electrical stores for a 20mm/2cm (Diameter) fan of your choice this will be a difficult step, it has not proved easy to find such a small fan, but i eventually found some on eBay for about 10 AUD each and 10 AUD for postage.
Step 6: Installing the Fans


Install the fans by gluing them in the same spot where the vibrating motors were(bottom shell), using a hot glue gun, glue a bit down first so you don't have controller shell to fan noise/vibration, hold the motor in place then glue some around it.
Get your pointy nose pliers and tear of the top vibration motor mount for more airflow and room for the fans to work properly
Don't get glue in the fan apparatus. (TAKE NOTE OF THE FANS DIRECTION, you want them facing upwards)
Run wires neatly down the bottom of the controller and out a hole of your choice.
Step 7: Reassemble the Controller

Reassemble the controller carefully, where the wire is it can get caught on the battery springs.
Step 8: Add 9V Battery and Holster


Use a T-shirt the same colour as the controller preferably, and make a holster for a 9V to slip in, glue around the edges
Step 9: Complete by Connecting the 9V Plug


Before you connect the wires you need to put on the shrink wrap, use about 5 cm and shrink half just small enough to go into the controller but big enough for the wires to go through, connect red to red, black to black(Parallel - Full Power)
(For longer 9V running time wire the fans up in a Series)
and tape up (soldering optional).
Shrink the rest of the shrink wrap with your lighter.
Connect up the battery and feel the coolness, it works well even with fairly flat battery's that I had lying around.
NOTES:
The next one I make will have smaller and less holes and holes facing palms only
I would have used a soldering iron but a friend has it at the moment
Thank you all and don’t forget to vote for me, Cheers.

Finalist in the
Game.Life 3 Contest


