

Introduction: Arduino All in One Sensors

Hello My Dear Robotic Friends This Is Muhammad Baqar , I Have Worked Hard To Make This Amazing Combined Project.....U Must Be Worried About "Combined" , Yes I Have Made A Project Which Contains 3 Different Modules Which Includes Ultrasonic Sensors(HC-SR04),Bluetooth Module(HC-06),Flame Sensor(4-pin).
I Have Done A Diploma In "Basic Mechatronics And Arduino".So Far I Have Made Many Projects But Non Like This One....Hope You Will Enjoy Making This Project...So Lets Get Started.
Step 1: Materials Needed !


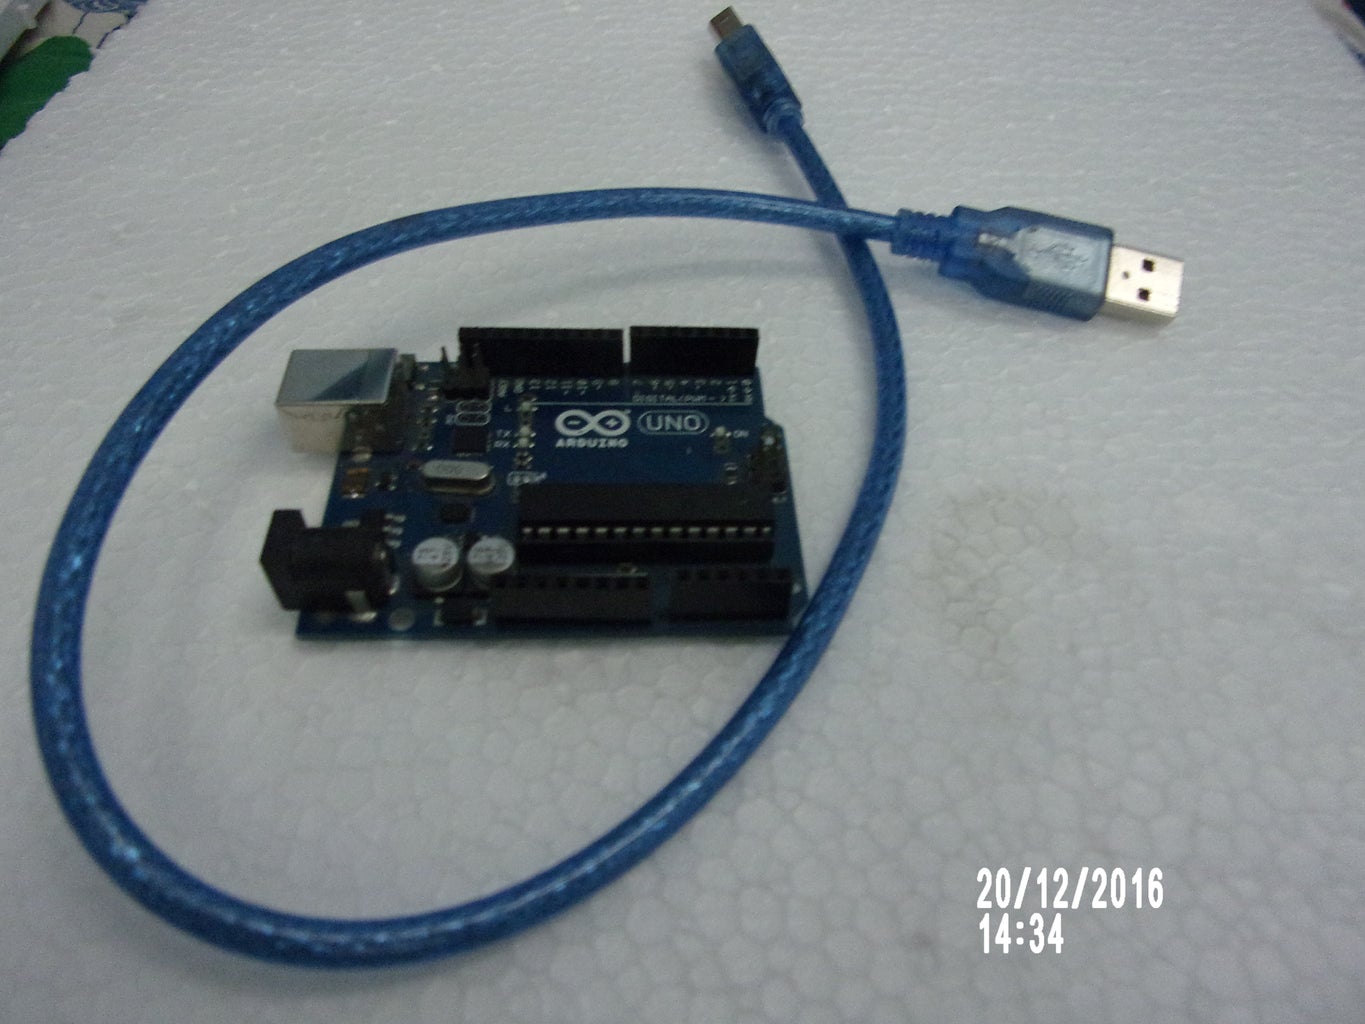


1) Arduino Uno (Recommended)
2)Ultrasonic Sensor (HC-SR04)
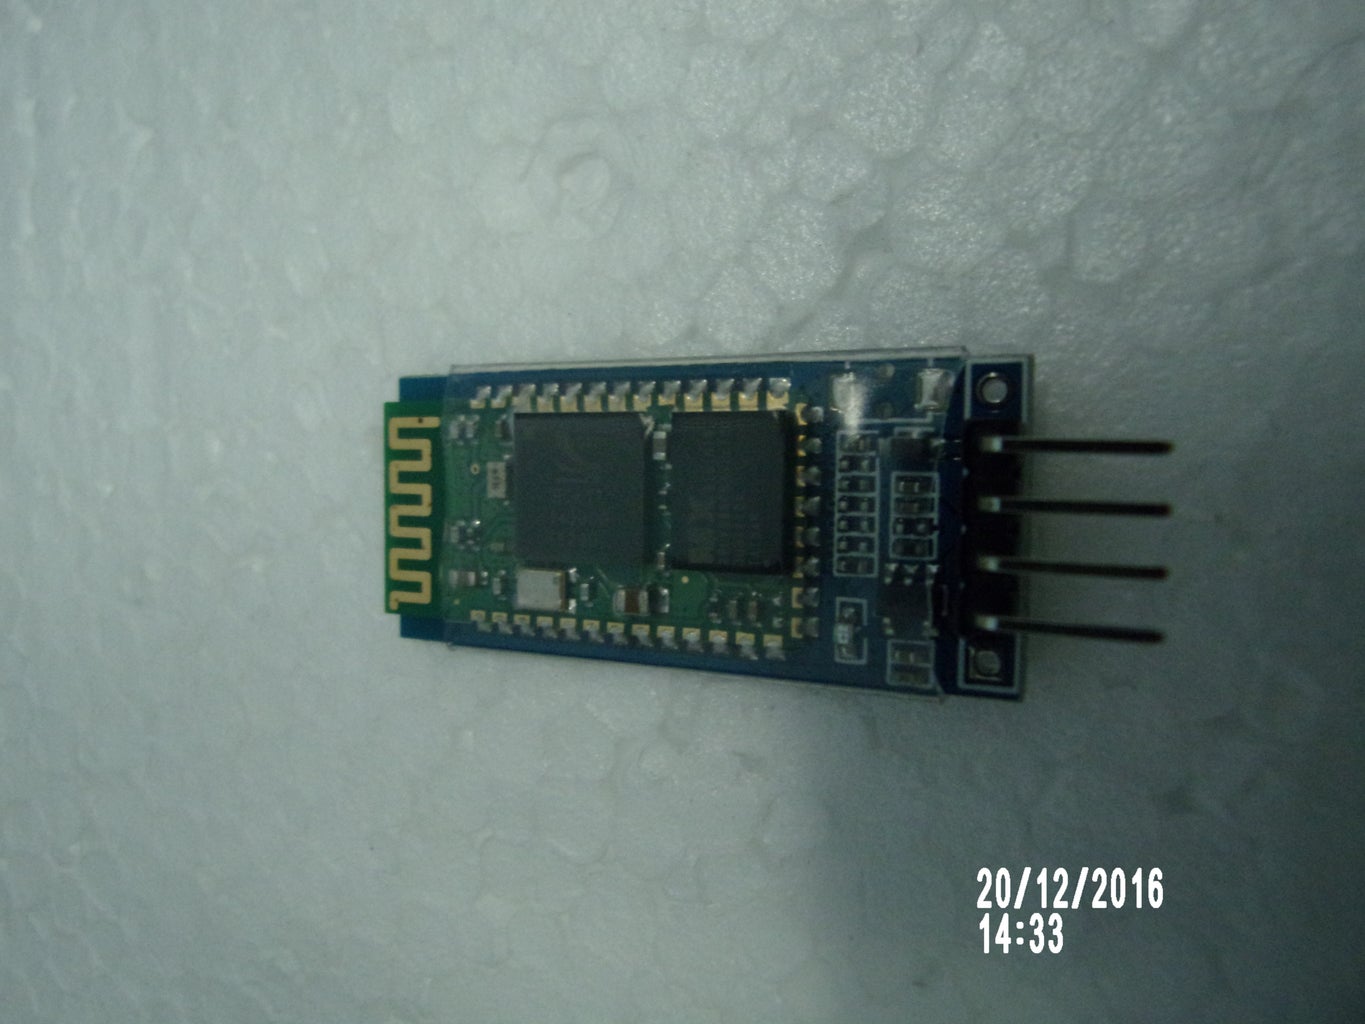
3)Bluetooth Module (HC-06)
4)Shift Register (74HC595)
5)Flame Sensor (4-pin)
6)3 x Bread Boards ( Sizes Shown In The Pictures)
7)Arduino Cable
8)Servo Motor And Mechanic Small Parts Including Screw Driver
9)Jumper Wires (Male to Male x 35,Male to Female x 5)
10)7 x Yellow LEDS , 4 x Red LEDS,1 x Buzzers,1 x Green LED And 2 Resistors(Your Choice)
11)1 x Thermapol For Base (Your Choice)
Step 2: Gather the Materials in Bread Boards

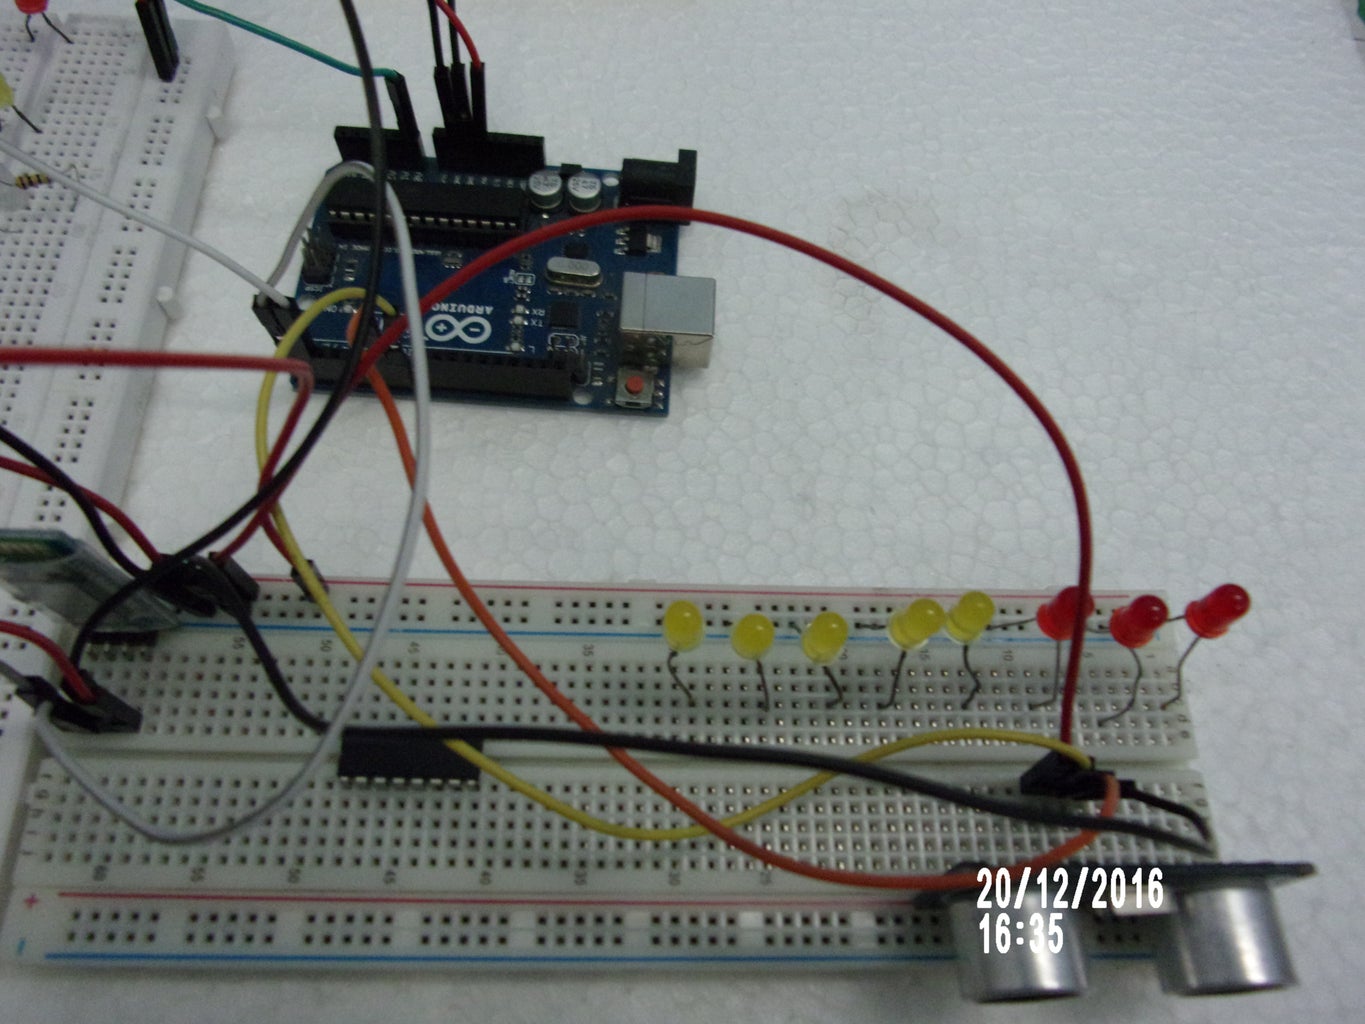
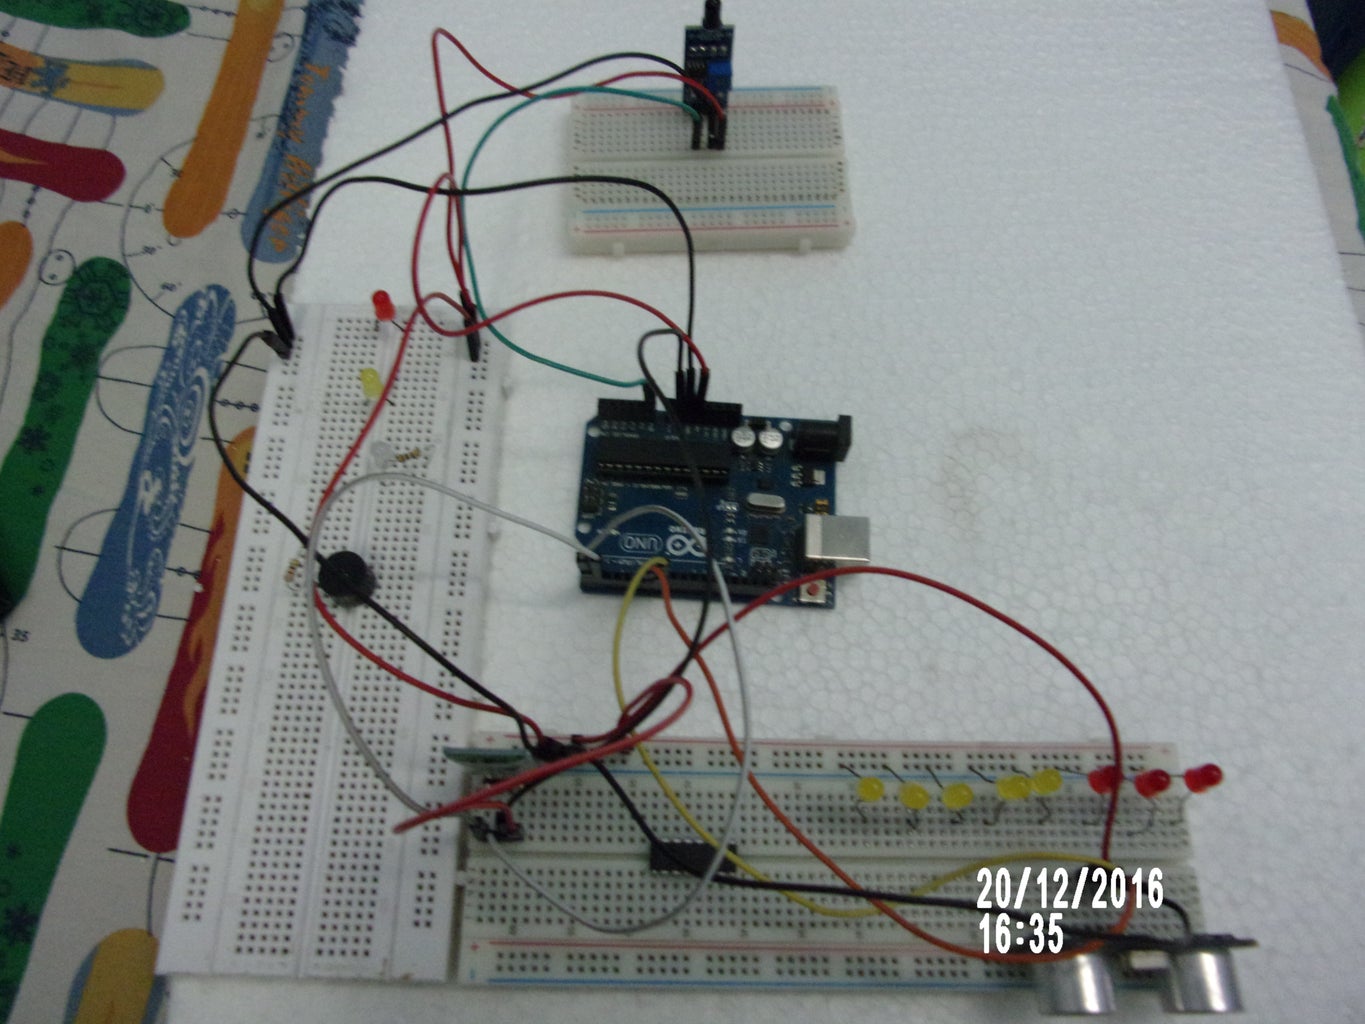


1)To Start With, Gather The Materials In Bread Boards,Starting With LEDS,Sensors And Modules And Shift Register.
2)Secondly Joining GND(Negative Pin) Of Arduino To One Line In Bread Boards Same As With VCC Or 5V (Positive).
3)Connections :
Flame Sensor :
i)A0 Pin To A0 Of Arduino
ii)VCC To VCC Of Arduino
iii)GND TO GND Of Arduino
Ultrasonic Sensor :
i)GND TO GND Of Arduino And VCC To VCC of Arduino
ii)Trig Pin To 7 pin Of Arduino And Echo Pin To 6 Of Arduino
Bluetooth Module :
i)GND To GND Of Arduino And +5v to VCC of Arduino
ii)TX To Rx Of Arduino And RX To TX Of Arduino...Opposite Connections
"There Are Two Ports In Arduino For GND....So Please Connect Bluetooth GND Wire With Second Port Of GND Of Arduino....So There Could Not Be Trouble.
Shift Register :
i)There Are Total 16 Ports Of Shift Register...Each side 8 Ports.
ii)Let Me Give The Connections :
As You Can See In The Picture Of An Shift Register,
That Connect ,
Wire Connections: 74HC595 8 Bit Shift Register
GND Pin 8 and Pin 13
5V Pin 10 and Pin 16
IC Pin 11 Arduino Pin 11
IC Pin 12 Arduino Pin 12
IC Pin 14 Arduino Pin 13
1st LED IC Pin 15
2nd LED to 8th LED – IC Pin 1 to IC Pin 8
Note this connections to the LED’s must be to their positive lead (With The longer Leg)
Servo Motor :
i)Red Wire Of Servo To VCC/5v Of Arduino And Black Wire Of Servo To GND Of Arduino
ii)White Wire Of Servo To 8 pin Of Arduino.
These Where The Simplest Connections, Hope You Will Understand And Will Try On Your Own.
Step 3: Connecting LED's and Buzzer

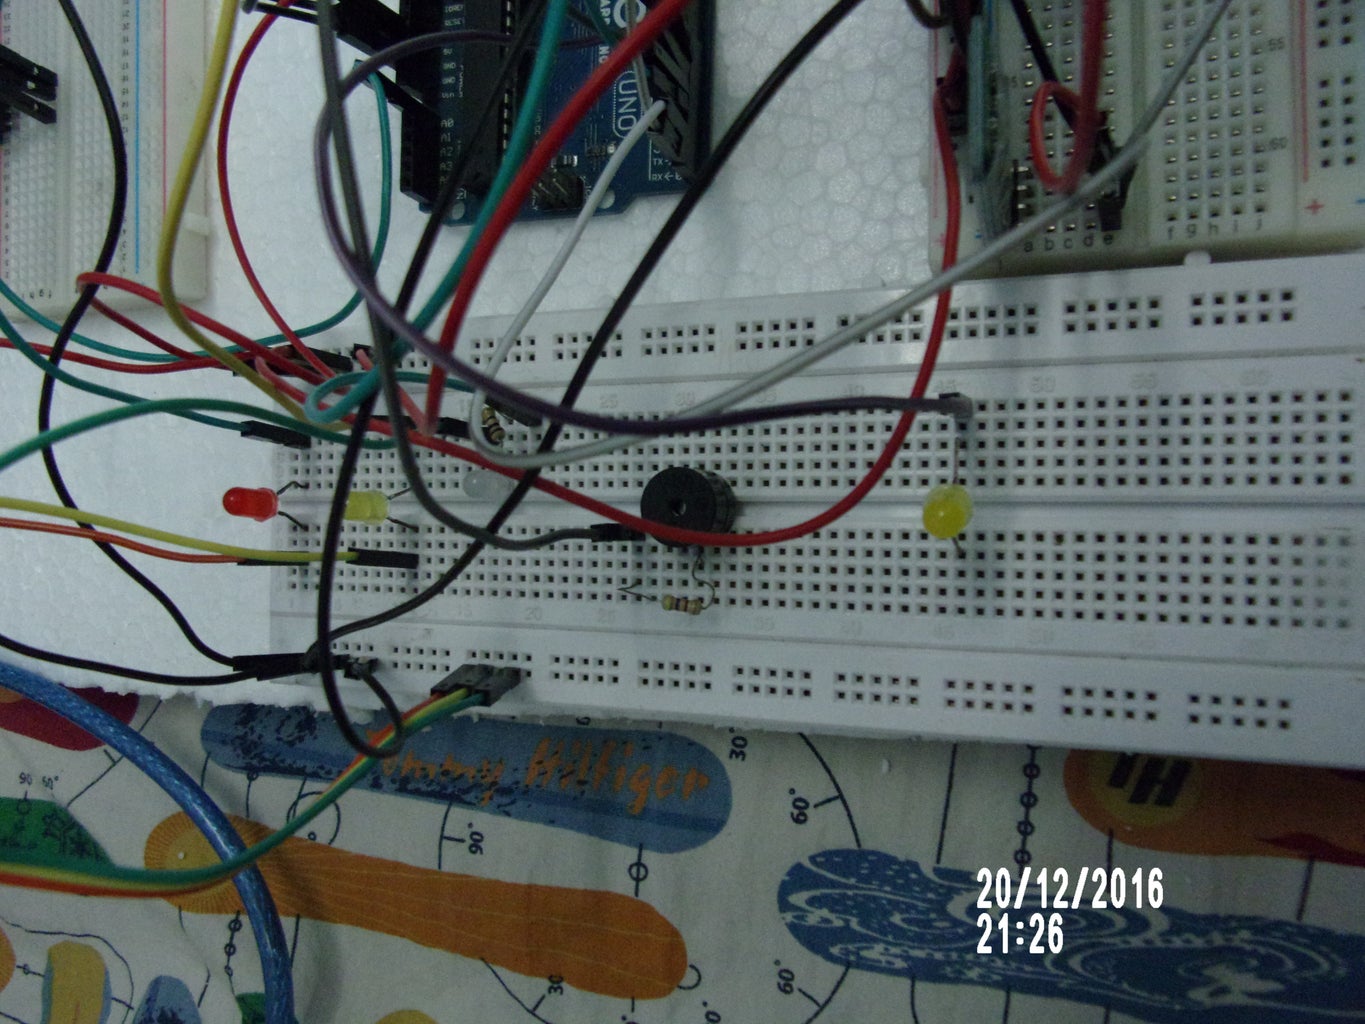
Finally Connecting All The Sensors And Modules And Shift Register With 8 LED's
Start With Remaining LED's And Buzzer.
1)Connect Buzzer(Positive Led(LONG ONE)) To 4 Pin Of Arduino And GND To GND.
2)Now You Are Left With Three LED's......Green,Red And Yellow.
3)Connect Red Led To 10 Pin Of Arduino , Yellow Led To 9 Pin Of Arduino And Green Led To 3 Pin OF Arduino.
4)After Connecting These Still You Will Have One More Led (Yellow)......Connect It To 5 Pin Of Arduino.
REMEMBER THAT, ALWAYS CONNECT POSITIVE (LONG)LEG OF LED AND BUZZER TO ARDUINO....OTHER LEG WILL BE ALWAYS CONNECTED TO GND.
Step 4: Finally Programming !!!
YOUTUBE VIDEO Go To My New Channel And Please Subscribe There...Watch Video Of This Project.</a>//This Program Was Written By Me .....Actually The Single Line Statements Are In Some Other Language But No Worries The Main Work Is All GOOD!
This Program Contains The Programming Of BLUETOOTH , ULTRASONIC SENSORS AND FLAME SENSOR AND SHIFT REGISTER.

//NOTE: Download An App From Play Store ,Name: "BT VOICE CONTROL FOR ARDUINO"
Bluetooth Commands That You Can Perform Are :i)all the lights on,ii)all the lights off,iii)red,yellow,green lights on OR Off
iv)thank you, v)one by one OR 1 by 1.

If You Want To Make Servo TO GO TO 90 Degrees You Say "thank you" In Android App.And U Can Set Up Dominoes Like Shown In The Picture.

Instead Of Pasting  the Code Here ,,, Download the File From Here....Much Easier Than Before.


Thank you !!
Hope You Will ENJOY Making This Amazing Project.This MUHAMMAD BAQAR Follow Me On Facebook
Muhammad Baqar. OR Go To My Page,
Attachments


Participated in the
First Time Authors Contest 2016

Participated in the
Epilog Contest 8

Participated in the
Arduino Contest 2016


