

Introduction: Arduino Aquarium Controller V.2
This is my first Instructables and English is not my native language, so I'm sorry fot the mistakes.
On the internet you can find many Arduino aqurium controllers. This is my version, improved from one of them.
I hope, that this will help somebody, or somebody else will improve it further.
Step 1: Follow This Instructables

First of all, you need to follow theses instructions. https://www.instructables.com/id/Aquarium-LED-Cont...
As you can find out, these instruction are very detailed, so any debugging is quite simple, although I have noticed one problem. I wanted to use time for sunrise/set 90 minutes. Problem is, how the step is calculated. The program use simple definition step=255/time. In my case, the calculated step is 2. So after 90 minutes, the rest is 255-2*90=75 and the last step "75" is done at once. So I realised that is necessary to use minutes 255, 127, 85, 63, 51 etc.
I've tried to change the format of constant in the program, but it's not working. If somebody else will find the solution, I will be happy to be told.
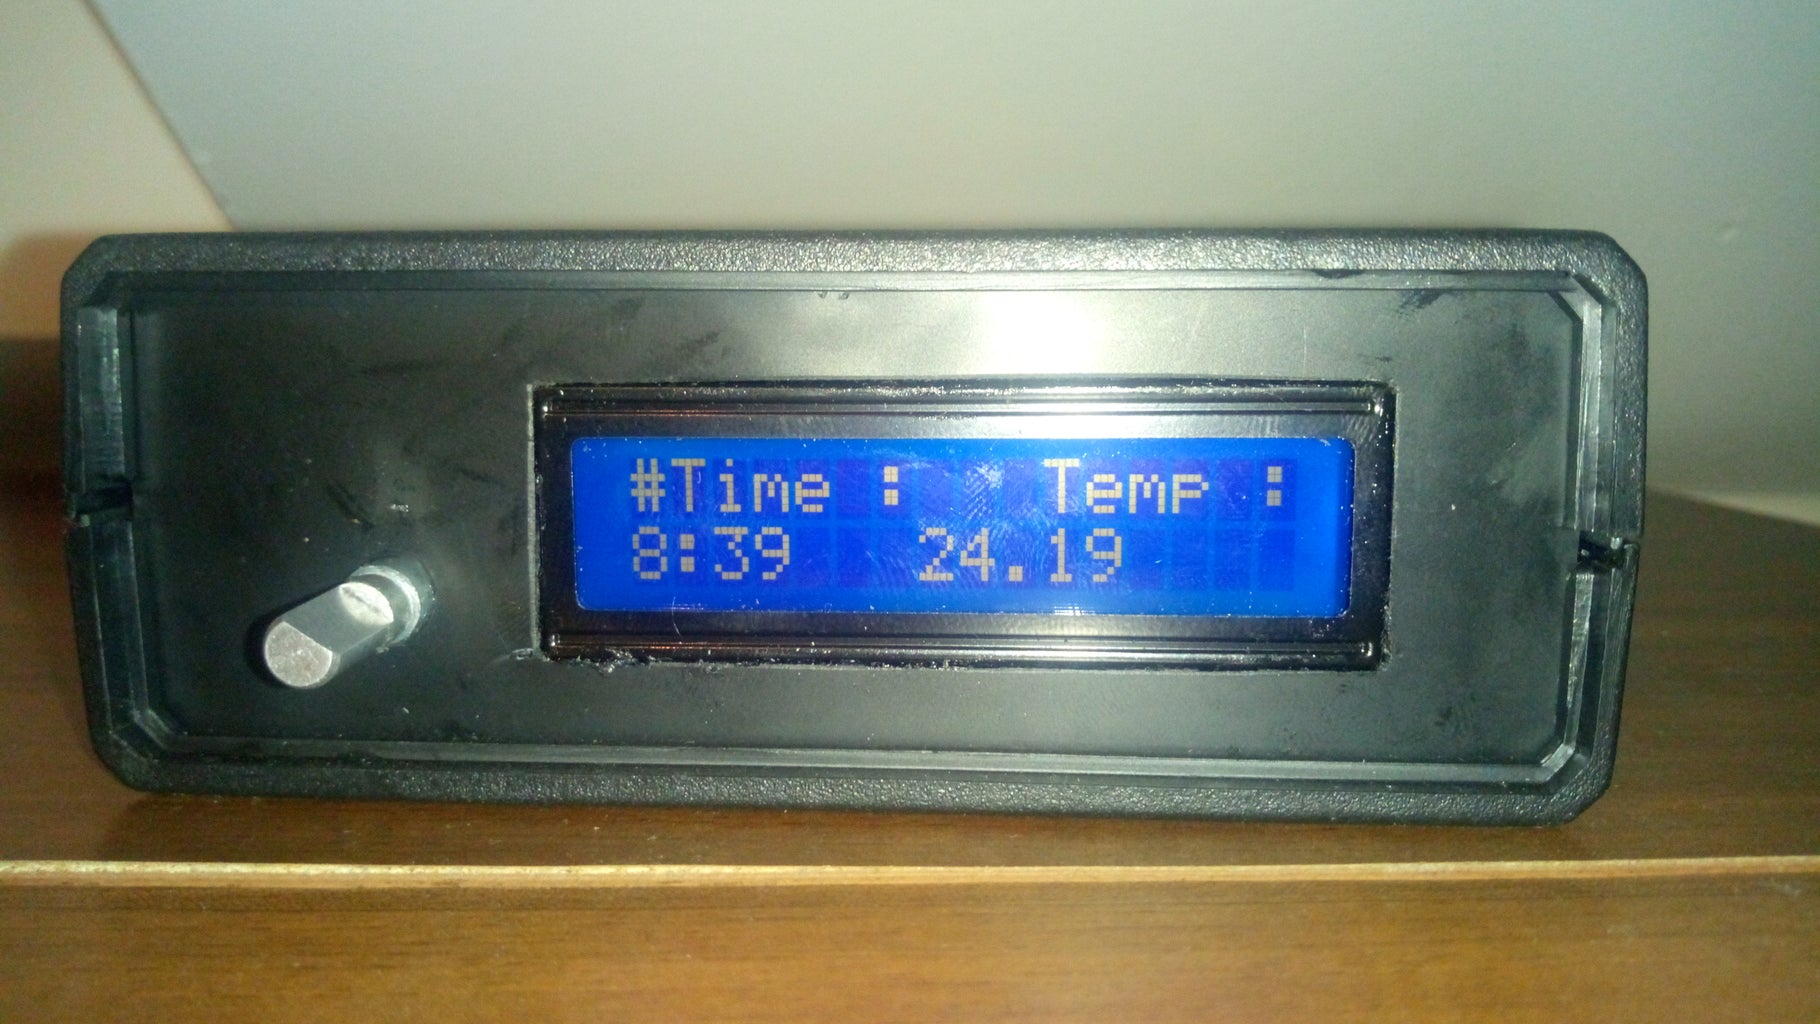
My second notice is about the display. I use 10k resistor instead of jumper on the pins which control the backlight. This secure good contrast and the display is not too bright in the dark room.
Step 2: Adding the Temperature Sensor


The temperature sensor I use, is water resistant variant of DS18B20. You can buy it on eBay or Ali-express. The basic wiring is on the picture. On the variant we used is red = +5V, black = GND, yellow = DATA PIN.
The DATA PIN of sensor is connected to D4 on Arduino board. You will also need the arduino libraries OneWire and DallasTemperature. Reading of temperatur takes arduino about 1 second, so it is read only every minutes.
Step 3: The Moonlight

For simulating the moonlight I use RGB strip. First of all I wanted to use just the blue LEDs, but after short searching i figured out, that moonlight is not just blue.http://www.advancedaquarist.com/2012/7/lighting
To simulate this, I added one menu, when you can set RGB value. This value works like lower limitations and the values of RGB powers never drop below.
Step 4: The Code

Here are the necessary libraries and the code for Arduino. Before you upload it, don´t forget to change the I2C address of time module and display.
I have also done few changes about setting the time. Now there are displayed the names of values (sec, min, day etc.)

Step 5: Conlusion

I hope my notes were helpful. If there are any questions don't be shy and left the comment.


