

Introduction: Arduino Bike Speedometer With 128 X 64 Graphics LCD


I build this speedometer for my own motorcycle. I am using it on my own Honda CD70 motorcycle (70CC) and it is working pretty well. The concept of this speedometer is very simple. A reed switch is used to measure the RPM of the wheel, and some mathematics is used to determine the circumference of the wheel. And that is then used to find the distance traveled in unit time, which is called speed.
In this project only three digital I/O pins of Arduino are used by the Display. And all other pins are available for future addition of functions, like engine temperature, fuel gauge etc.
Step 1: What You Will Need!


Parts List:
(1x) 128 x 64 Graphics LCD with blue or yellow background (your choice). Amazon.com
(1x) 40 x 60 mm prototype board Amazon.com
(1x) 220 Ohm 1/4 Watt Resistor Amazon.com
(2x) 10K Ohm 1/4 Watt Resistor Amaz on.com
(1x) 20 Pin single row Male Headers Amazon.com
(1x) 20 Pin single row Female Headers Amazon.com
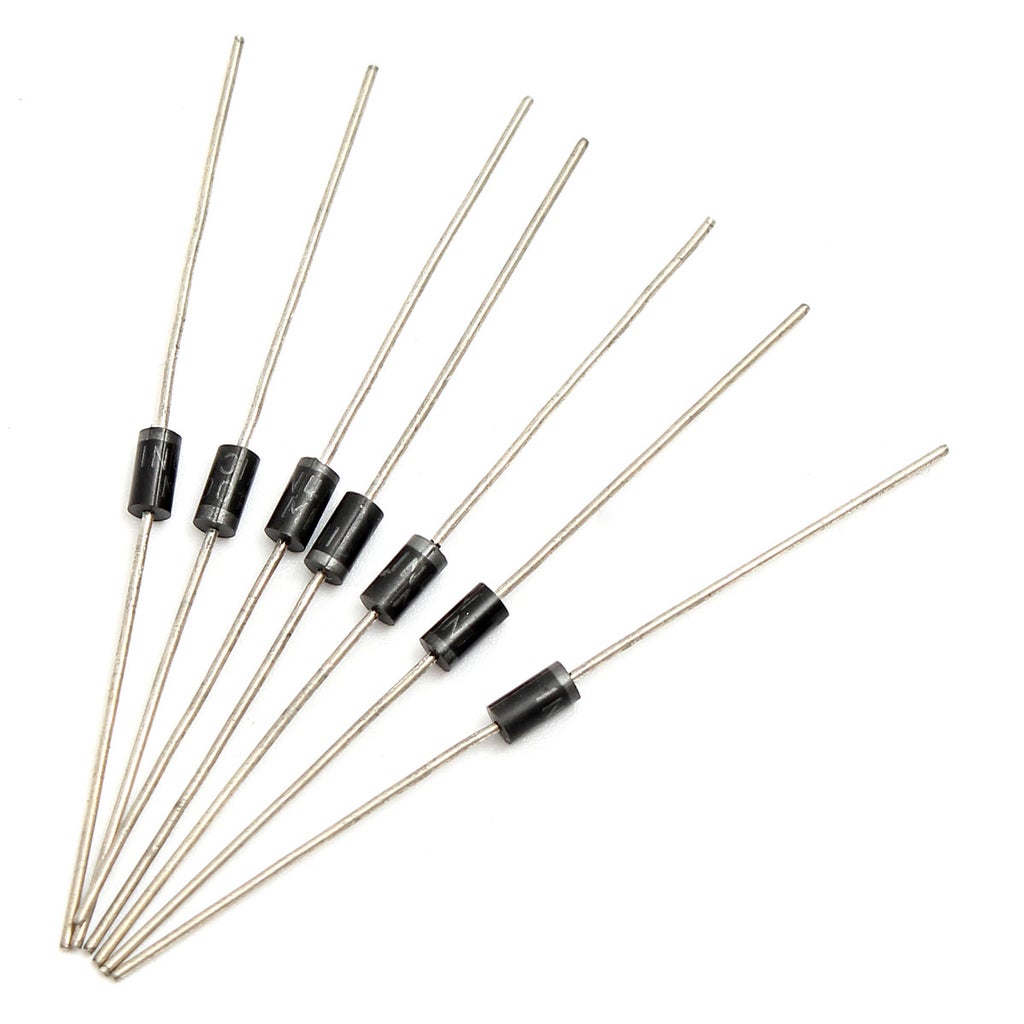
(1x) 1N4001 Diod (this quantity can increase up to 5 depending on your required functionality). Amazon.com
(1x) Magnetic Reed Switch Amazon.com
(1x) Hall effect Sensor Module (3pins) if you ant to use it instead of reed switch.
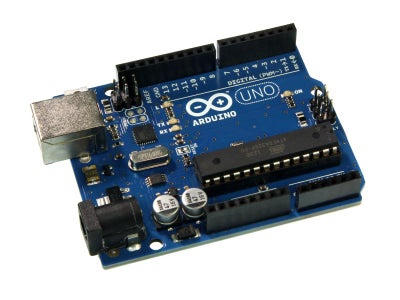
If you want to use an Arduino UNO, then the following Items will not be needed.
(1x) Atmega 328p Microcontroller (Arduino UNO Boot loaded).
(1x) 28 pin DIP IC socket Adopter
(1x) 16 MHz Quartz Oscillator
(2x) 22pF Low Voltage DIP Ceramic Disc Capacitors, 50V
(1X) 7805 Voltage Regulator IC.
(2x) 10uF 25V Electrolytic Capacitors.
Additional Material.
Zip Ties.
Double Sided tape.
Electric Tape
Solder Wire
Soldering Station, or Soldering Iron or Soldering Gun.
An Arduino UNO will be required only for the first time when you burn the code into the Atmega 328p microcontroller.
I am using it with my Motor Cycle, which has its own 12V Battery, so I am using the same battery as supply voltage, If you want to use it with your bike which do not have its own power source, then you should use a 9V Alkaline battery.
Step 2: Circuit Diagram Without Using Arduino UNO
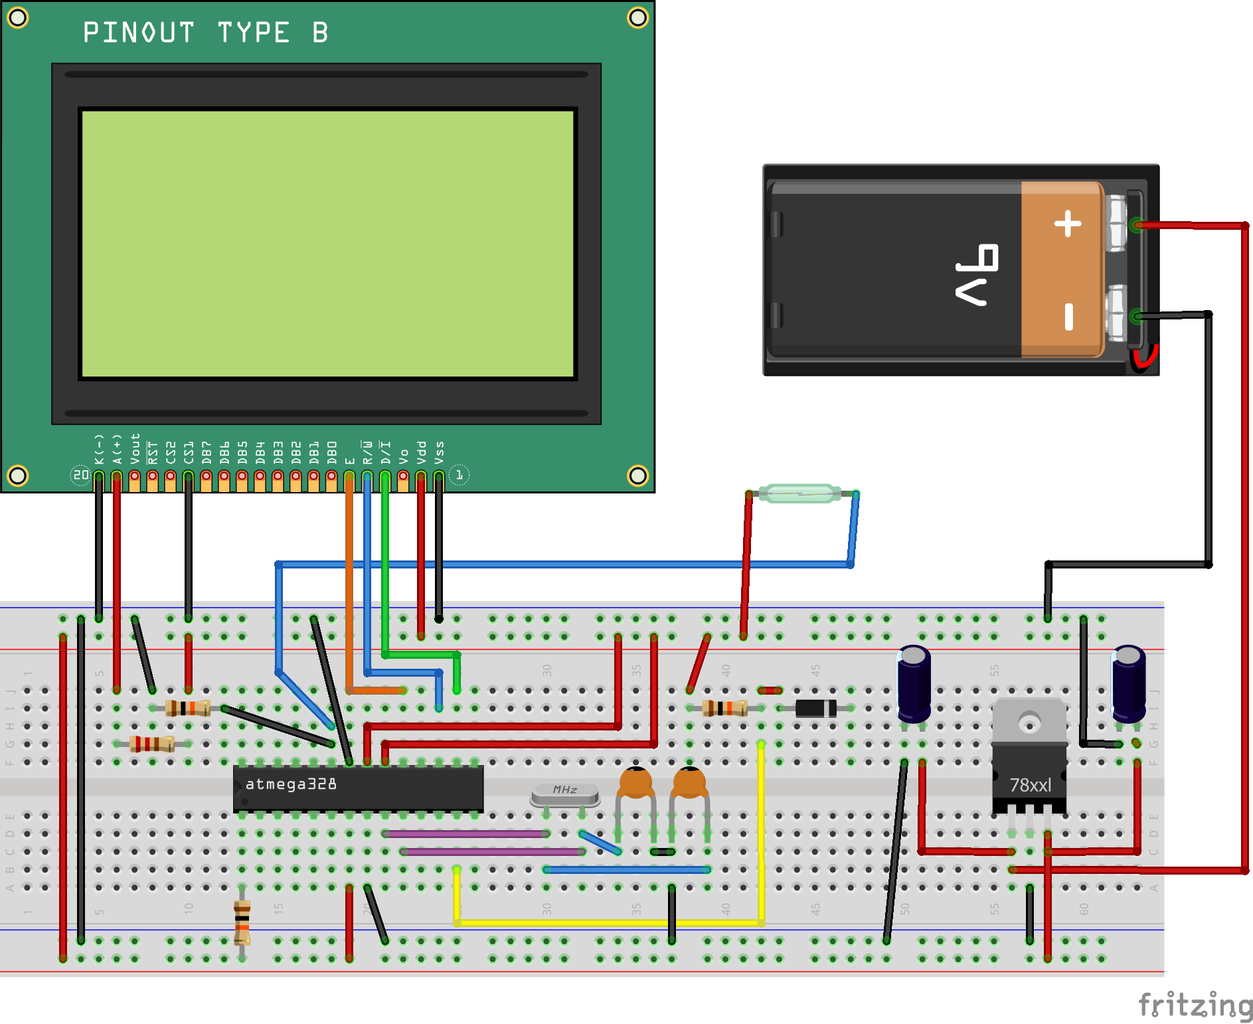

I am using Fritzing to show the diagram, because it is a good software to use for schematic and breadboard view. I have not used the whole Arduino UNO, instead I have used only the Atmega Microcontroller to make things simpler. But if you want to use the Arduino UNO board you can do it. I am sharing both the diagrams. The choice is yours.
I am using a motorcycle, which has the only indication when the gear is neutral. The indication i through a wire which is gounded when the gear is neutral. I used a diod to prevent the positive polirity at this pin, because it can kill the arduino / Atmega Microcontroller, because my motorcycle has 12V battery.
If your motor bike have indication for all the gears, you can use the same method, and use additional pins of arduino, and a little bit changes in the code. If you are unable to do this, please let me know, i will help you.
Step 3: Circuit Diagram Using Arduino UNO


If you want to use the Arduino UNO board instead of microcontroller alone the follow the above diagrams.
Step 4: Mount the Reed Switch and Magnet to Your Bike Wheel

If you are using the delicate glass reed switch, then you should place it in wooden case and secure it with hot glue, to prevent it from damage. Mount the reed switch to the wheel axle at appropriate place and attach the magnet to one of the spokes exactly in front of the reed switch.
I have used zip ties to secure the magnet to one of the spokes, and it is working well, i have tested it up to the speed of 86 KM/H, and it works fine.
Step 5: The Code
Mount your Atmega 328p in the Arduino UNO board and copy paste this code into your Arduino IDE and upload it to your Microcontroller. If you have an error of the missing library, then download the U8glib from this link and add it to your Arduino IDE libraries folder. Click Here to Download Library.
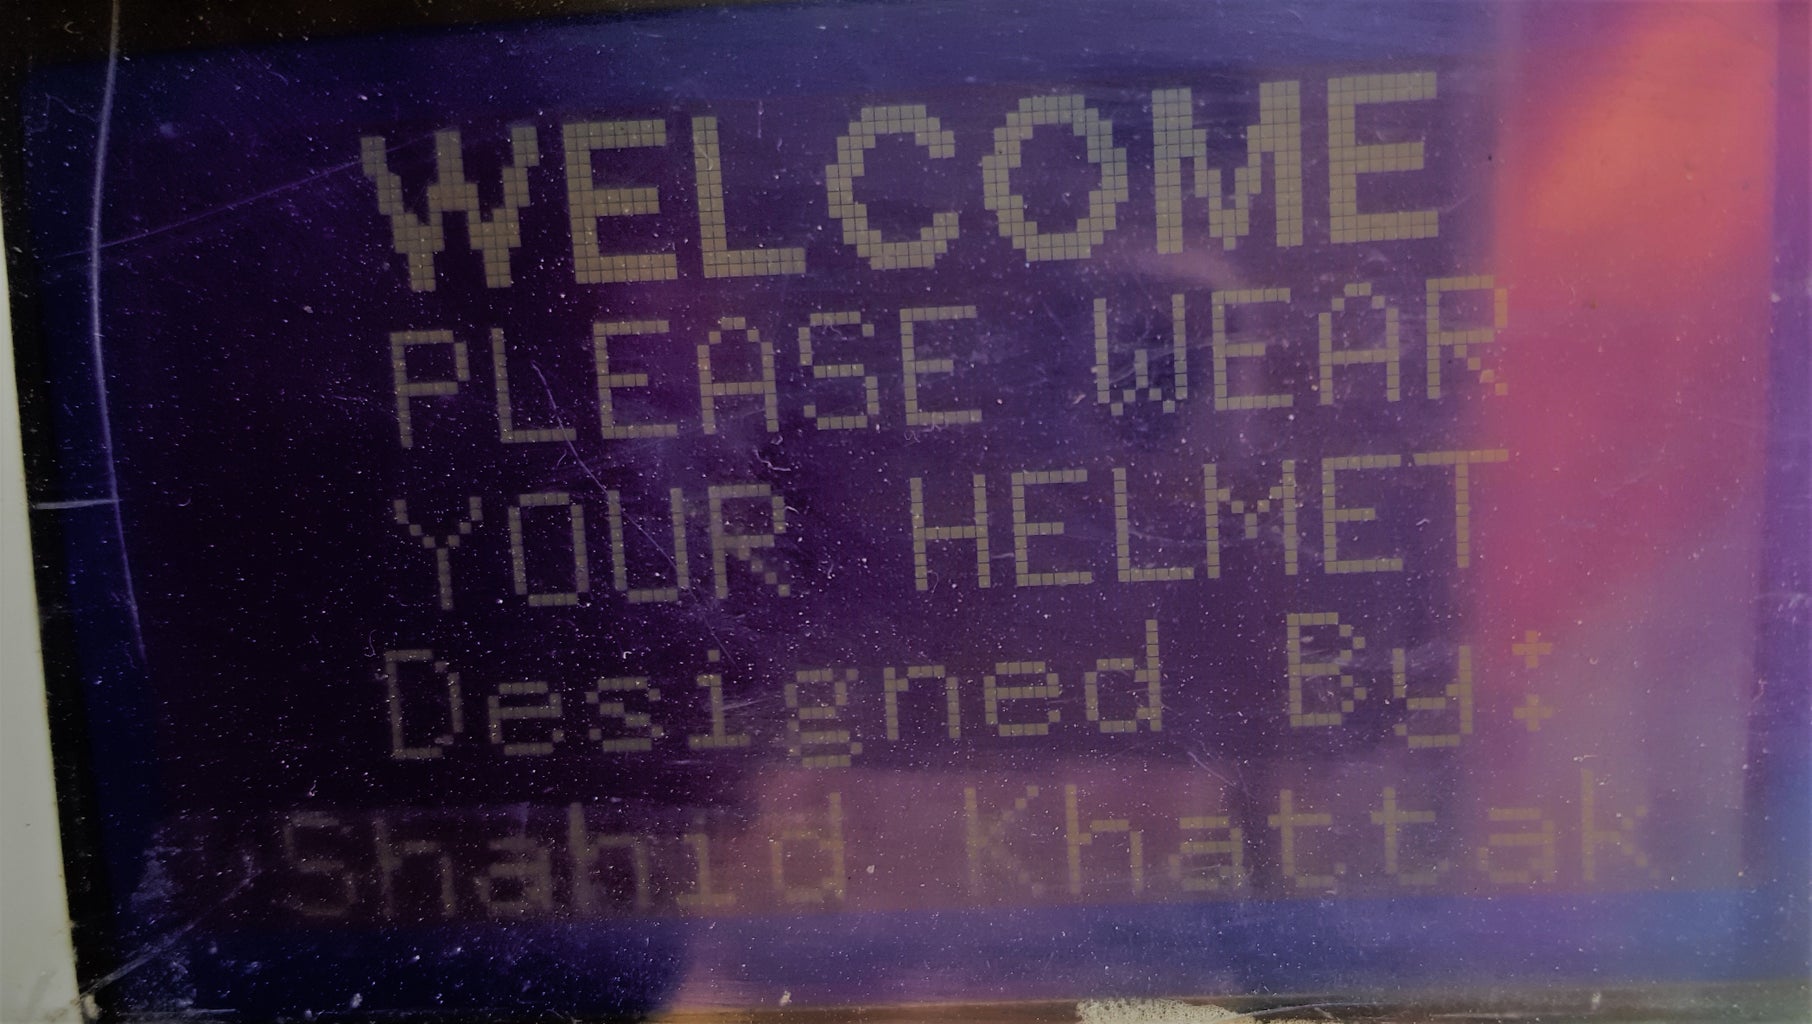
I have added a splash screen in this version, you can amend it according to your needs.
If you want to use a hall effect sensor instead of reed switch, then change must be made to schematic as well as code. I will upload the same later.
The Final Code is attached here.
Attachments


Participated in the
Arduino Contest 2016

Participated in the
First Time Authors Contest 2016


