

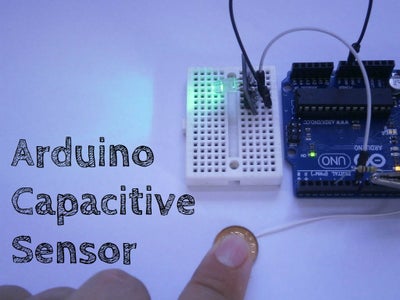
Introduction: Arduino Capacitive Sensor in Less Than 2 Minutes


Hello !
Today I will show you how to make a capacitive sensor with Arduino UNO.
Step 1: Watch the Video !!!
Step 2: Parts for the Project
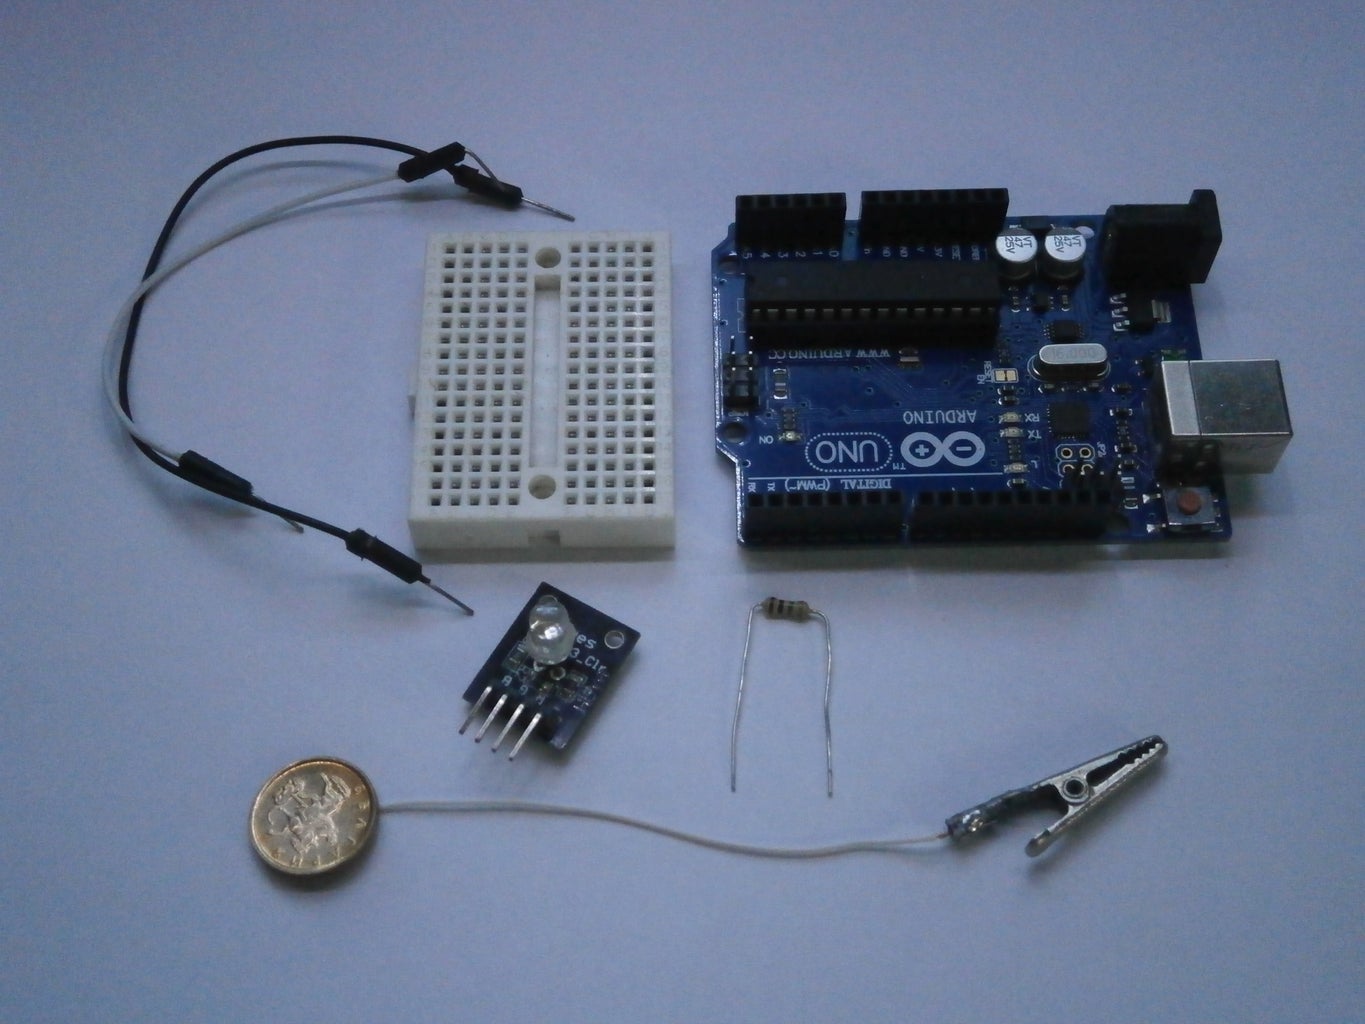
You will need:
- 1 x Arduino board
- 1 x 1M resistor
- 1 x Touch plate
- 1x Breadboard
- 1 x LED
- 2 x Jumpers
Step 3: Put All Together
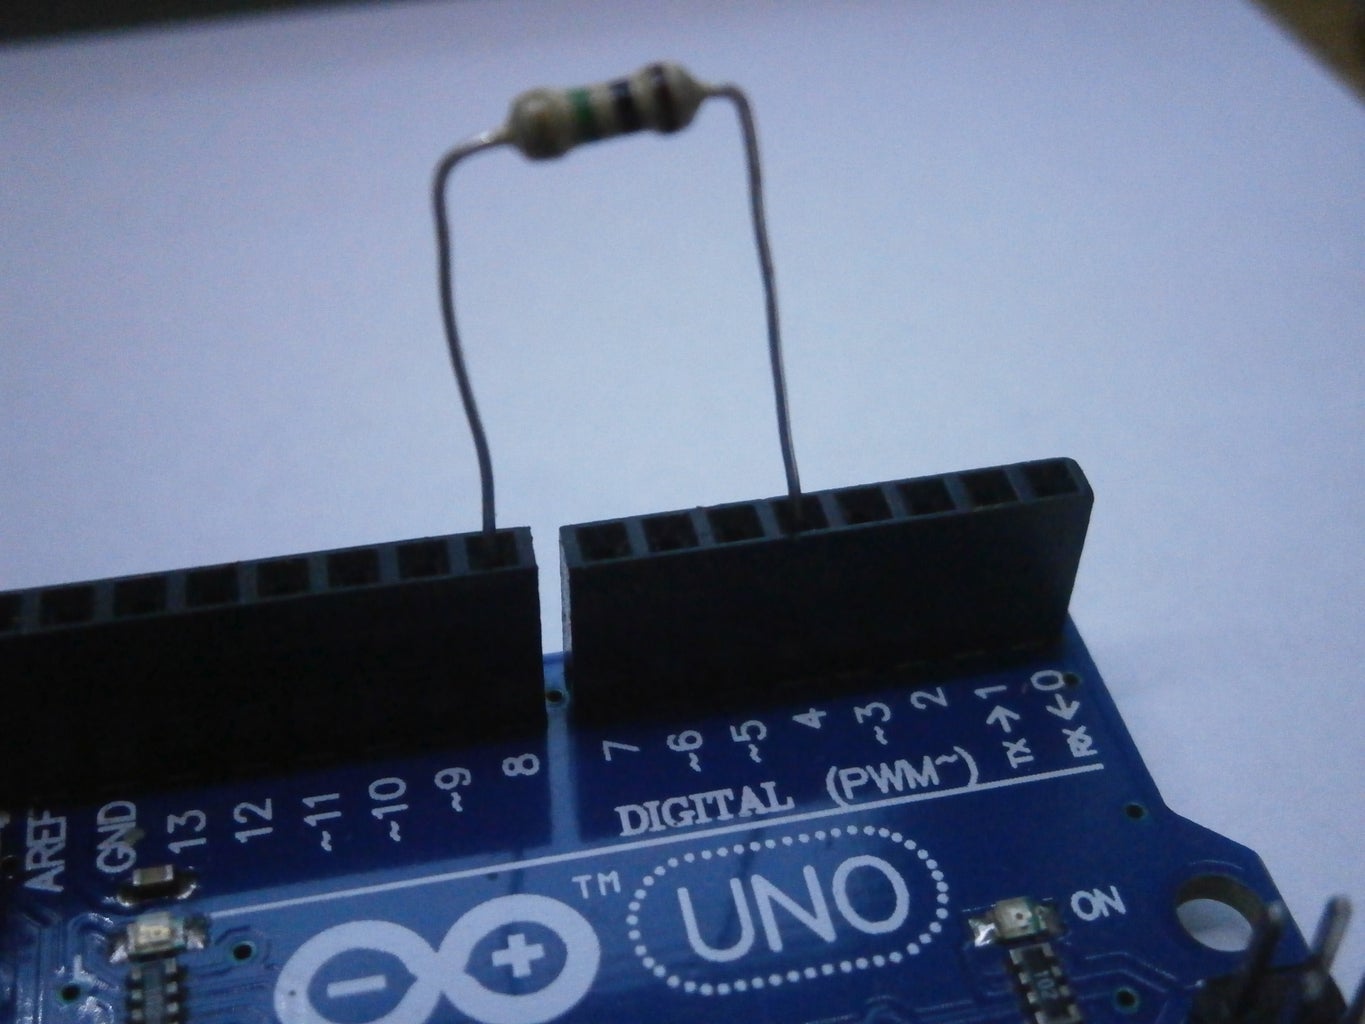
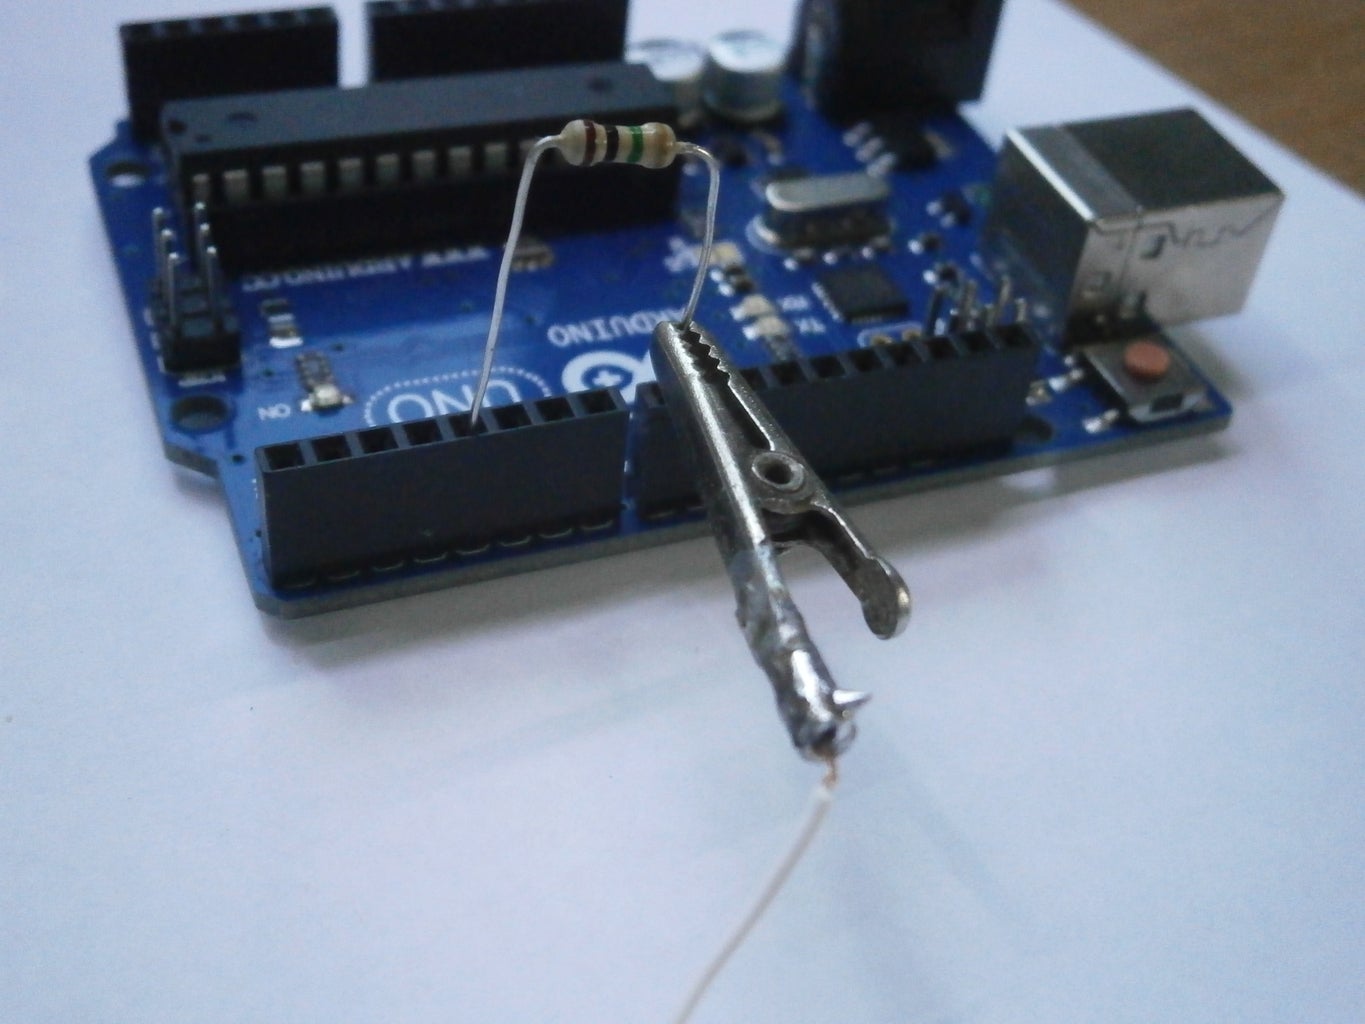

First plug in the resistor in pin 4 and pin 8 of the Arduino, then connect the touch plate with pin 8 of the Arduino.
Now plug in the LED to the breadboard, connect LED's "-" to Arduino's GND and "+" to pin 7.
Step 4: Upload the Sketch

Step 5: Done !
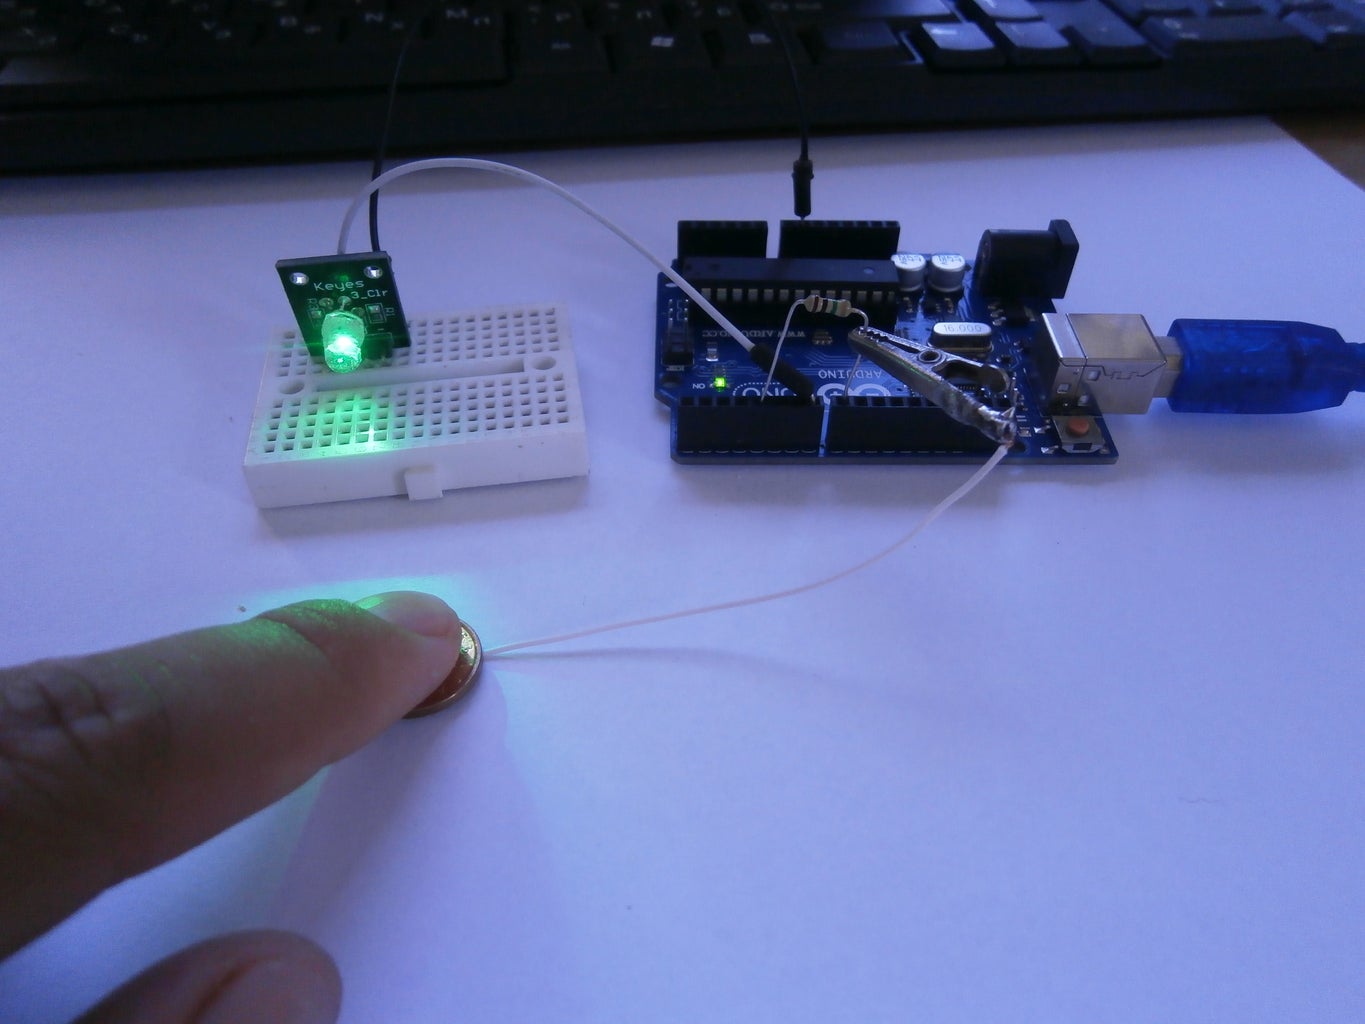
You are done, touch the plate and the LED shoud light up. You can modify the sketch and for other "capacitive" needs.

Participated in the
Lamps and Lighting Contest 2016


