

Introduction: Arduino IOT Automation With ESP8266


This is a IoT automation project. not like others which only fetch the sensor data to the internet. i used there technique to control the devices by reading to that web api using wifi module esp8266. with this technique we can monitor , control the devices from anywhere in the world. today i,m controlling a led , just like hello world program for IoT world.
you can read my new IoT instructables using Raspberry pi and arduino here:
Step 1: Overview


I,m back with my new instructable. There are many instructables about IoT and home automation.
but most of them is all about writing the sensor data to the web, making weather stations etc. but i wanted to control devices using internet just like people do it with GSM using sms command.
So, finally i did it with the help of esp8266 our loving wifi module and world's best board arduino uno. we just need to modify the data using web api and arduino will react on that. here it will turn board led on and off.
Step 2: Material Needed
Note:- Watch the above video of complete developed IoT Automation device. Thank you.
We need the following things:-
1. Arduino uno
2. ESP8266 wifi module
3. Wi-Fi router (cell phone hotspot will be perfect )
Step 3: Connecting Things


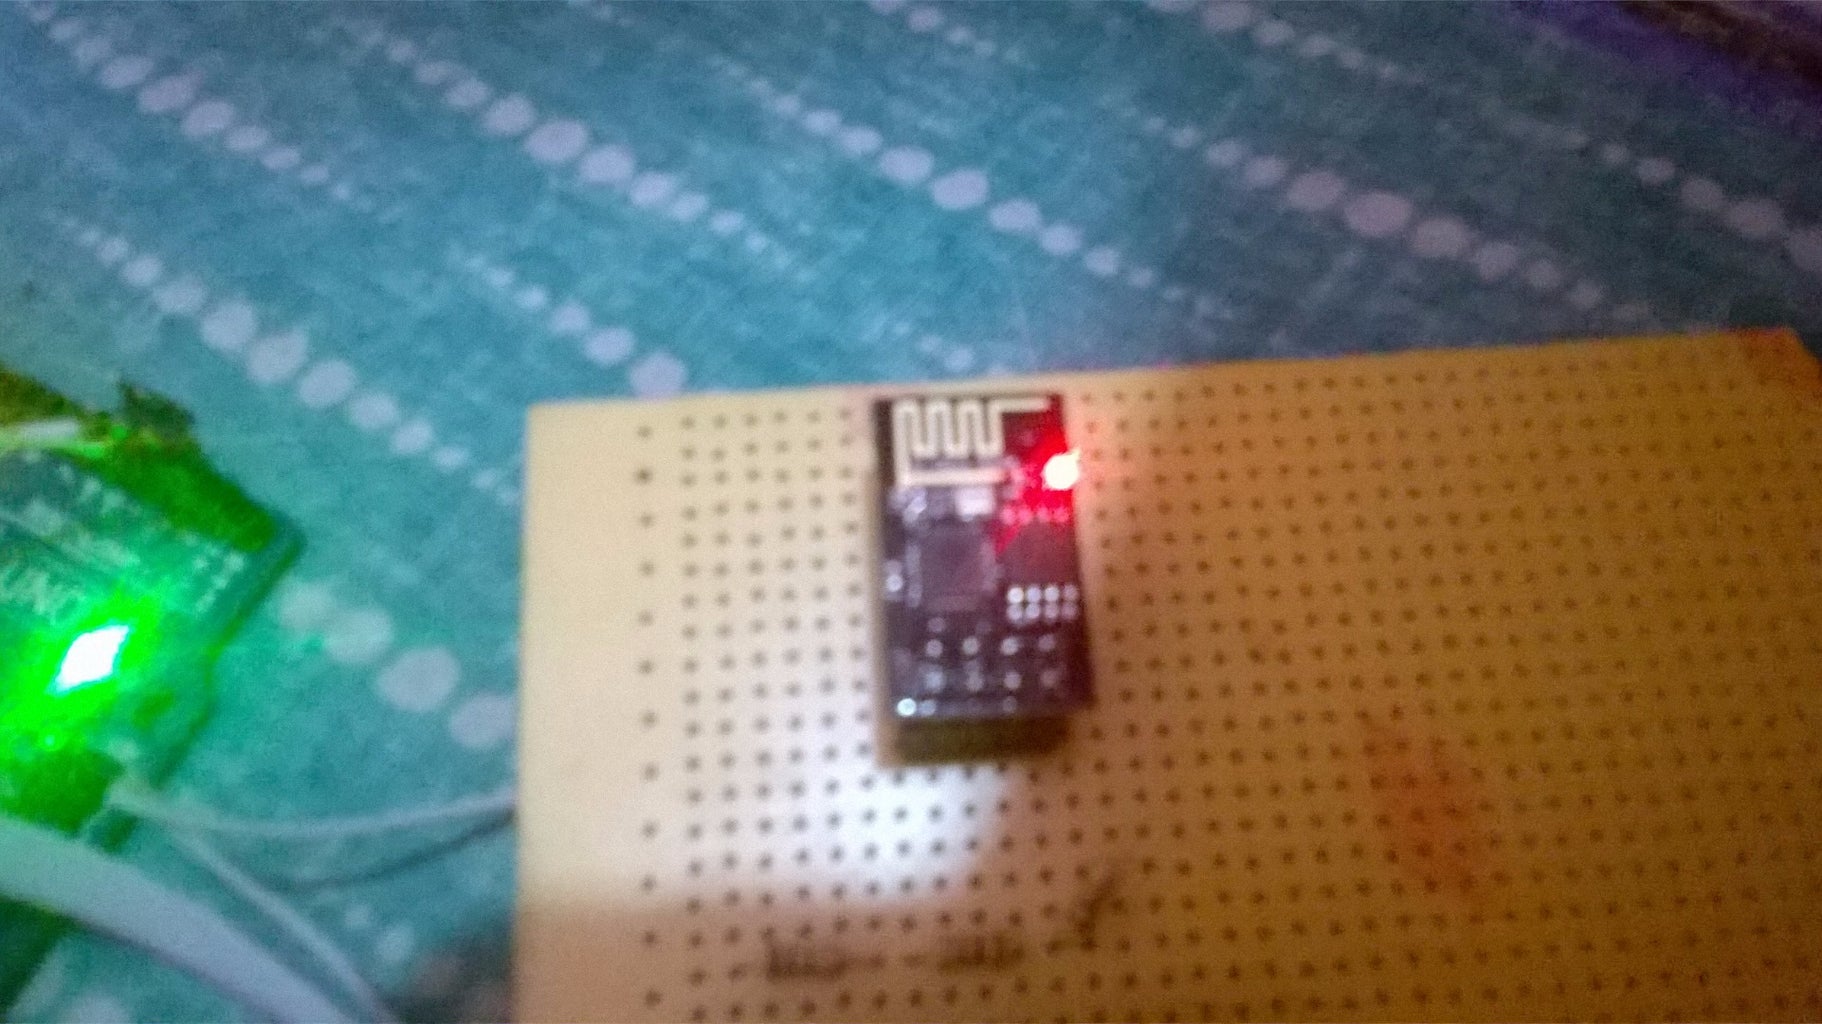
you can check the pinout in the pics. RST, ch_pd should be connected to Vcc i.e. 3.3V for normal operation. it is only a precaution as module works great without doing this also.
ESP8266 is a 3.3V device so needs to be plugged into the 3.3v pin of arduino or seperate supply. i have used arduino supply and it works perfect.
the Rx and Tx of the esp8266 should be connected to Tx and Rx of arduino. I,m using software serial port here pin 3 as Rx and 2 as Tx. leaving my hardware uart for debugging purpose. esp8266 pins are not tolerable to 5v so kindly use level shifter. however i,m using it directly and found no issue but it is good to be safe than sorry.
default baud rate of esp8266 is 115200. you need to change this below the hardware uart baud rate. i,m using 57600.
change this using AT+UART_DEF=57600,8,1,0,0 command.
Step 4: Programming


Find the attached ino file for programming the arduino. // updated firmware has been uploaded with better reception and resolving timing issues with thingspeak api server. // Special thanks to Bookwormzero aka Neil for finding the timing issue. good job done.
i,m using arduino to read the api and act according to the data received. we can use any internet enabled device to control the arduino pins. here i,m turning board led on and off by writing H for high and L for low to the web api. this can be done from anywhere in the world with the internet.
Updated section:-
Following commands are used to operate Thingspeak channel.
- Update Channel Feed - GET
GET https://api.thingspeak.com/update?api_key=your_api_key&field1=value
- Update Channel Feed - POST
POST https://api.thingspeak.com/update.json
api_key= your api key
field1= value you want to post
- Get a Channel Feed
GET https://api.thingspeak.com/channels/your_channel_no/feeds.json?results=1
- Get a Channel Field Feed
GET https://api.thingspeak.com/channels/your_channel_no/fields/1.json?results=1
- Get Status Updates
GET https://api.thingspeak.com/channels/your_channel_no/status.json
Update channel feed- GET request can be used to write data to field1 by typing the URL in any browser with internet connectivity. This act as our remote control i.e. any internet enabled device.
Now to control the things we need to read the field1 data by using our arduino and use it as a command for predefined tasks. E.g i used “H” for making board led high and “L” for making it low.
To read the value of field1 we will send “ Get a channel Field Feed- GET request using arduino and ESP8266.
I assume here that you worked before with esp8266. When we send GET request, web api send some data in return in string format which can be read using uart of esp8266. Just look for +IPD at serial as it is transmitted if there is something available to read.
In returned string you will get the field 1 data. Check out the string below:-
{"channel":{"id":85291,"name":"IoT testing","description":"Home Automation cum controller","field1":"test led","field2":"fan","field3":"tv","field4":"light","created_at":"2016-02-07T13:01:17Z","updated_at":"2016-02-23T14:34:38Z","last_entry_id":695},"feeds":[{"created_at":"2016-02-23T14:34:38Z","entry_id":695,"field1":"L"}]}
bold part is the main data we need to use. To get it right i used a trick here. as we don't need the whole string i looked for " feeds " word as starting point as it is unique in whole string comes only once. and stored the remaing string in a character array. L is the 66th character after Feeds. so array storing this value should be array[65].
use this value to trigger any function you want.
Note:- change the array[65] to array[i-13] for better reception and resolving issues related to identify the field value.
//change esp8266 baud rate to 57600 or lower before use as hardware baud rate is 115200. software serial should be lower than hardware.
Attachments


Participated in the
Digital Life 101 Challenge

Participated in the
Raspberry Pi Contest 2016


