

Introduction: Arduino Processing - Serial Communication and Processing


In this tutorial we will learn how to connect Arduino to Processing.
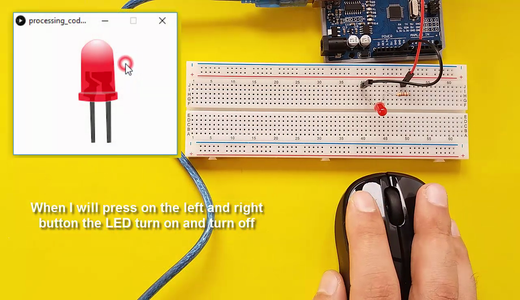
We will to communication using the Serial Port. We will use the Processing Development Environment to control the Arduino. This is the first the Processing tutorial. When we will press on the left and right button the LED turn on and turn off.
Step 1: Required Hardware

Arduino Board - https://goo.gl/Rqc5w2
LED (light emitting diode) - https://goo.gl/CPAXXf
Resistor 220ohm - https://goo.gl/CPAXXf
Jumper Wire - https://goo.gl/CPAXXf
Breadboard - https://goo.gl/CPAXXf
Recomended Site - https://goo.gl/HDkZBt
Step 2:


We will use Processing Development to control the Arduino Board. Processing is open-source programing language.
Download the Processing - https://processing.org/download/
Step 3: Connection
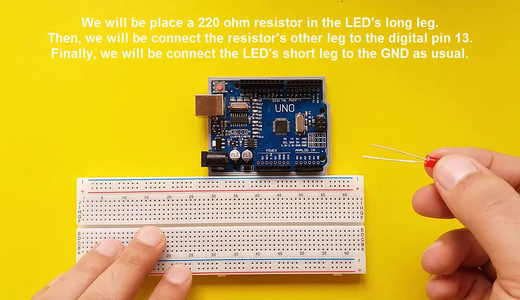

- We will be attach the LED onto the breadboard.
- We will be connect the resistor's one leg to the LED's long leg.
- We will be connect the resistor's other leg to the digital pin 13.
- And last, we will be connect the LED's short leg to the GND
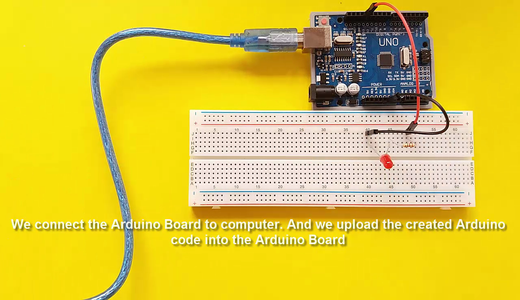
Step 4: Source Code
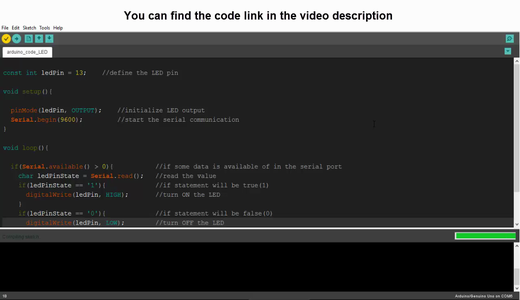
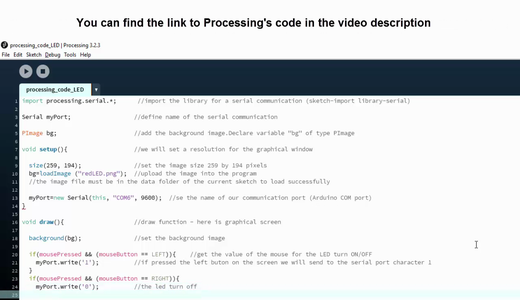
You can find the Arduino and Processing source code in below link:
Get the Source Code - https://goo.gl/u7JCmZ
Step 5: You Can Subscribe to My YouTube Channel

You can subscribe to the my YouTube channel for more tutorials and projects. Subscribe for support. Thank you.
Go to my YouTube Channel - https://goo.gl/f0RHmR


