

Introduction: Arduino Sun Sensing Servo


This instructable describes my process for creating a wireless Sun Sensing Servomotor. This project is designed for people who may spend time in a cubicle, or otherwise be blocked from the sun for extended periods of time. Using two custom made Arduino shields, this servo flips to either display the shining sun, or a sleepy moon! To recreate this project you will need:
- 2x Arduino Uno
- 2x perforated circuit board (4cm x 6cm)
- 2x NRF24L01 radio transceiver module (backpack module optional but recommended)
- Resistor - 10kOhm
- Photoresistor
- Servo Motor (I used a Futaba S3003)
- Assorted jumper wires
- Soldering Experience
Let's get started!
Step 1: Wiring the Shields!
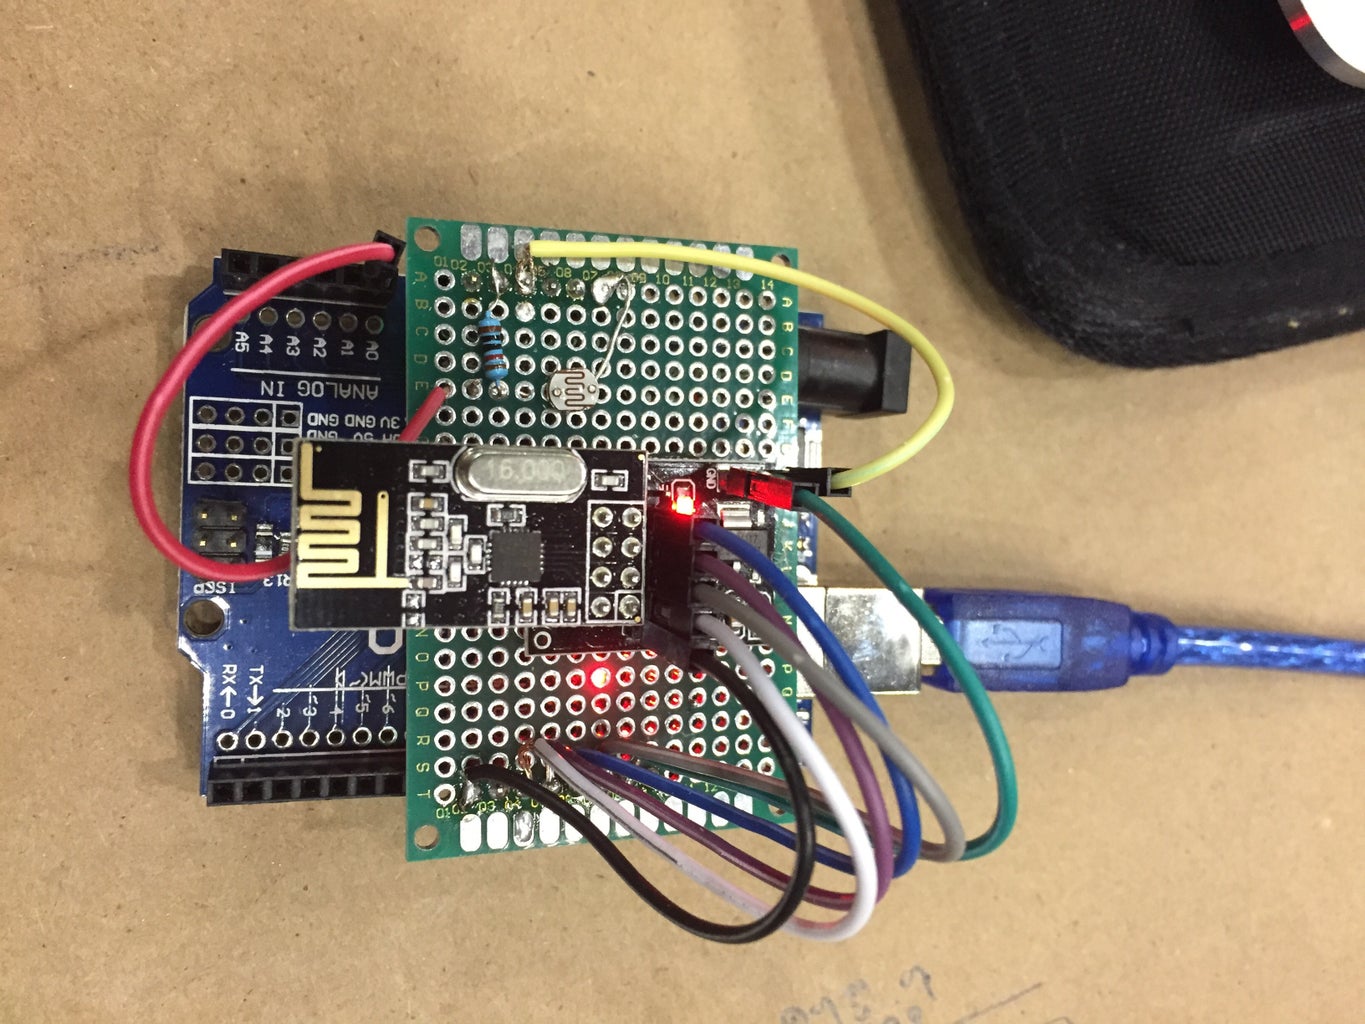


Attached are the circuit diagrams for both the Sensor and the Receiver. The first photo is of the sensor. all of this can be wired using a breadboard, but for ease of use it's difficult to beat making a custom shield for plug and play on an Arduino Uno. I used headers soldered to the perfboard to attach the shields to the Arduino, and soldered the rest of the connections in place. After attaching all the leads coming from the NRF24L01 backpacks, I used hot glue to affix the modules into place and form a cohesive unit. For a more detailed explanation of the circuit, please see my other instructable on a light-sensitive LED lamp. That circuit is very similar, but this one is streamlined for ease of use.
Step 2: Coding!
Attached are copies of the code I used for the Sensor and Receiver modules. Things to note: instead of using the default Servo library, I was forced to use a downloaded library (ServoTimer2) to avoid conflict when using the NRF24L01 modules. This library, written by user nabontra, can be found on GitHub.

Step 3: Attach Sun Arm, and Use!

Feel free to attach your own design for a Sun Arm, I made a simple wooden model but I also attached a render of a 3D printed arm. Have fun sensing the sun!


