

Introduction: Arduino Synth Box
This is a synthesizer based off the OctoSynth tutorial.
Materials Needed:
Arduino Uno
USB Cable to connect Arduino to computer
Soldering Gun
Solder
Large thin copper sheet
Small speaker
2 small four-sided baskets
Foam to cut
Static resistance plastic
Wire
9 volt battery
Battery connecter
Toggle switch
Electrical Tape
Headers
Cardboard
Hot glue gun (optional)
This code
Step 1: Testing the Code

Plug in test wires to the Arduino Uno, A0, A1, A2, A3, A4, A5, -6, 7
Plug in the black wire of the speaker into GND, and the red wire into 11
Connect the Arduino Uno to a computer using the USB cord
Open up the Arduino software (it can be downloaded for free at Arduino.com)
Paste in the OctoSynth code
Run the software and test to see if all the wires make noise
*Don't touch any of the touch points until after it runs through its musical sequence, which is very short*
Step 2: Setting Up the Wires


Remove the touch point wires and place headers into the slots where the wires were
Place the board over the headers to line them up
Remove the headers and the board
Solder touch point wires to the short side of the headers
Repeat the process for the speaker wire
Step 3: Build the Box
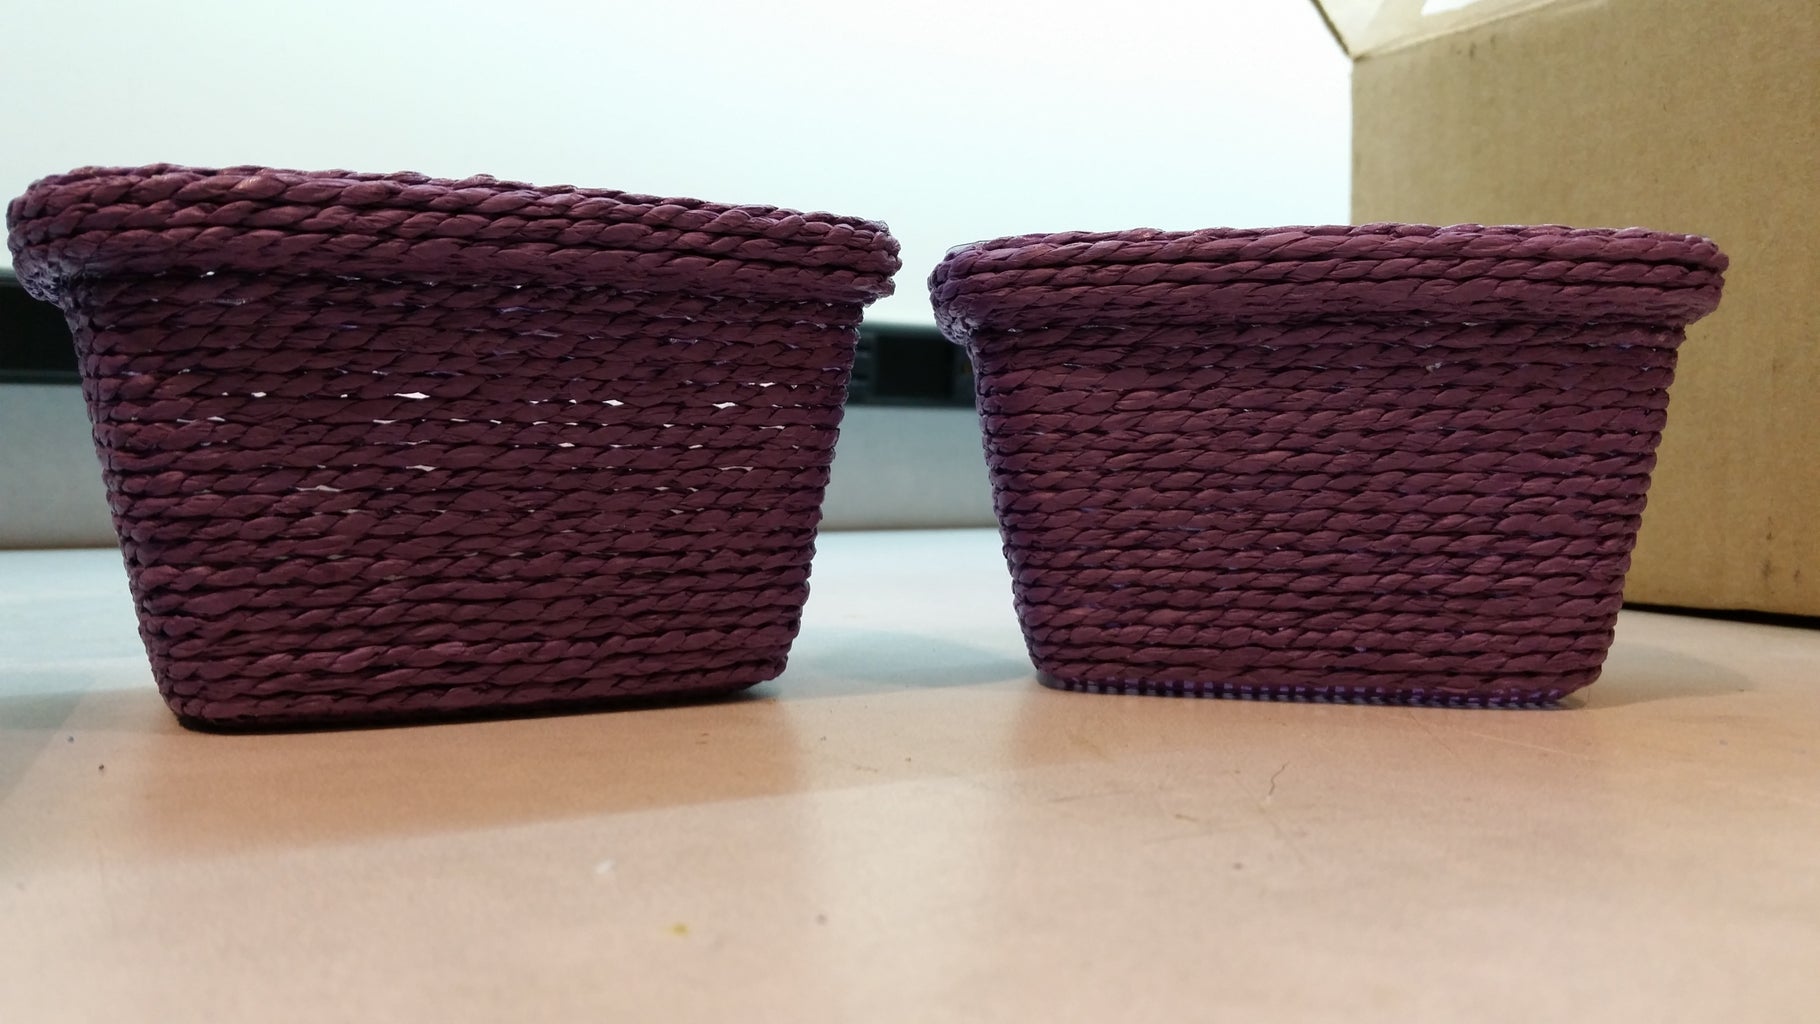


Find two containers with four sides. I chose a basket
Cut out the foam for the Aruino to sit on.
Cut a hole out for the battery
Cover the foam and battery with a static shield. I cut up the packing the Arduino came in. I'm not entirely sure this is necessary, but it shouldn't hurt.
Step 4: Connect the Battery and Switch


I lengthened my battery connecter wires. I cut the wires, added the new connecter, soldered them back together, and heat shrunk them to protect them.
Cut the red line on the battery connecter wire
Solder the switch to the lines
Step 5: Inner Assembly


Cut out cardboard for support for speaker and button
Place speaker and button in cardboard support and into the basket
Resolder speaker and button if needed.
Place everything in their spots
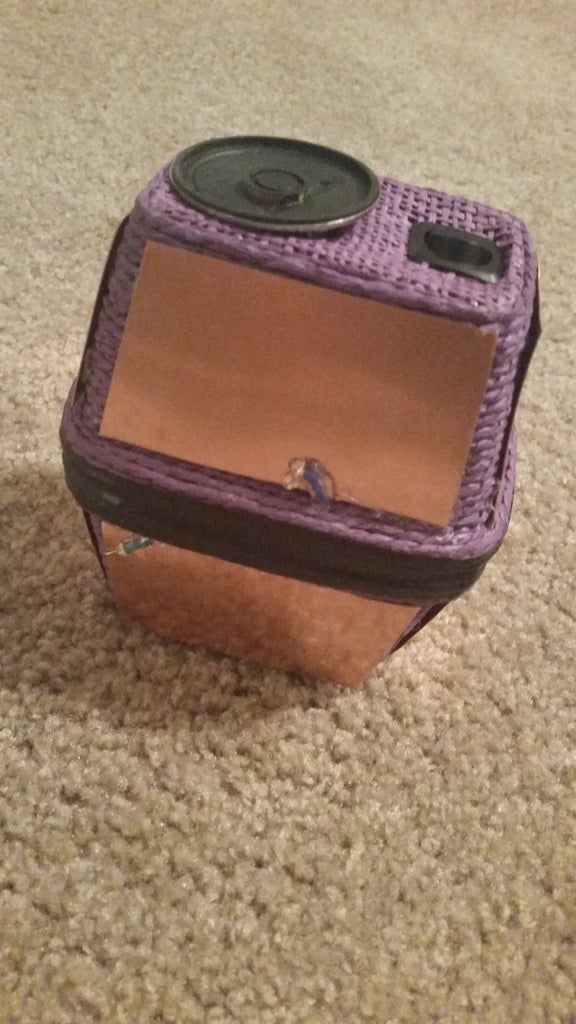
Step 6: Exterior Assembly


Cut up copper into pieces that fit your basket's sides
Glue copper pieces onto basket
Glue or solder touch point ends to copper
Be sure to test along the way to make sure all the points continue to work


