

Introduction: Arduino Text to Speech Converter Using LM386 | Talking Arduino Project | Talkie Arduino Library


Hi guys, in many of project we require arduino to speak something like talking clock or telling some data so
in this instructables we will convert text into speech using Arduino.
Step 1: Things You Need


For this instructables you will need following things :
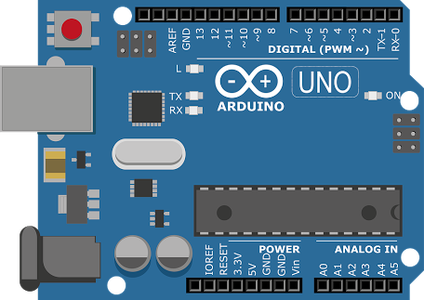
Arduino board
A speaker
LM386
2x 10k resistor
1x 0.1uF capacitor
2x 10uF capacitor
1x 0.05uF capacitor
1x 220uF capacitor
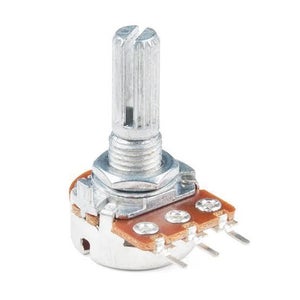
1x 100k Potentiometer
Power Supply
Step 2: Installing Talkie Library in Your Arduino IDE

Now the Library Manager will be on your screen. In the search bar type Talkie and click on the install button. The library will get installed.
Step 3: Connections


The first image is how make a amplifier using LM386.
So the basic idea is audio will come out of Arduino and we need to amplify it so to do that we need a amplifier circuit thats why we are using LM386 and its amplifier circuit as you can see in the image.
Then after that instead of mic in LM386 amplifier circuit we will connect it to Arduino as shown in other circuit
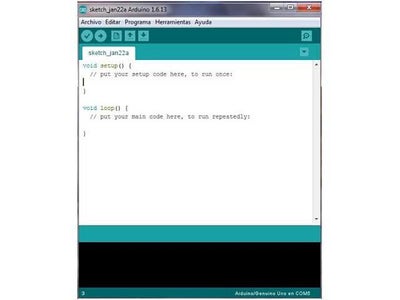
Step 4: Code
This Talkie library is very handy and it has over 1000 words and commands. It has several examples, you can try them all but here we are using a simple code to explain the working.
Copy the following code :
#include "Talkie.h" //Talkie.h is used to initialize this library and set the Digital pin 3 of Arduino as output pin
#include "Vocab_US_Large.h" //Vocab_US_Large.h is used to use the alerts
#include "Vocab_Special.h" //Vocab_Special.h is used to use the pause
Talkie voice; //define an object ‘value’ to use the commands
void setup() {
}
void loop() {
voice.say(spPAUSE2);
voice.say(sp2_DANGER);
voice.say(sp2_DANGER);
voice.say(sp3_STORM);
voice.say(sp3_IN);
voice.say(sp3_THE);
voice.say(sp3_NORTH);
/*The first command voice.say(spPAUSE2) is to take a short pause while repeating the alert message. And the next commands are just simple words that imply: DANGER DANGER STORM IN THE NORTH.*/
}
After all this Upload the code to arduino
Step 5: Audio Output

Finally upload the code in the Arduino and connect the power supply to it. As soon as you power up the circuit you will start hearing the alerts! If you don’t get a clear sound then try adjusting the knob of pot or check if the Arduino is getting proper power supply and make sure that the GND of Arduino is connected to ground of the circuit.


