

Introduction: Arduino Time-Lapse Photography


In this project, we will use a simple Webcam to take photos at fixed period and send the picture file through wifi to a server, which is similar to time lapse photography. Both of the called libraries, UVC & WIFi, are built into the Ameba Arduino board. We use another Linux laptop as the picture receiving server and use netchat to receive the images.
Step 1: Equipments

The needed devices are:
- Ameba Arduino board - The main reason to use this Arduino compatible board for this project because of its built-in wireless so we don't need an extra wifi shield. You can search for "Ameba Arduino" in eBay about it. it cost about $25.00
- Logitech C170 Webcam - A simple UVC which you can get it at eBay, Amazon online store, or your local electronic store should have carrying it. it cost about $15.00
- Micro USB OTG adapter - Ameba USB host interface is micro USB while the UVC we use have USB type A connector, we therefore need this adapter to connect the webcam to Ameba. It cost about $2.50.
Step 2: Connections
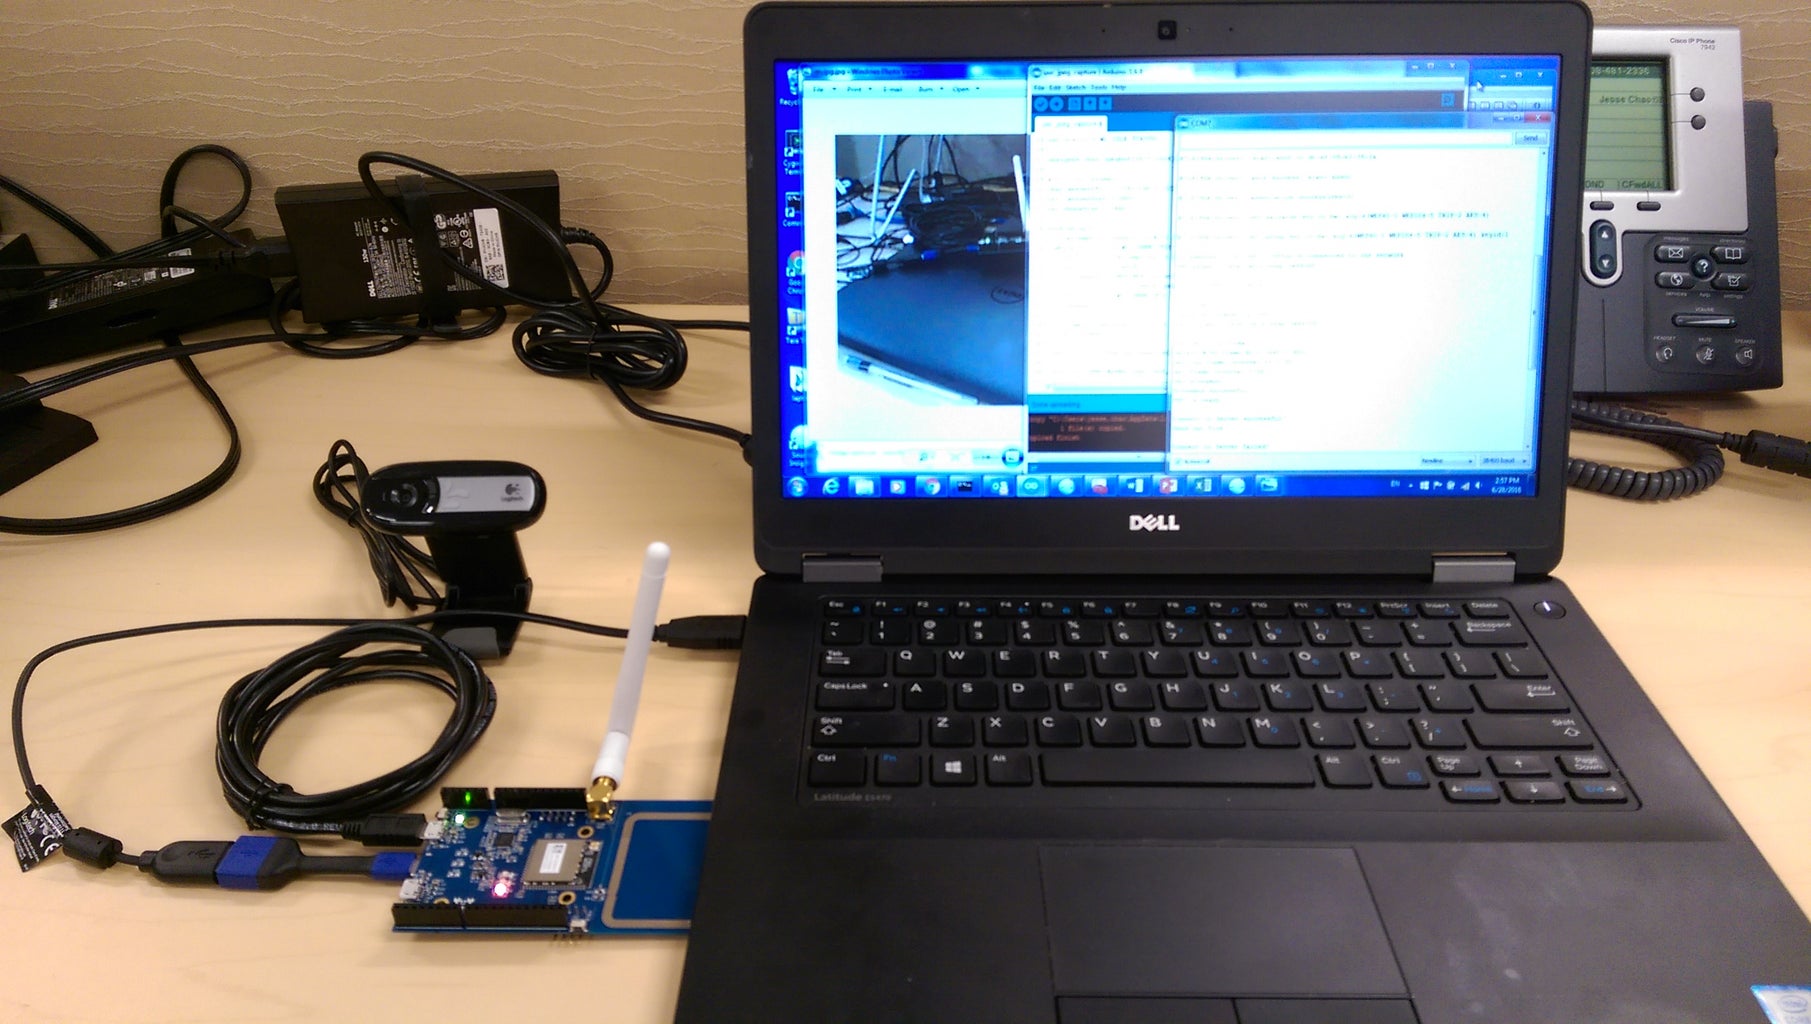

There is no extra wiring except simple USB connections.
There are 3 micro USB host on Ameba, the one at the back supports OTG UVC, by which the USB camera can transmit video data to Ameba, and Ameba sends it to the network through wifi. Connect Micro USB OTG to Ameba, then connect the Webcam type A connector to the adapter.
Step 3: Code Reference


The time_lapse.ino sketch is attached for your reference. In this sketch, you need to change three lines of code to suit your environment: ssid[], pass[], and serverIP[]. You need to put your AP's SSID in ssid[] and the password in pass[]. serverIP[] is where you put the receiving server's IP address.
When you start to run Arduino to capture pictures, you also need to run a simple script at your Linux receiving server. The Bash script is shown in the attached picture. The script will keep on listening to socket and receive files from Aruino wifi (make sure this server is associated with the same AP as Ameba board does). The captures photos are numbered as 0001.jpg, 0002.jpg, etc. this script will stop at 9999.jpg. We set the capture interval, CAPTURE_INTERVAL, in the sketch to be four seconds. 9999 files will takes about 11 hours. If you want to capture photos in shorter time, you can either change the number 9999 to the number you desired or simple press 'Ctrl-C' in the server to stop it. Once you get enough needed files, we can proceed to make the time-lapse video.
Attachments

Step 4: Making Video

There are many ways to make time-lapse video from captured photos. We'll introduce two simple ways to do it, one for Linux system, one for Windows system.
- Linux - Now that all pictures are stored in the Linux machine, it's natural to convert those files into video locally. Please go to Web: https://ffmpeg.org/ to download ffmpeg source code then compile in your Linux laptop. Once you are finishing compilation & installation. Run the following command to convert files into video:
ffmpeg -framerate 30 -i %04d.jpg -vf fps=30 -pix_fmt yuv420p output.mp4
Argument description:
-framrate: By specifying this argument, you tell ffmpeg to use the time handled by frame rate to be the timeline. Here we use 30, which means in 30 photos are displayed per second.
-i: use this argument to specify input file name. We use “%04d.jpeg” to tell ffmpeg to read the files from 0000.jpeg, 0001.jpeg, 0002.jpeg, …
fps: the framerate of output video, we use 30 frames per second here.
-pix_fmt: Available pixel formats. yuv420p is the most common. The other options are: yuv444, yuv422, yuv411, etc.
- Windows/Mac - You can also use QuickTime Pro to convert those photos into video after you move those files into Windows or macbook. Run QuickTime Pro, click on File-->Open Image Sequence..., then select the first file, 0001.jog in this example, clik 'Open', QuickTime Pro will do the rest for you. The only disadvantage of using QuickTime is the video format is .MOV which has much bigger file size then .MP4.
Step 5: Final Result
The created video is as shown. This video length is around 1 minutes which took about 2 hours of photo shooting (4 seconds interval). You can always try to change the capture interval to a smaller value such as 3 or even 2 seconds, the resulting video resolution maybe better but with much larger file range.


