

Introduction: Arduino Timer


Hello everybody, This instructable is all about how to build a stopwatch/ Timer using Arduino.
Features of this Timer: (Check for more in depth details how to use these features in "Code/Sketch" section
1. You can set a target time for an event and also can set up an alarm/reminder.
2. You can check time taken for a particular event.
Caution: This set up has no facility for counting laps. Any event can be pursued only for one lap.
One pitfall of this Timer is ---- Minimun Target time cannot be set less than 3minutes. Interested people can change the code and use as per they wish.
Attachments

Step 1: Required Materials


Arduino UNO (INR 1500/-)
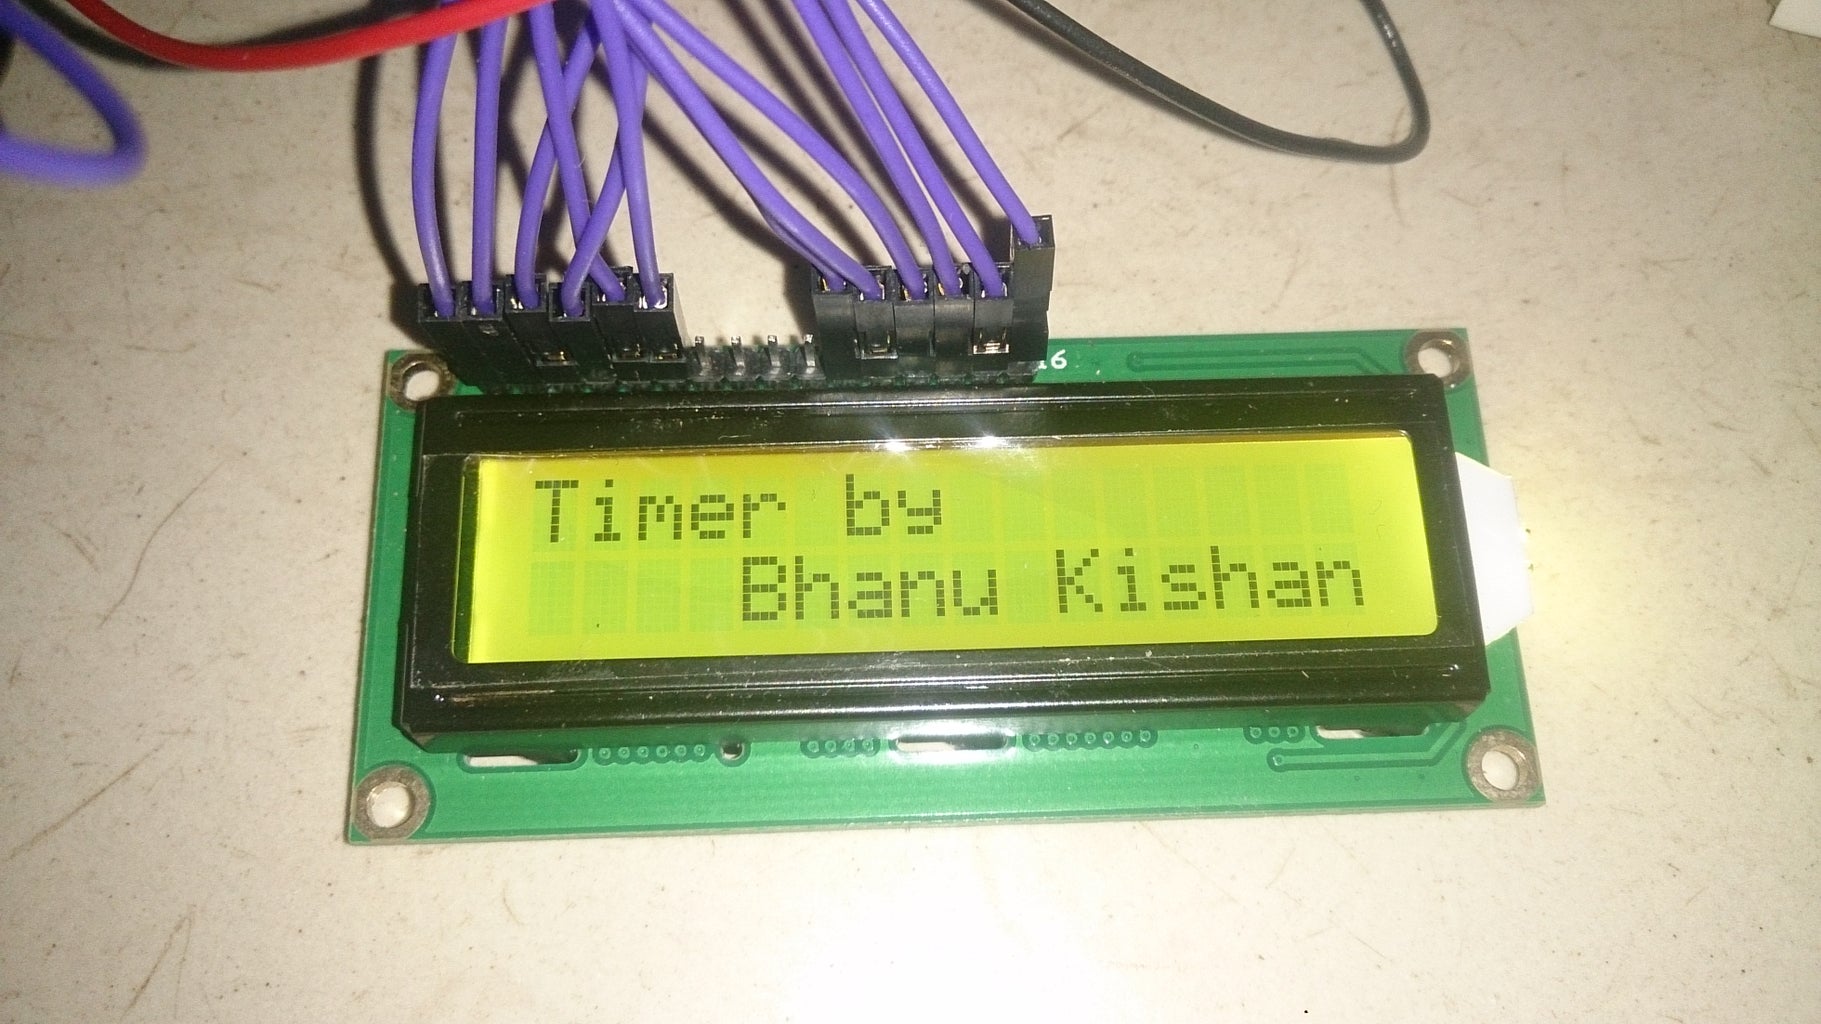
LCD display(INR 225/-)
A switch
10Kohm Pot
2 1K ohm Resistors
1 pushbutton
few male to male jumper wires
few female to male jumper wires
Arduino Libraries:
StopWatch (provided in the "Code/Sketch" section)
Liquid Crystal(in-built in Arduino)
Step 2: Circuit

There is nothing much new in the circuitary. Everything that you need to work on to build a timer is in the code. People who might have already worked on using LCD, can finish up the connections pretty easily. LCD Connections to the arduino board are the same and additionally use the switch and push buttons to connect to the digital pins.
Anyways for beginners, i had attached the circuitary for reference. Feel free to contact if there are any queries.
Step 3: Code/Sketch
For the code, I used two libraries. One is the built in "LiquidCrystal" library and second is the "StopWatch" library. Stop Watch library files (.h and .cpp) are available in the Arduino blog page. I had attached the files for easy access.
In fact, this stop watch library made my work easy as i was intending to built a timer displaying the running time. If you wanted to built in a similar way, you need to use this library.
Copy the program in "Timer.dat" into your Arduino IDE file (.ino)
--------------------------------------------------------------------------------------------------------------------------------------------------
How to use the Timer:
This program works in two ways:
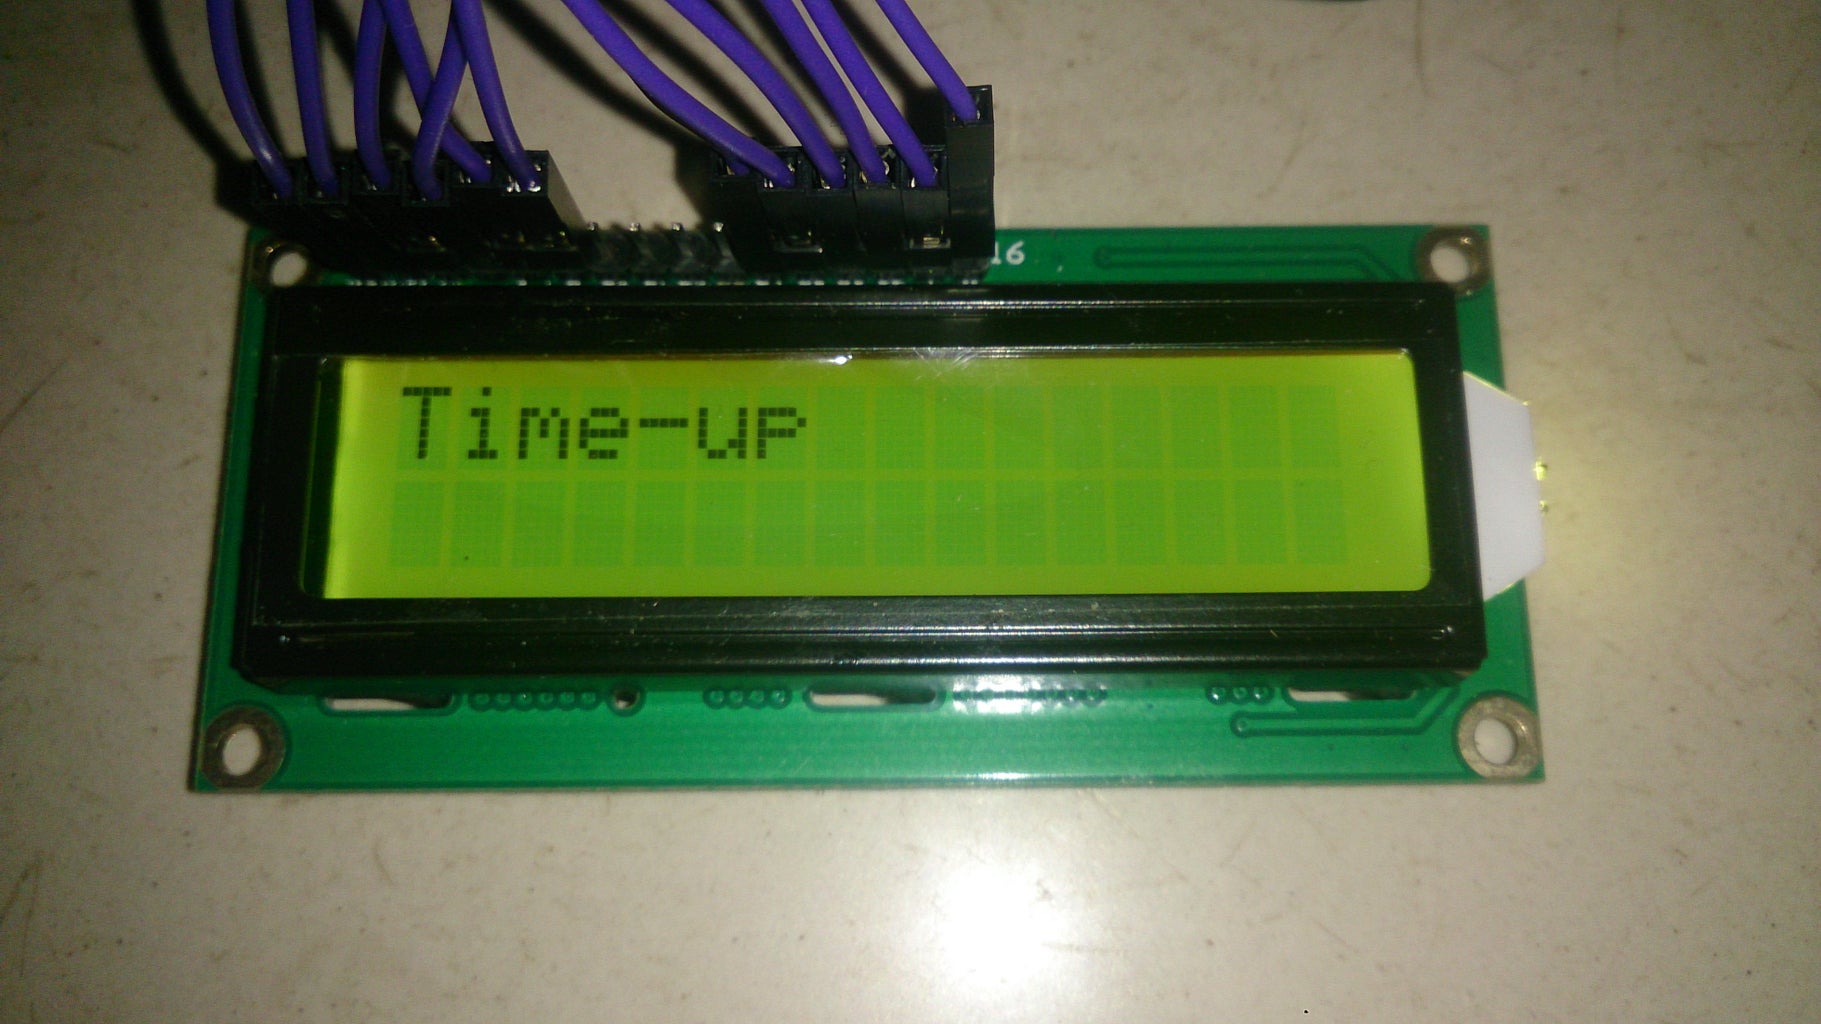
1. Set a target time for any event you are working:
For this you need to call the "reverse" routine in the loop fuction and you have been provided a facility to set a time for the event you are planning. check the "limit" input in the code.
2. Check how much time does an event takes:
For this you need to call the "start" routine in the loop function. No other inputs are required for this routine. Just press the switch and you are there.
You can also add a 8ohm speaker to this set up. Assign a digital output and use an if statement to work out.

Step 4: Conclusion
This program can be improvised by adding lap count facility. If in case anyone, who is also a beginner like me, out there need any help in understanding the library or code, feel free to contact.
Thanks for Reading.


