

Introduction: Obstacle Avoiding Robot


This instructable is the written version of my "Arduino: How To Build An Obstacle Avoiding Robot" Youtube video that I've uploaded recently. I strongly recommend you to check it out.
So, without further ado, Let's get started !
Step 1: A Chassis !

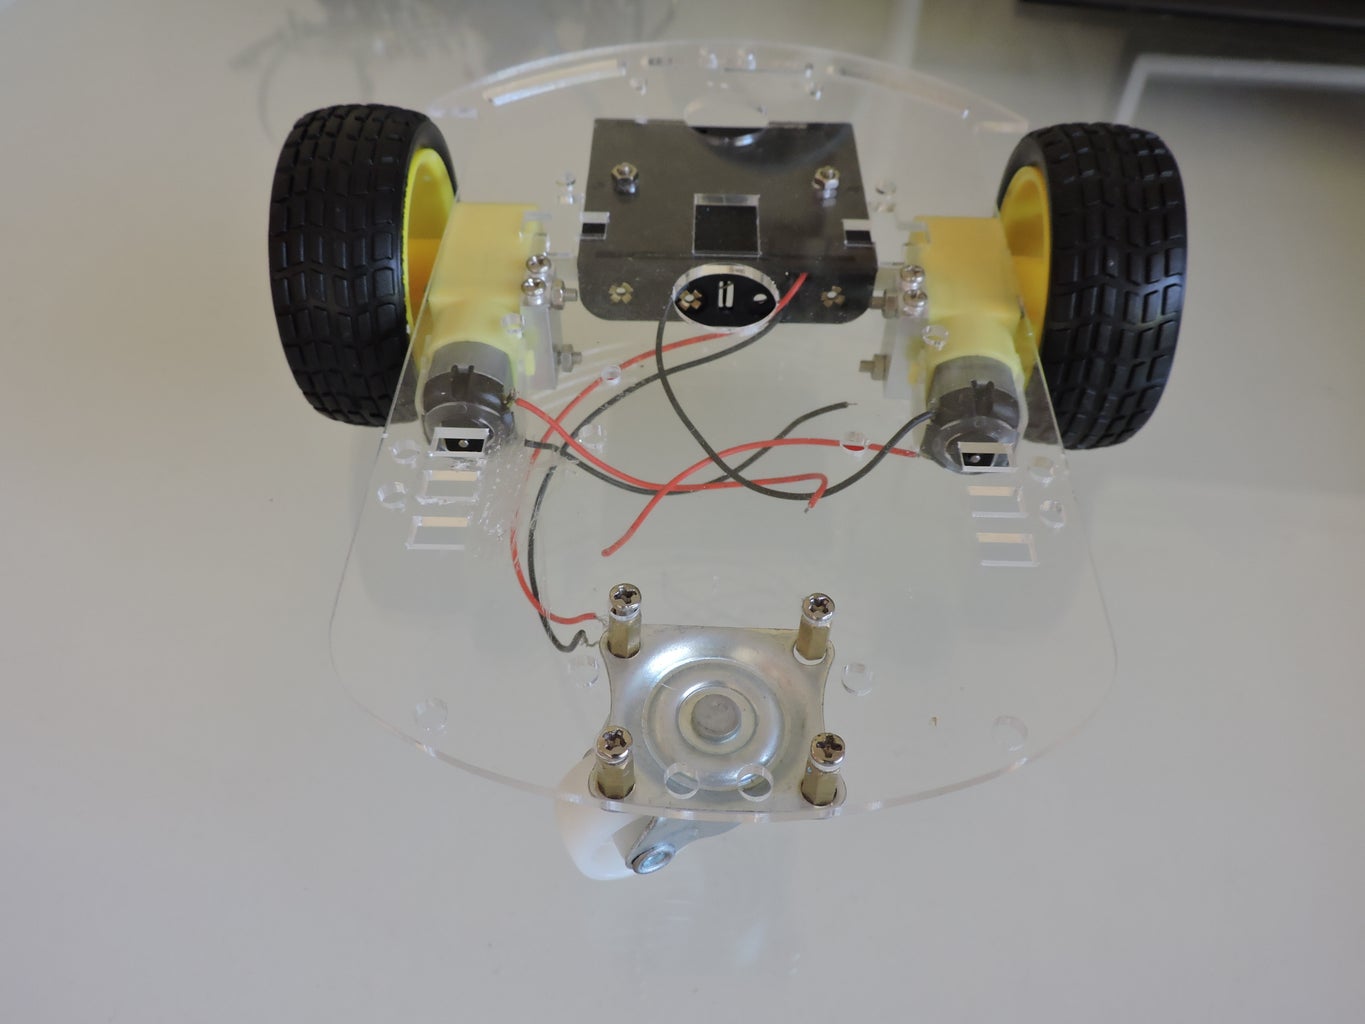
the first step and the base of any robot is a chassis. i got mine from ebay, and i'll leave links for that. if you prefer, you can also make your own using cardboard and DC/Servo motors. Either way, the chassis has to include a body, two motors and sometimes even a battery holder and a switch.
Step 2: Brain

Now we need something that will orchestrate our motors, a micro-controller.
from the title of this instructable you probably have already understood that we are going to use Arduino.
Why?
well, the answer is simple. Arduino (or, specifically, Arduino Uno) is a compact, comfortable and relatively cheap micro-controller. In addition, it is very common and you can get it literally everywhere online.
Step 3: Attaching the Arduino to the Chassis
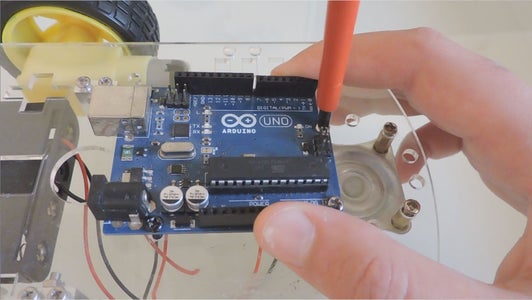
Now simply use some screws to attach the Arduino to the chassis. If you've made your own chassis/ can't find any screws, you can use a small amount of double-sided tape. If you do choose to use double-sided tape then search for an area under the arduino that doesn't have many pins/solder above it.
Step 4: A Sensor

In Order to make a robot that can maneuver by its own we need some sort of an input, so it can "know" or "judge" what to do. a very comfortable sensor that fits our goal (avoiding obstacles) is the Hc-sr04 ultrasonic sensor.
Scientific Explanation Of the sensor's action:
What the sensor does it is calculating the distance from an object by sending bursts of ultrasound towards it and measuring the time it takes to the sound waves to get back (Distance = Velocity * Time). we can use this information in order to determine whether there's a close "obstacle" near the robot and then- avoid it !
So now you know how an ultrasonic sensor work, Scientifically. Now, Let's use it !
Step 5: Attaching the Sensor to the Chassis
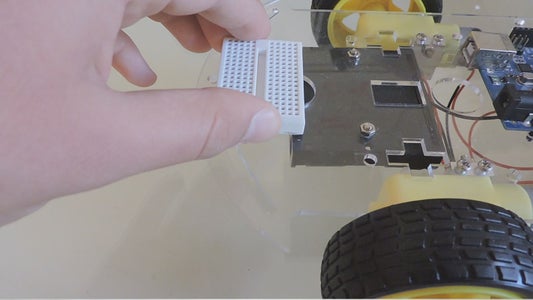

all we have to do next is to actually attach the sensor to the body. To make life easier, i recommend sticking a mini bread-board as well for easier wiring, although you don't have to.
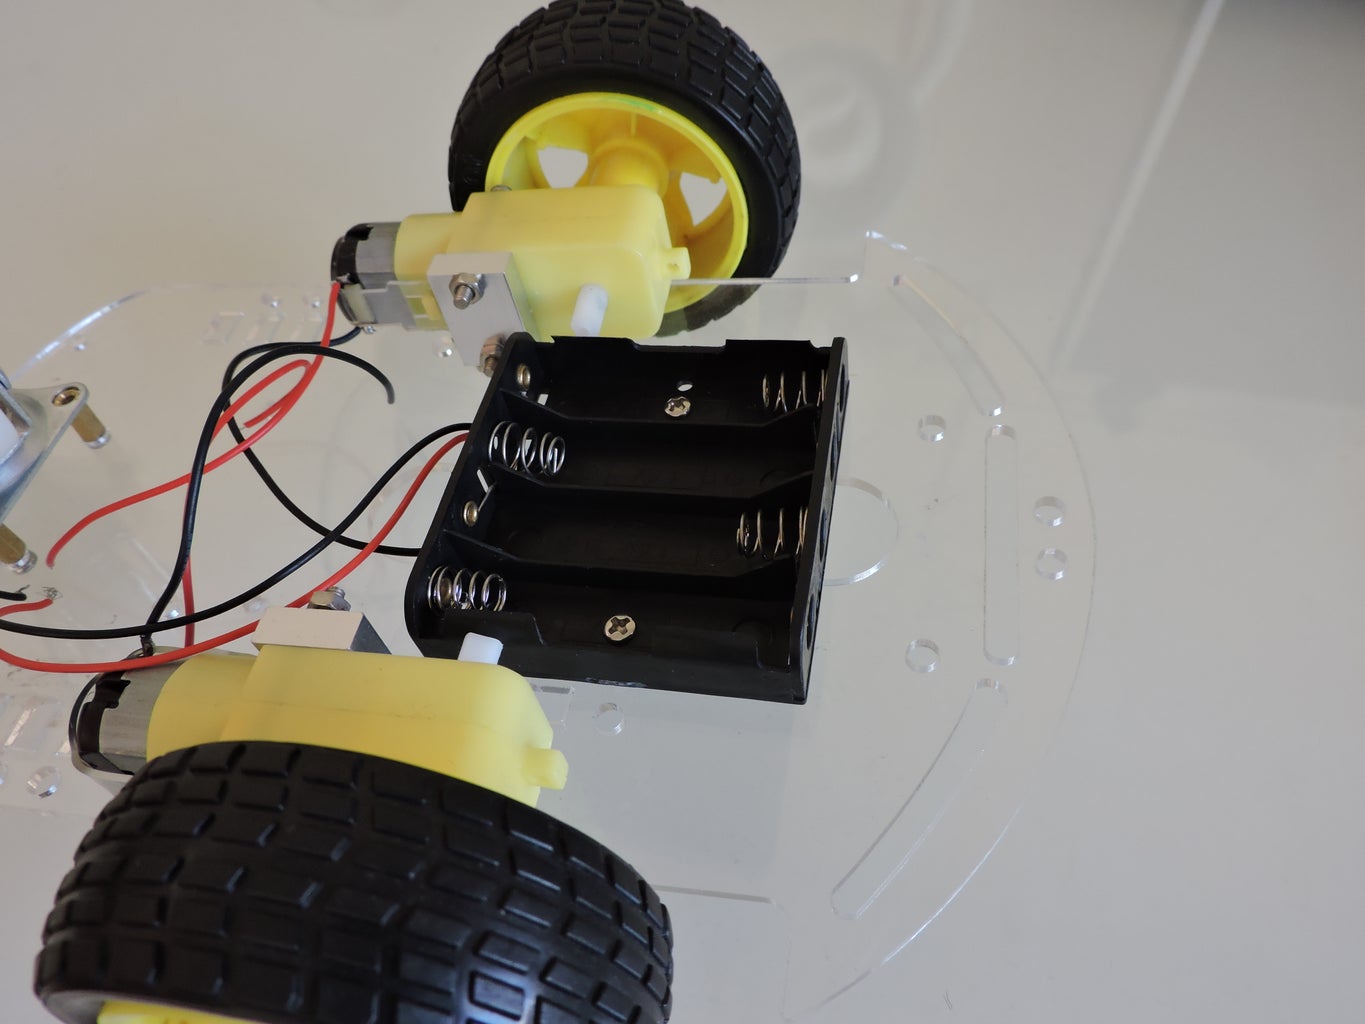
Step 6: A Milestone

If it seems like the robot is staring at you, then you are on the correct way.
Step 7: Connecting the Sensor to the Brain
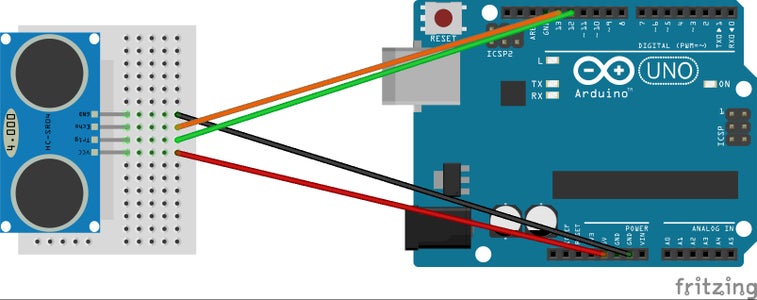

Now gather some wires, and connect the sensor to the arduino according to this diagram i made.
Pay attention that your ping sensor may have a different pin layout (e.g. 5 pins), but it should have a voltage pin, ground pin, trig pin and an echo pin.
Step 8: Connecting and Controlling the Motors With the Arduino


arduino boards can't control dc motors by their own, because the currents they are generating are too low. Moreover, the currents they are generating cannot be reversed, so you can't change the direction of the motor. To solve that we will use a motor driver, which helps the arduino control dc motors. The most comfortable way of using motor drivers is through shields. Motor shields are very cheap and i will leave links for where you can buy one online.
Step 9: Attaching the Motor Shield to the Ardunio

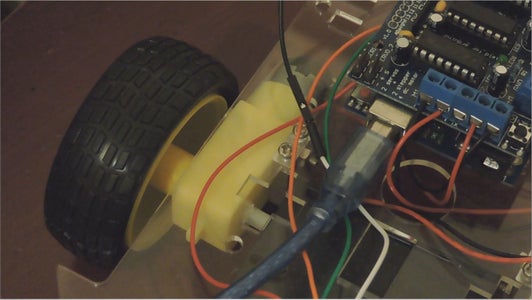
Take your motor shield and simply plug it into the arduino with the sensor's wires crunching inside.
Step 10: Connecting the Motors to the Shield


Every Motor Shield has (at least) two channels, one for the motors, and one for a power source. Locate the channels and plug your chassis' motors to the motors' channel, and whatever power source you are using ( e.g. AA batteries, Lithium Battery) to the power source's channel.
Step 11: Programming the Robot


After You've made your motor shield connections, From a hardware side, believe it or not, Your robot is Done. All you have to do next is to plug your arduino to your computer.
Now open this link and download the sketch i wrote: http://www.mediafire.com/download/dql27gnuljjpurr/...
Then, open it. Choose whatever board you're using and the com port of your arduino (my happens to be three). Finally, upload the sketch, and after a few seconds you should see a message stating that the upload is complete.
Note: If the code doesn't work, you may need to download the motor shield library from: https://learn.adafruit.com/adafruit-motor-shield/l...
you might need to download other libraries, depends on what motor shield you are using.
Step 12: Playing With the Robot and Code

After you've uploaded the code, unplug the arduino, connect your batteries and watch as the robot speeds forward and avoid obstacles. then, go over the code, examine it, play with it, improve it and modify it to fit your needs !
Step 13: About Me + What's Next ?
First of all, I would like to thank you for reading this guide ! I hope it helped you build your own robot and improved your knowledge about robotics and arduino.
I think now it's a good time to introduce myself. My name is Roy and I'm a 14.5 years old teenager who likes Math, Science, Computers, Robotics and programming. {Actually in case of Math, I don't really like It, But I'm pretty good at it ;)} . I've just started a youtube channel, hoping to help people, share some of my knowledge and learn myself.
https://www.youtube.com/RoyPeer1
My next Youtube (and Instructables) tutorials will deal with different methods of controlling electronics (Smartphone-Bluetooth control, TV remote control and much more) and specifically robots. There will also be videos about home automation (controlling every day appliances with your smartphone or computer using arduino/raspberry pi). so make sure you are a subscriber so you won't miss them, and I will see you next time.
Bye !
Step 14: Materials Links
Chassis-
Ebay: http://www.ebay.com/sch/i.html?_from=R40&_trksid=...
Ebay uk: http://www.ebay.co.uk/sch/i.html?_from=R40&_trksi...
Amazon: http://www.amazon.com/s/ref=nb_sb_ss_i_0_13?url=s...
Ali express: http://www.aliexpress.com/wholesale?catId=0&initi...
Motor Shield-
ebay: http://www.ebay.com/sch/i.html?_odkw=robot+chassi...
ebay uk: http://www.ebay.co.uk/sch/i.html?_odkw=robot+chas...
Amazon: http://www.amazon.com/s/ref=nb_sb_ss_c_0_13?url=s...
Ali express: http://www.aliexpress.com/wholesale?catId=400103&...

Participated in the
Explore Science Contest


