

Introduction: Arduino Wireless Power POV Display


When I first met this little device, I liked it immediately. I decided to make my own POV. I watched lot of videos, and recognised some main problems. The power supplying of the micro-controller was the biggest. Spinning battery or sliding commutators were both refused. Only option was the air core coil for me. That solution seemed too difficult. I could manage to solve this problem successfully. I created an easy but relatively efficient circuit with a few electronic parts.
Step 1: Schematic Diagram


The schematic diagram
Step 2: Components You Need:


Component list: with links
1. Arduino pro mini ATMEGA328 5V 16 Mhz
4. 7 pcs 220 ohm resistors 0805 or 1206
5. TCRT5000 Reflective optical sensor
6. 2 pcs 4.7 nF capacitor 4.7 nF 1206
8. 1 pc 1...4.7 uF capacitor 1 uF 1206
9. 2 meters 24 AWG ( 0.51 mm) magnet wire
10. 1 pc 1.5 nF capacitor 1.5 nF 1206
11. 1 pc BCX 56 transistor ( I tried BC 639, BC 368, worked well) BCX56
12. 1 pc 4.7k resistor 4.7k 1206
13. The motor and some other parts are from and old CD player. Or new motor with disc holder
14. 5V power supply,( USB charger or power bank).
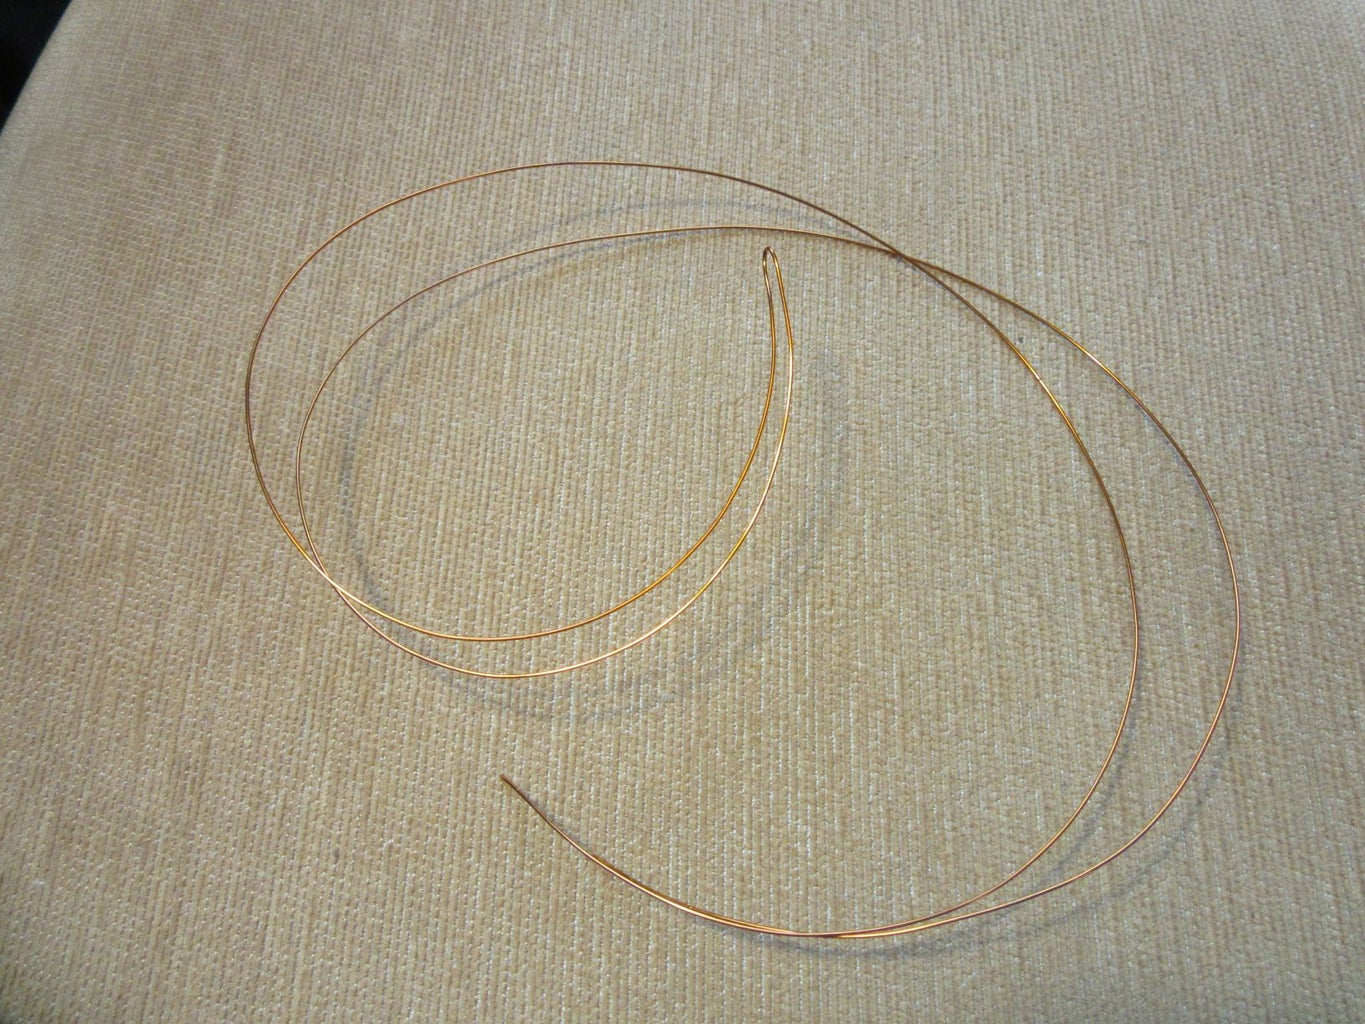
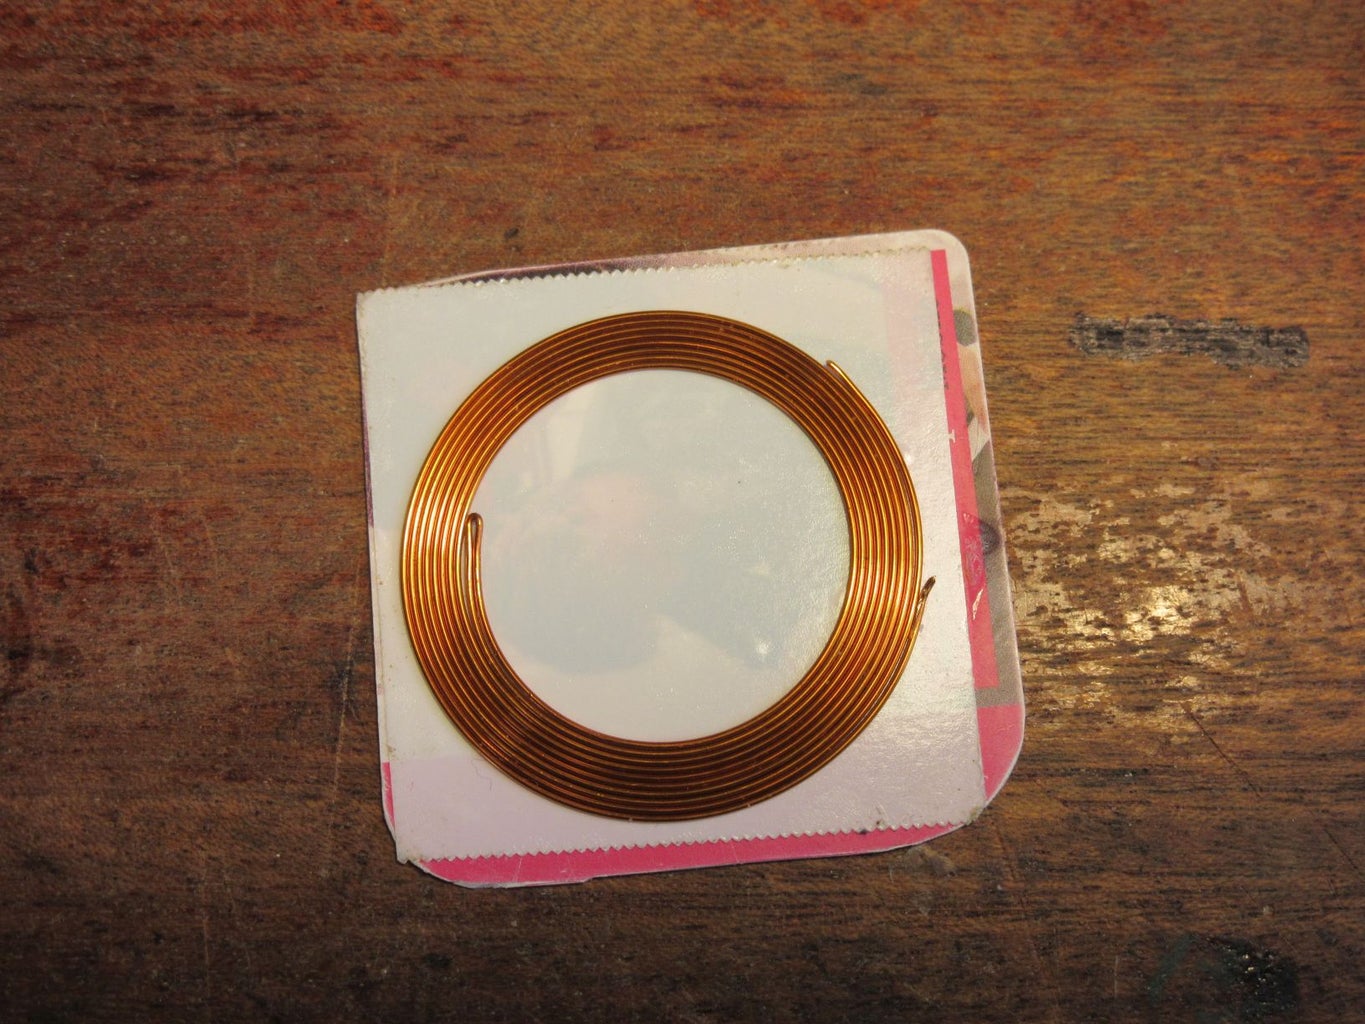
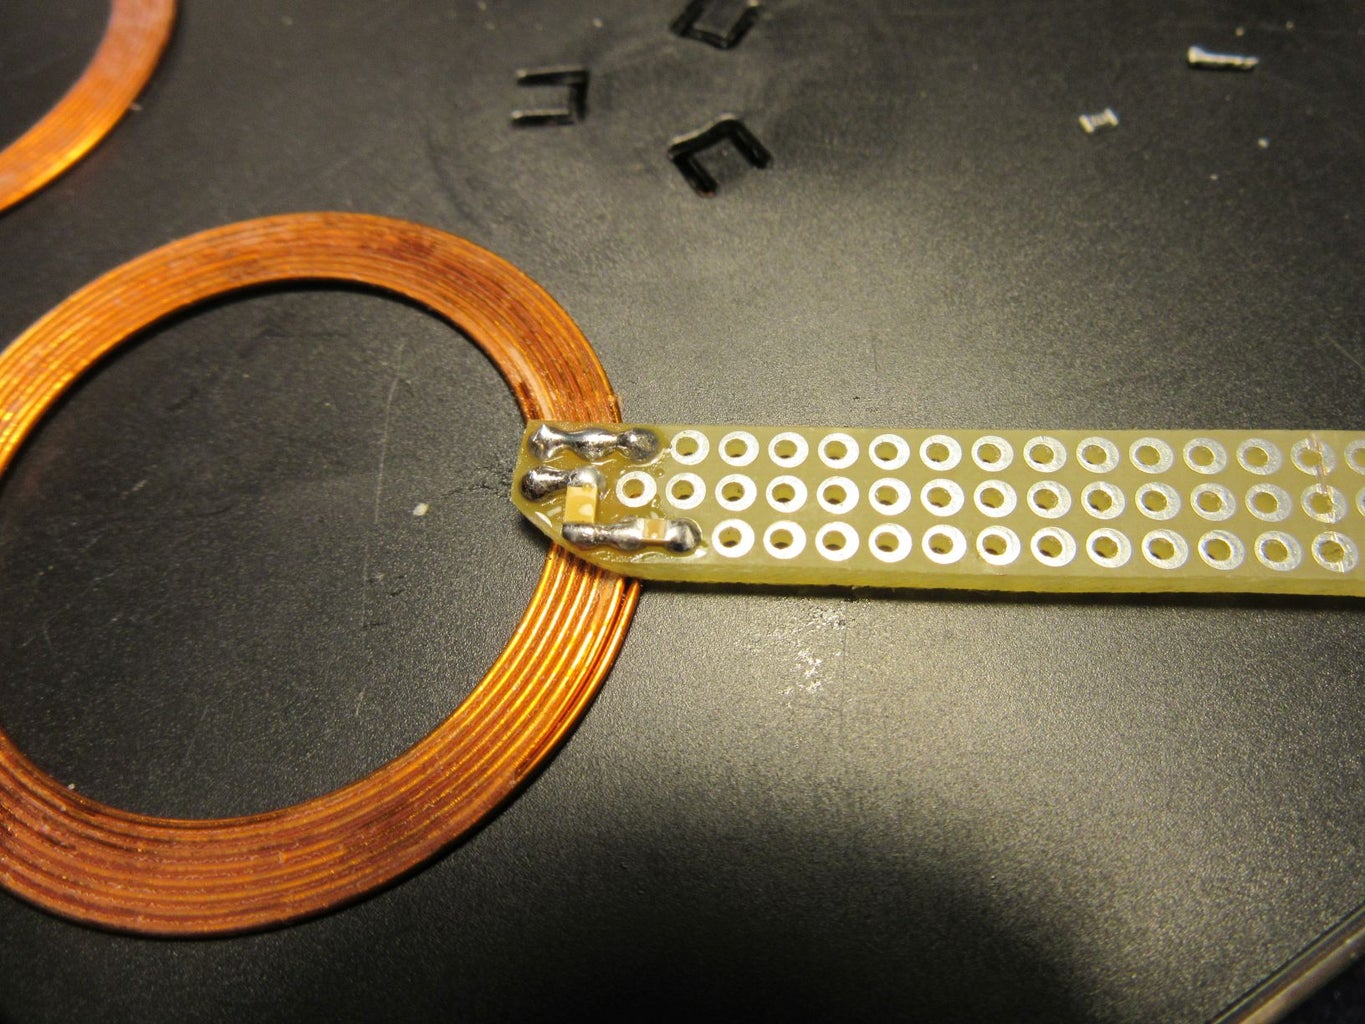
Step 3: The Heart of This Project : Coils.


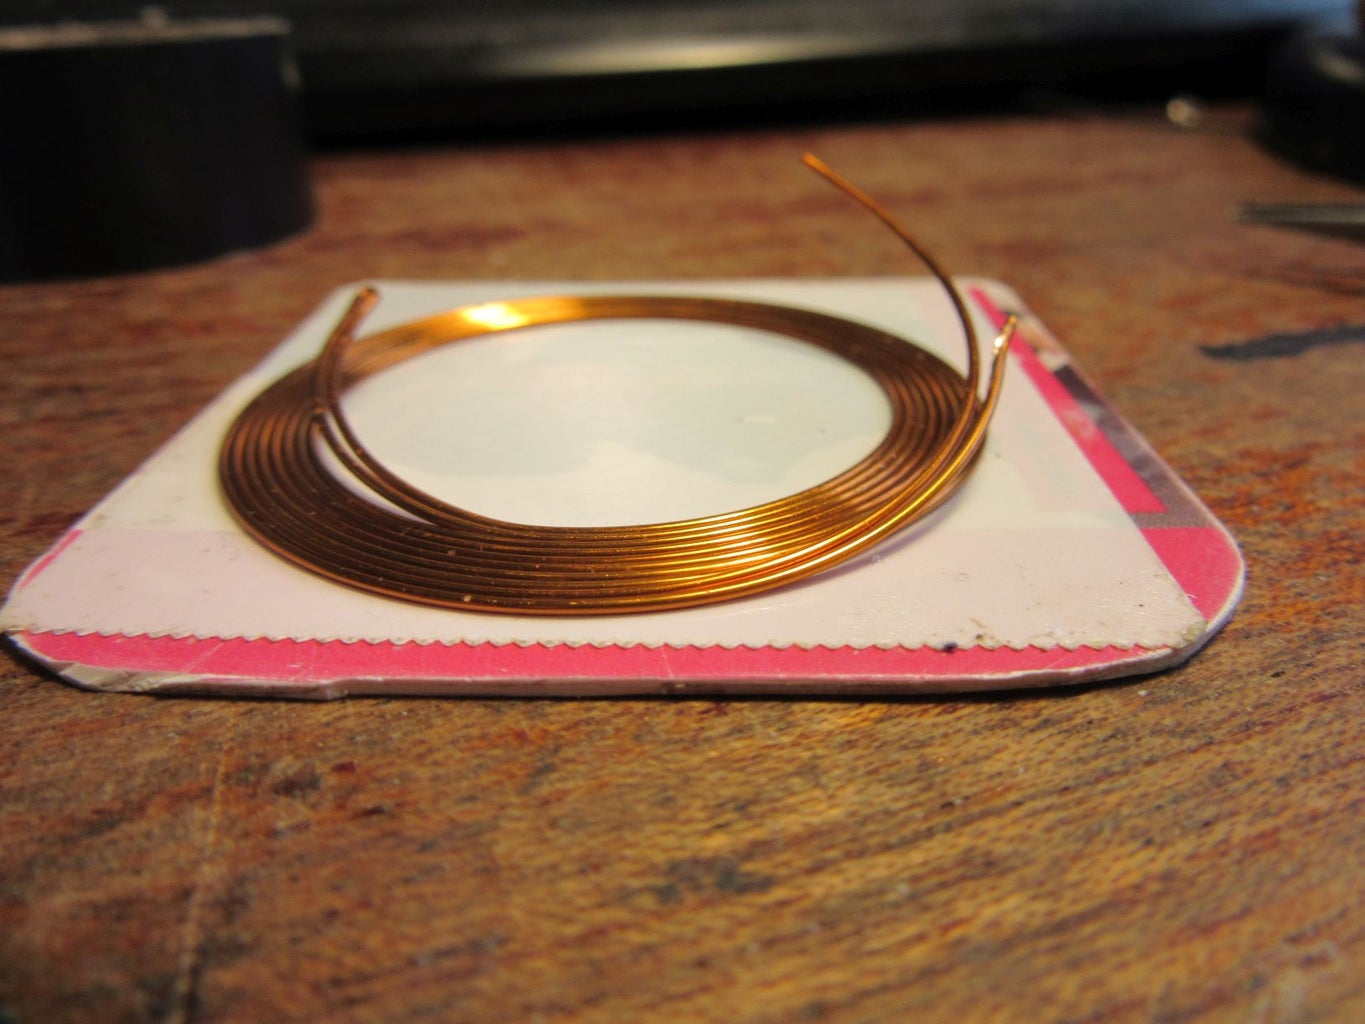
There is a simple coil in the receiver side and a bifilar coil in the transmitter side. The secret is that they have to have same size and same number of turns. In my coils this number is 8. The little trick in the bifilar coil is that coil consists two coils with 4 turns. It is not difficult to make. The preparation process same as in the single coil.
I used 24 AWG ( 0.51 mm) magnet wire for winding coil. 8 turns , 35 mm diameter.
As you can see in the picture we have 4 wires in the bifilar coil and we need a common point. Two of them will be connected to each other that point will be the common point. There are two options. 1. connect red start to blue end. Or : 2. connect blue start to red end.That's all. I am not too good at explaining things, but hope, you understood.
Step 4: Arduino Software
The software:

Step 5: Making Coils Step by Step


Step 6: Building Transmitter


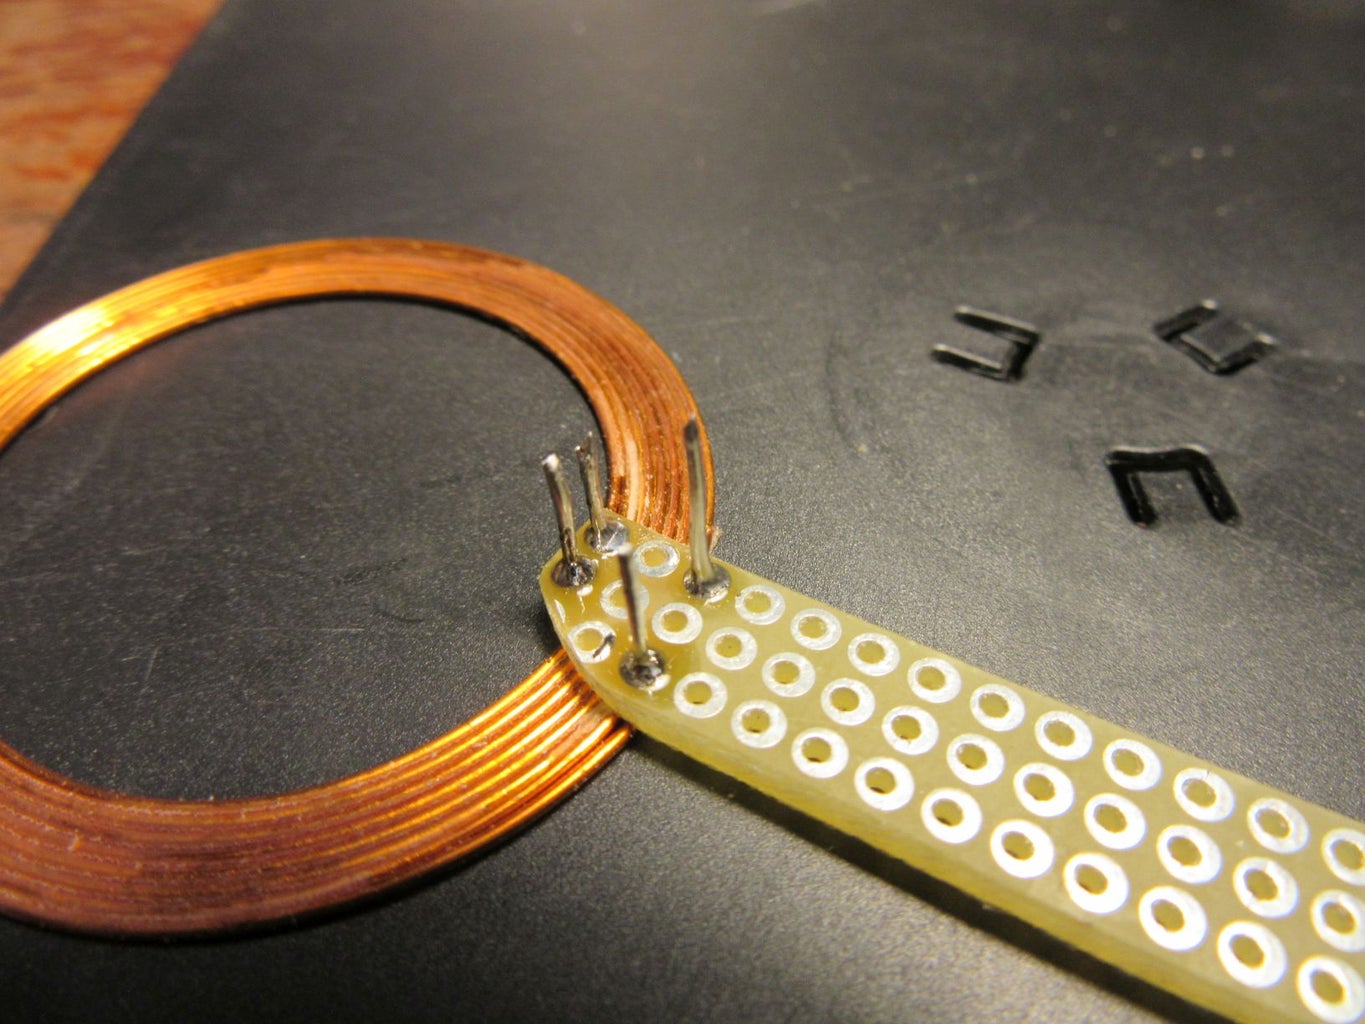


It requires some soldering skills. I will make a version with bigger through hole parts.


