

Introduction: Arduino Colour Mixer


This is my first instructable to please feel free to comment!
In this instructable, I will show you how to make a colour mixing lamp controlled by Arduino.
Step 1: Gather Ingredients
Here is a list of things that you will need.
1. An Arduino - it doesn't really matter which one you use, just try not to use one that has less than 3 inputs and 3 PWM pins. I used an Arduino R3.
2. 3x potentiometers - Do not to use one that only has 2 pins.
3. 3x 220 ohm resistors - Use ones that suit your LED.
4. A RGB led - Make sur you know the pinouts. Usually the longest one is the negative, just make sure you know.
5. A solderless breadboard - Normal size preferably.
6. Jumper wires - You can find these at your local hardware or tech store. I used heaps - a few solid and a few stranded core.
7. Bluetack - Just to stick the potentiometers down - mine jump out.
8. A USB a to b cable - Or whatever suits your Arduino.
9. A Computer with Arduino IDE installed.
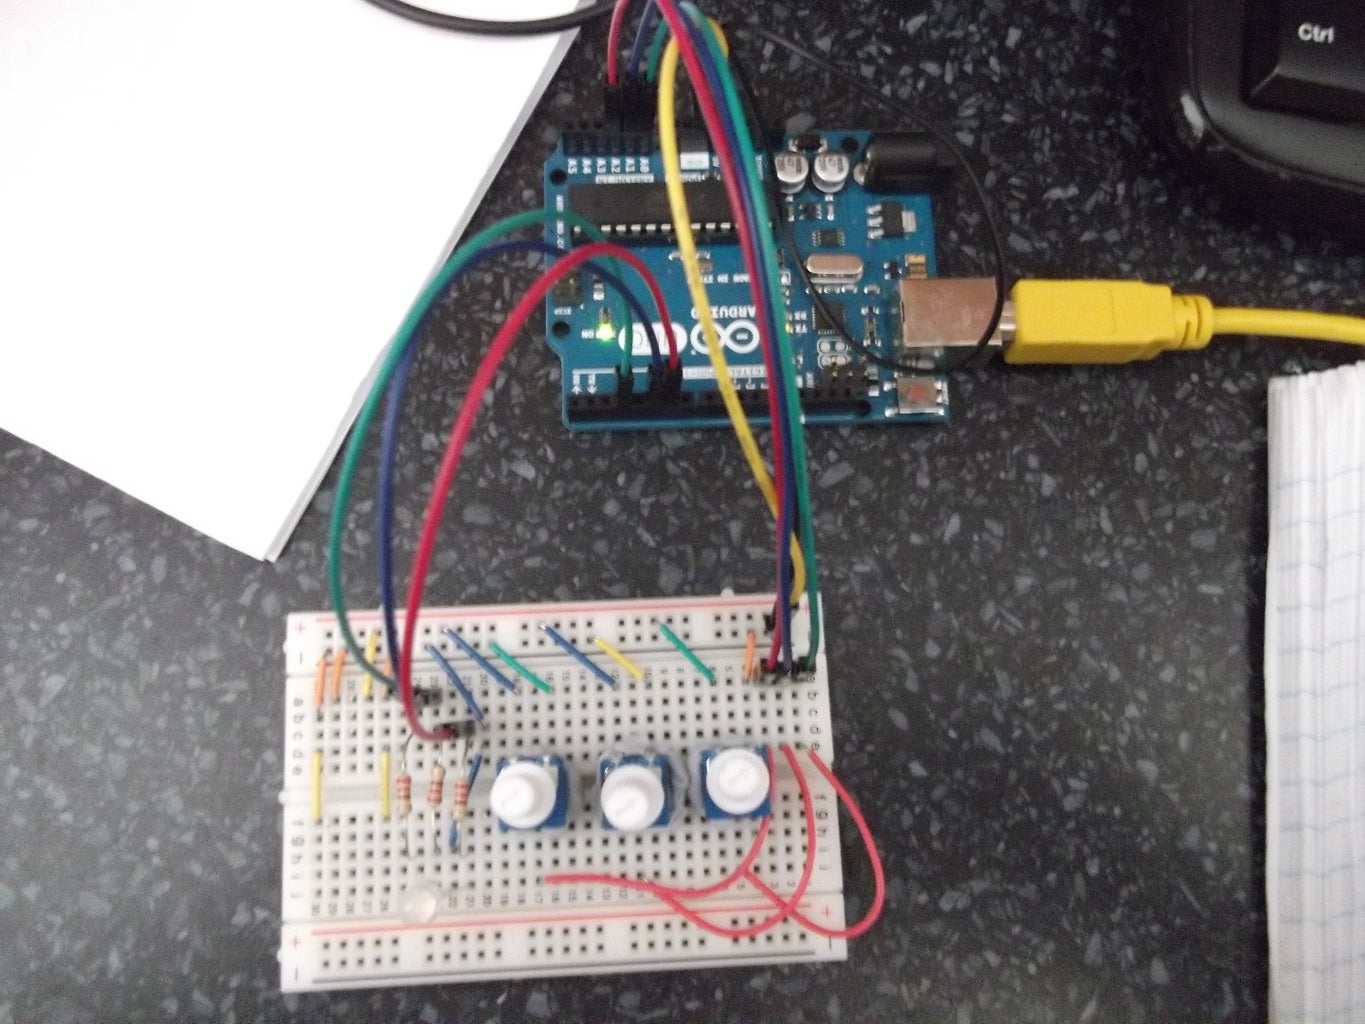
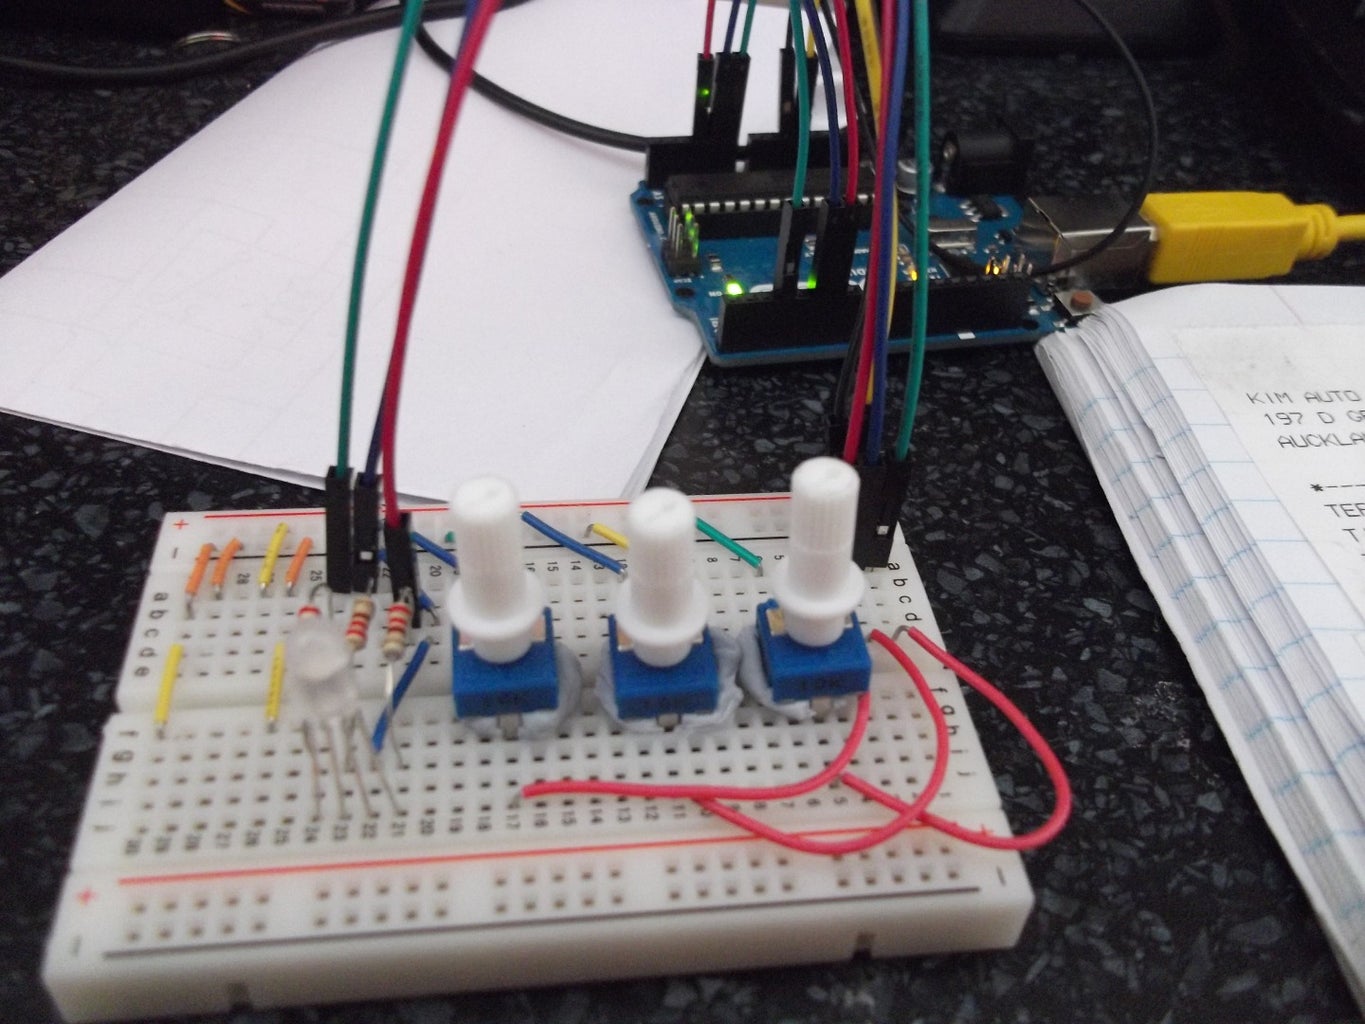
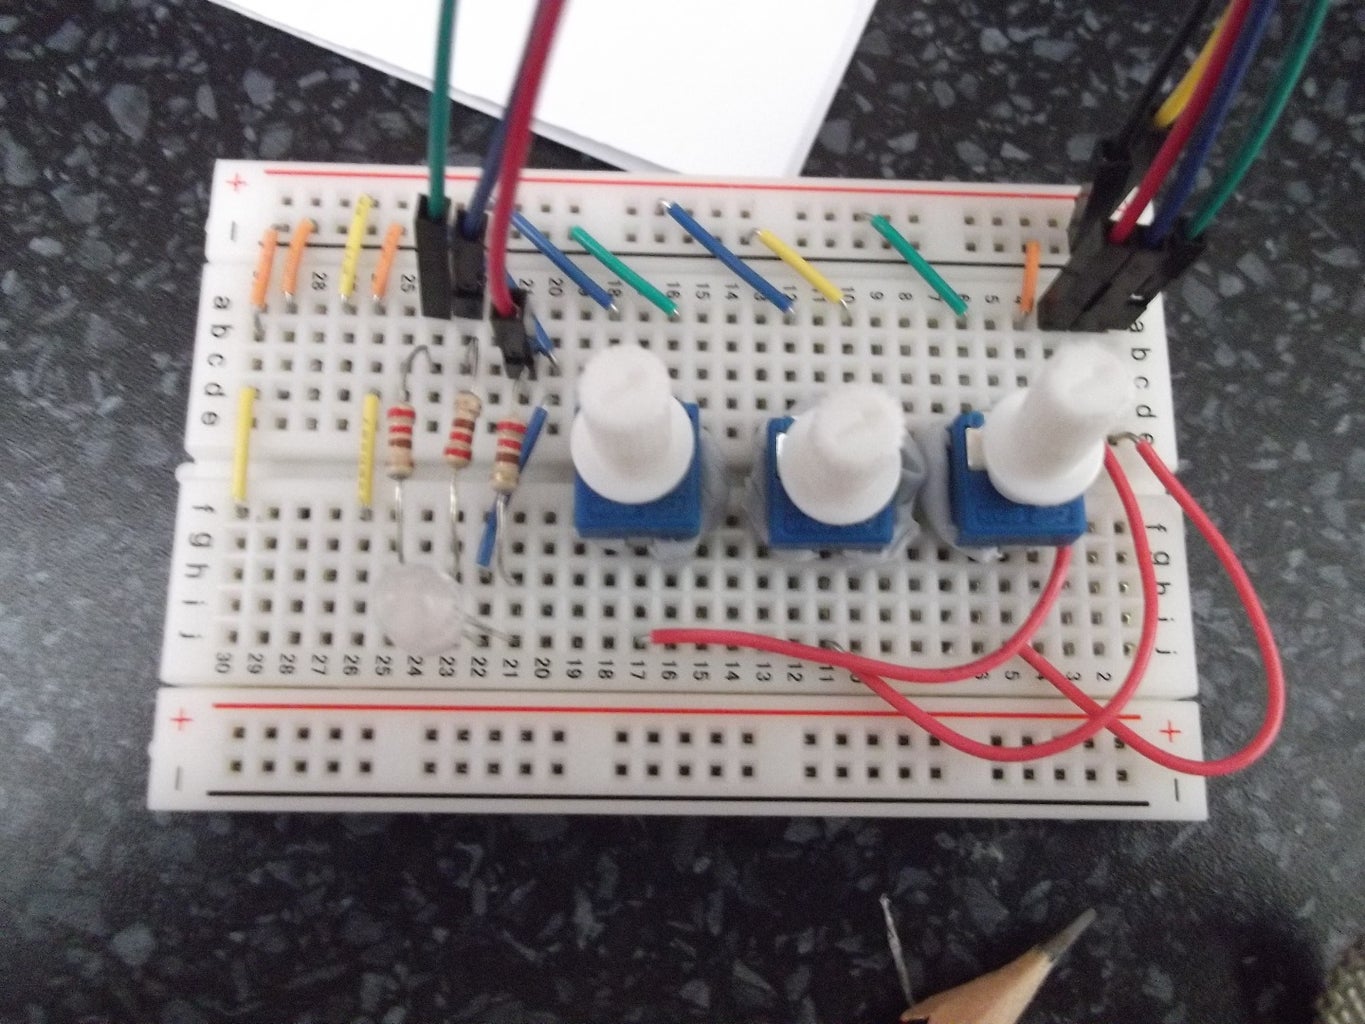
Step 2: Assemble!

Try and assemble using the diagram above.
Step 3: Upload Code!
After building, you are now ready to upload the code to your Arduino. I have attached a file with the code on it. 100% my me, no libraries or anything. If you dont know how to upload, just open the IDE, open the file, make sure you have the right board and port selected and click on the arrow pointing right.
Attachments

Step 4: Use!
Feel free to turn the potentiometers and change the colour of the led. There is no reason why this won't work with a RGB LED strip light - just that you will need some transistors to drive the load. Try experimenting with colours - especially try to make white - it is hard.


