

Introduction: Arduino: Sensitive Robot


Hello.
I want to show you how you can build a robot with an Arduino and a few other parts. So what do we need?
- Arduino. I have leonardo but it's not important
- H bridge TB6612FNG or other
- Robot Chassis for example DAGU DG012-SV or hand-made
- Ultrasonic sensor
- Servo
- 2 blue LEDs
- Buzzer
- Photoresistor
- Resistor 1,2 k Ω
- Breadboard
- Cables, tape, screws, batteries
Step 1: Build Chassis

If you are doing the chassis remember about motors. It's must have sufficient power to move your robot.
If you bought chassis you must submit it.
Now it's time to put batteries. I use box for 5 AA batteries but if you have larger motors you need more batteries.
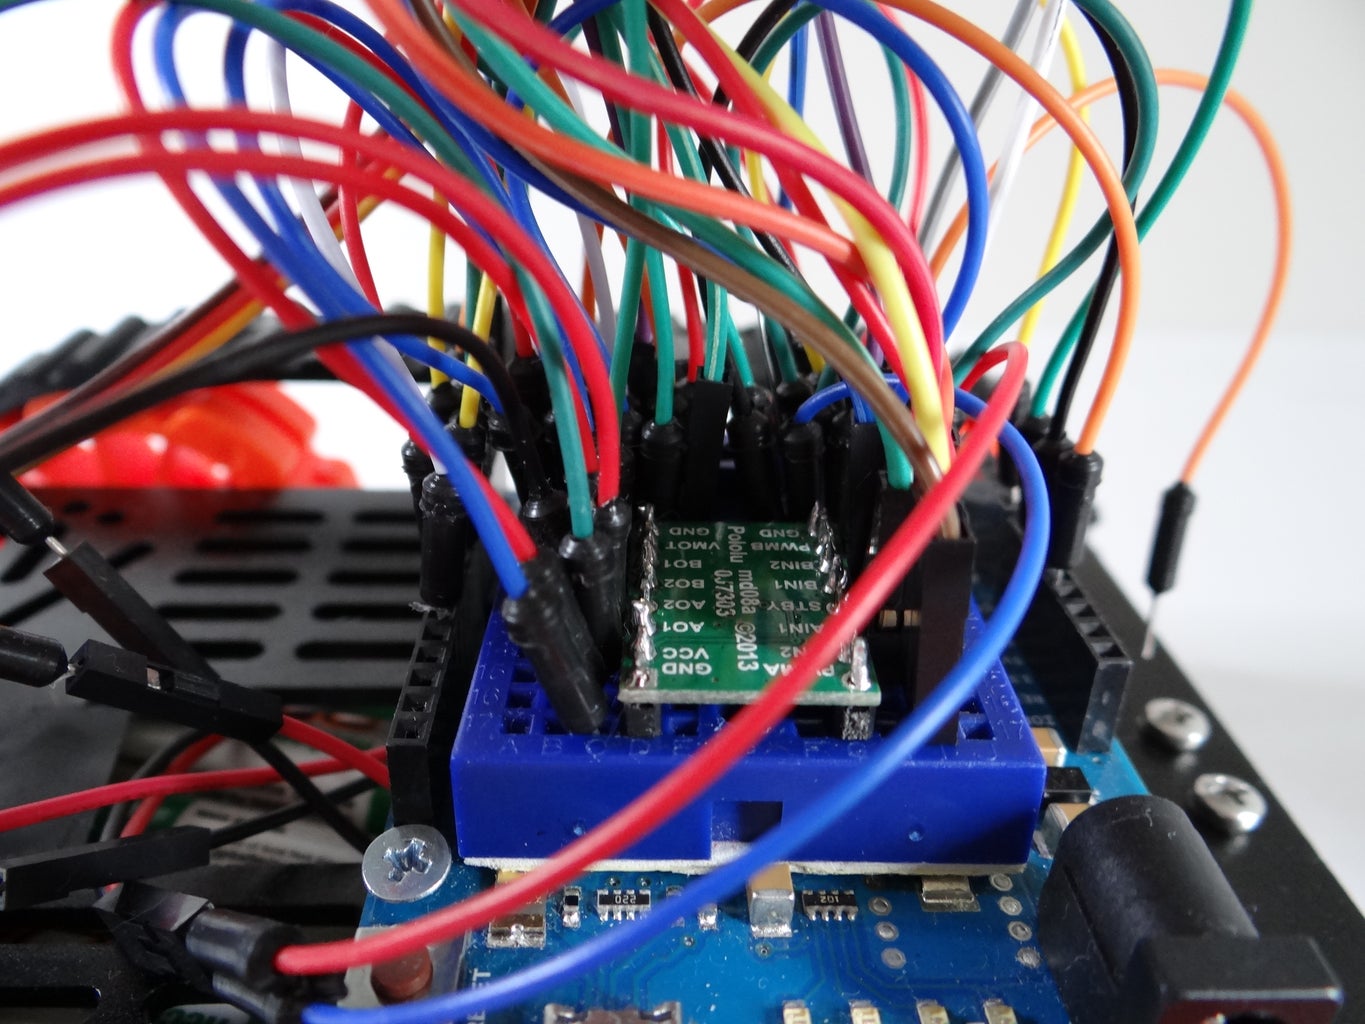
Step 2: Connect All Things


If you have TB6612FNG H bridge you can connect it's to arduino as below if not you need slightly change it.
For connect it I use 170 holes breadboard because this breadboard it small and can be located on the arduino.
1. Ultrasonic sensor:
-Trig--> 2 pin Arduino
-Echo--> 1 pin Arduino
-VCC --> 5V Arduino
-GND --> GND Arduino
2. Servo:
-GND --> GND Arduino
-VCC --> 5V Arduino
-Data--> 9 pin Arduino
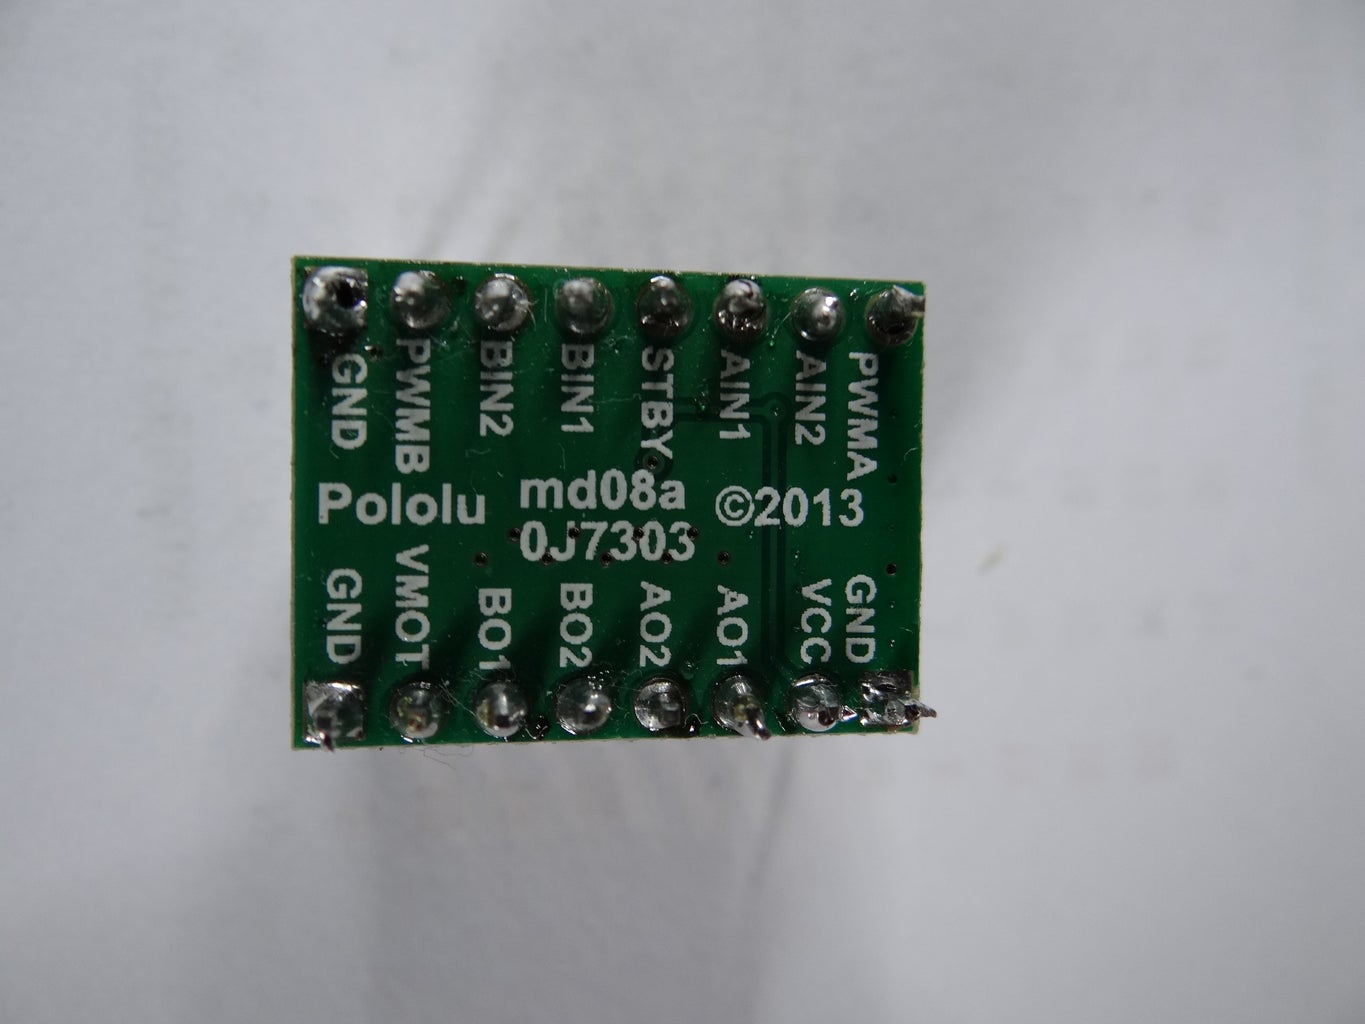
3.H bridge:
-all mass (GND) to mass in Arduino
-VCC -->5V Arduino
-A01 --> motor1 mass(-)
-A02 --> motor1 power(+)
-B02 --> motor2 mass(-)
-B01 --> motor2 mass(-)
-VMOT--> VIN Arduino
-PWMA--> 6 pin Arduino
-AIN1 --> 8 pin Arduino
-AIN2 --> 7 pin Arduino
-BIN2 --> 4 pin Arduino
-BIN1 --> 3 pin Arduino
-PWMB--> 5 pin Arduino
4.Buzzer:
-GND(-) --> GND Arduino
-VCC(+)--> 11 pin Arduino
5. Leds:
-Both VCC (+) from leds to 10 pin Arduino
-Both GND(-) from leds to GND Arduino
Long cables tied a piece of wire.
6.Photoresistor:
On image you can see how it's connect. Resistor have 1,2 k Ω
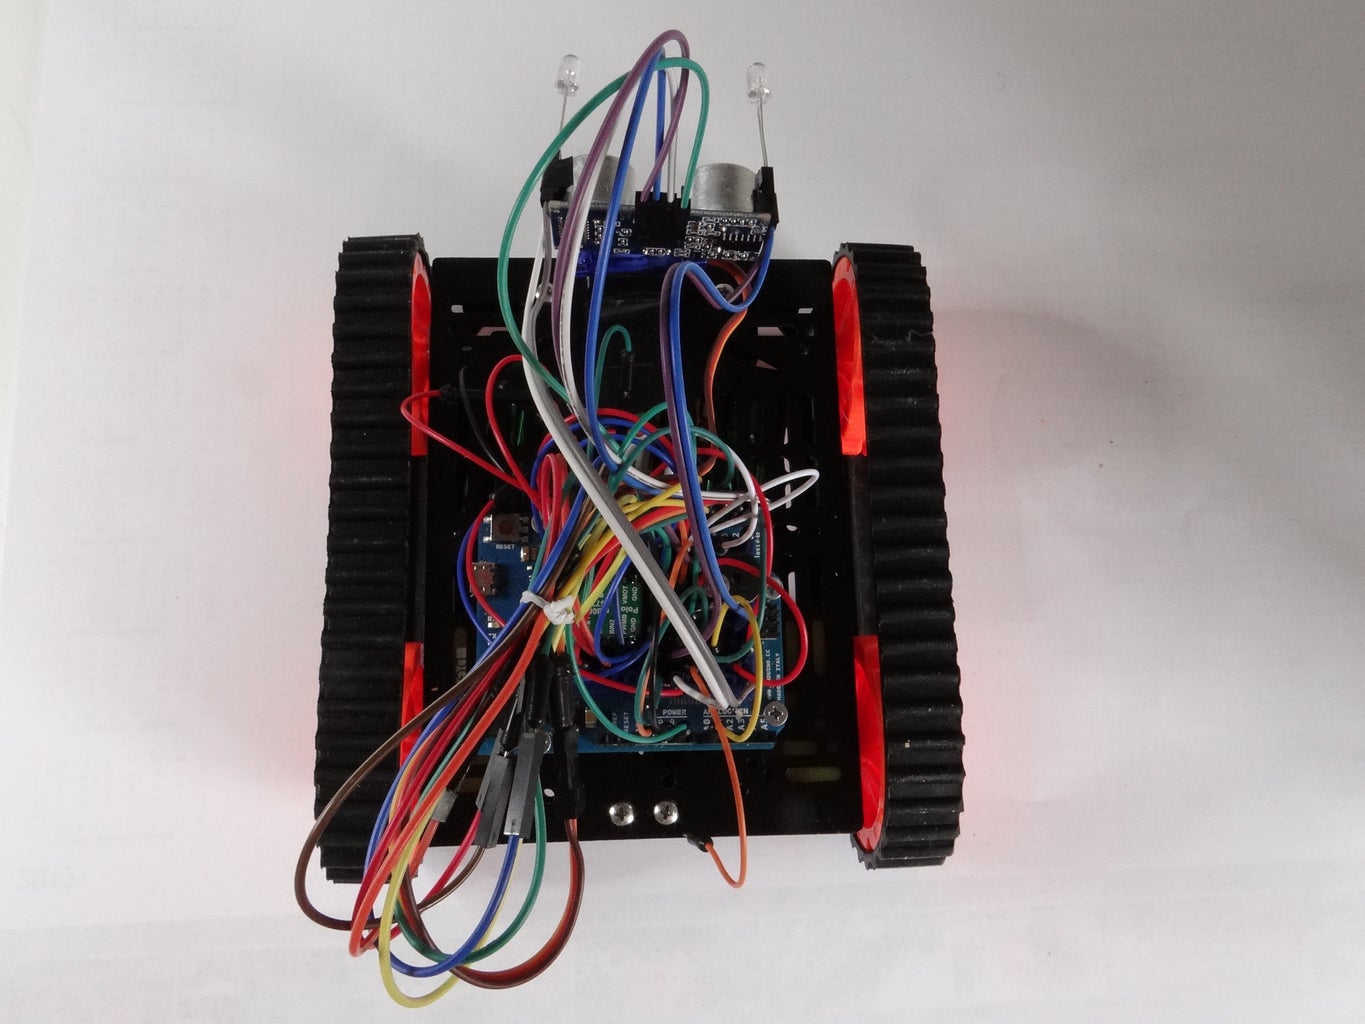
Step 3: Insert All Things


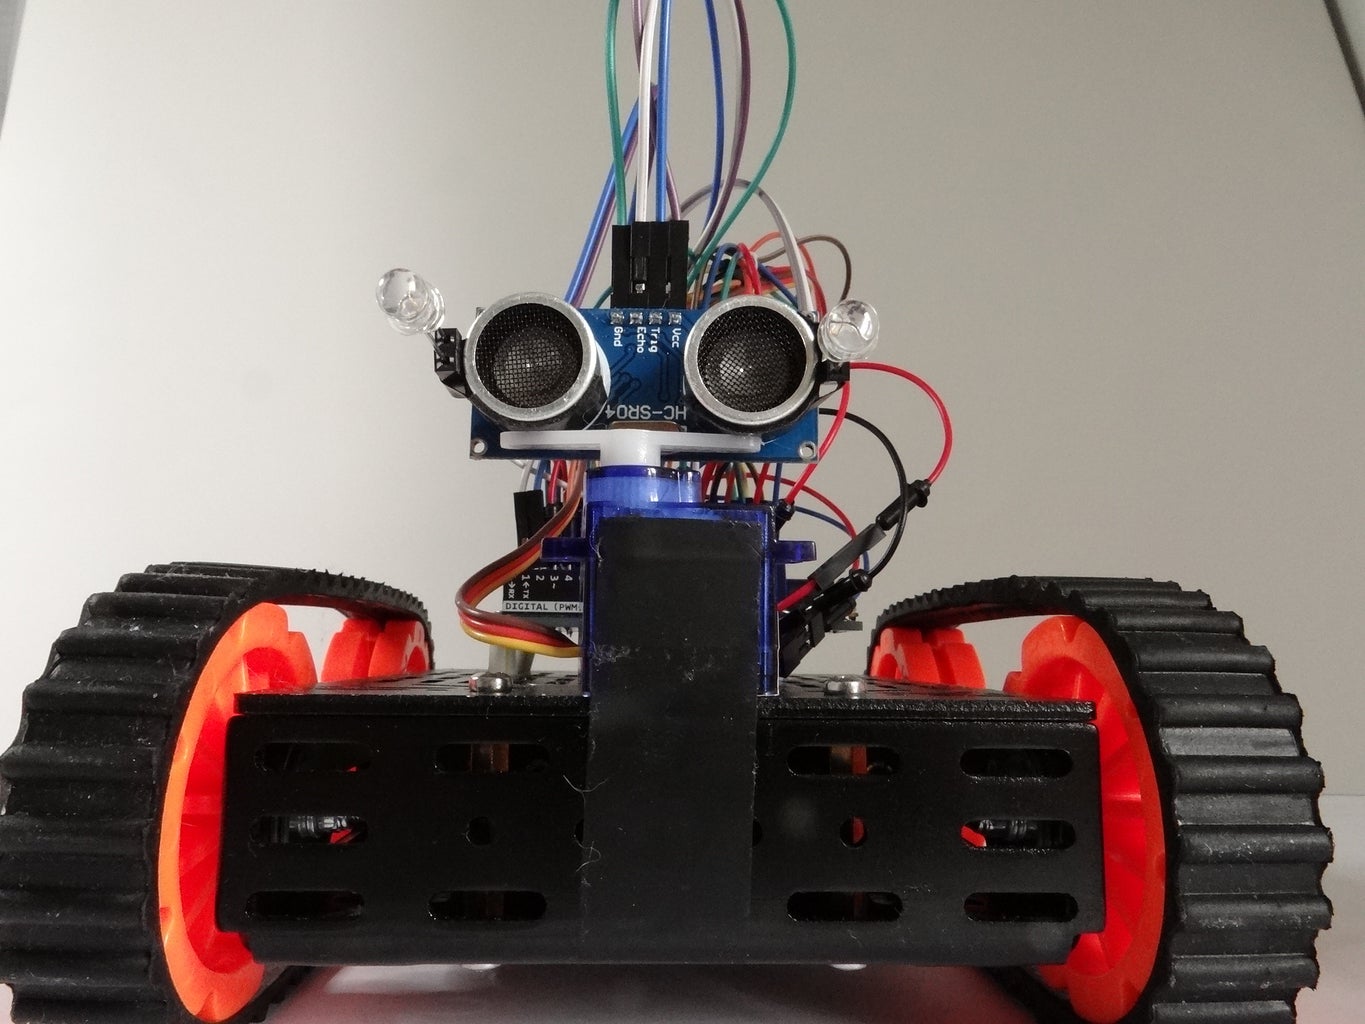
Now you must insert all things on chassis. I use 4 screws M3 to screws Arduino and chassis, between Arduino and chassis I gave a piece of straw. Breadboard located on arduino. I glued Ultrasonic sensor with double sided tape to servo and servo to chassis with black tape. Leds is on ultrasonic sensor on tape. Cables from leds and ping sensor need enough space because it moves.
Step 4: Program 1
Robot with this program after watch obstacles go back watch on left and right and drive to this site where it has more space and when it back make sound. When is dark leds turn on when is brightly leds turn off. Below I added the code, in the comments is an explanation of the code. After loading this code you can start robot.
Attachments

Step 5: Program 2
Robot with this program can ride in maze. Construction it's the same only code is slightly other.
Attachments
Step 6: Start Robot
Now you can start your robot. Below i added films with my robot. First one is test, second one is complete robot with first and second program.

Participated in the
Sensors Contest


