

Introduction: Bicycle Trailer LED Lights


So, I've already lit my bikes and built my bicycle trailer, now it's time to light up the trailer. This is a relatively simple task that doesn't require too much time or effort. In fact, it went pretty quick. With the search tools I've provided below and a bit of patience, you should be able to purchase the parts needed for very little cash. The big expense is the battery which can be used for other projects, such as: A DIY Boom Box for your new bike trailer. Using velcro and zip ties to attach my lights, I am able to use them for other projects.
I remixed plarge's LED Bike/Child Trailer for this Instructable.
Items Needed:
- 12 volt battery - Tenergy
- LED light strip - eBay
- 44 Key Remote - eBay
- Velcro Straps - eBay
- Zip Ties
- Wire Cutters
- Bike Trailer - Craigslist
Updates:
- I didn't end up using zip ties, I had enough Velcro to complete my project.
- I used bungee cords to secure my Boom Box and cooler. They worked perfectly.
- I also had enough room for other people's gear in the trailer.
- With proper weight distribution, I had no problem leading the pack.
CaddyYak Trailer Build:
To learn how to modify your own trailer, click HERE.
Step 1: Securing Your LED Lights


When planning this project, I decided to just light the ground below my trailer. I did this because I didn't want to blind the other riders in our cruiser group and because it is a really cool effect. You can light your trailer however you like though. I am using a 5 meter strip and cutting after I reach my desired length. If you do not want to cut your strip short, you can continue to wrap the strip around your trailer. I get these LED strips for pretty cheap on eBay so I'm not too worried about cutting them. You can always reuse the cut pieces for other builds.
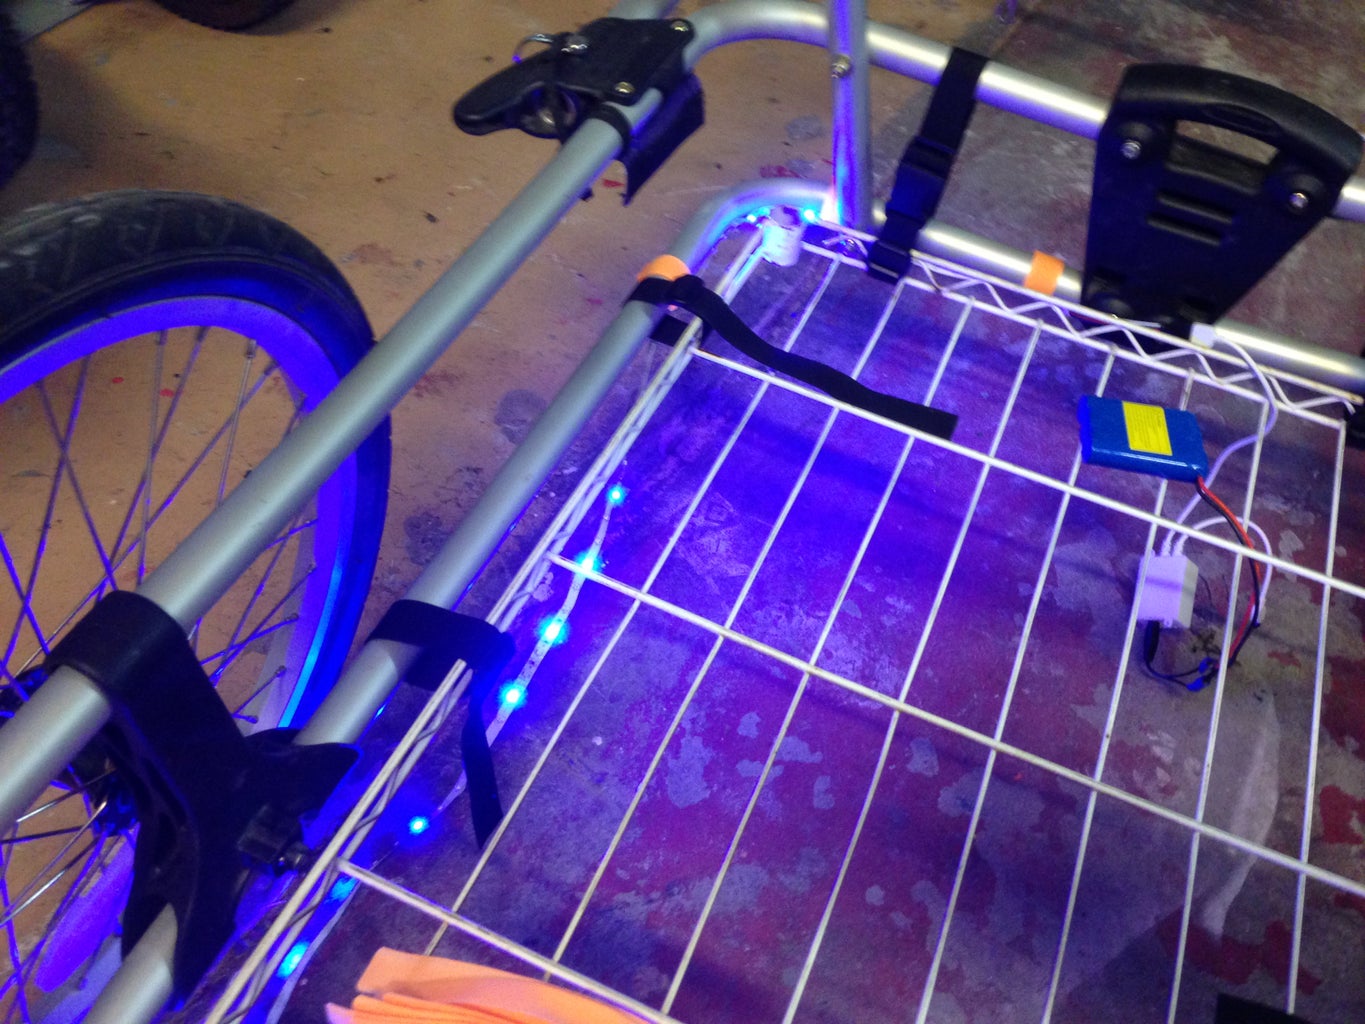
- Locate your start point where you will want to place your battery. This is where the lights will start, as well.
- Secure the beginning of your lights with your first Velcro strap.
- Continue to roll out your lights and strap as you go.
- Once you have reached your end point it is time to cut you LED lights.
Step 2: Cutting Your LED Lights

I had excess LEDs that I cut to fit, so that I had a clean look. There is a dotted line on most brands that show you where to make your cut. It is between the copper dotted points. You want to be sure to cut here to ensure that your lights will continue to function. Save the remainder for a future project.
Step 3: Battery and Remote Pack


Next we will create a case to house the battery and infrared eye. This is used to keep your parts tidy. I am using the same battery system I used to power my Boom Box and Bicycle lights. You can refer to those with the two previous links above.
- Find a suitable case. Mine is approx. 6"X4"X2.5".
- Make sure your components fit inside with room to play.
- Cut two holes in the backside, one for the IR eye and another for your light.
- Cut two holes in the bottom to thread your Velcro through. The Velcro is used to secure your case to the frame.
- Secure to your trailer.
- Don't forget your Custom Dice.
I went ahead and painted my box "safety orange".
Now plug everything in and you are ready to ride.
Step 4: Let's Ride


Our first ride was a success with around 20 riders. We rode about 6 miles and everyone survived.
I'll post future rides to this page, so stay tuned.

Participated in the
Formlabs Contest

Participated in the
Remix Contest


