Binary Clock

Binary Clock
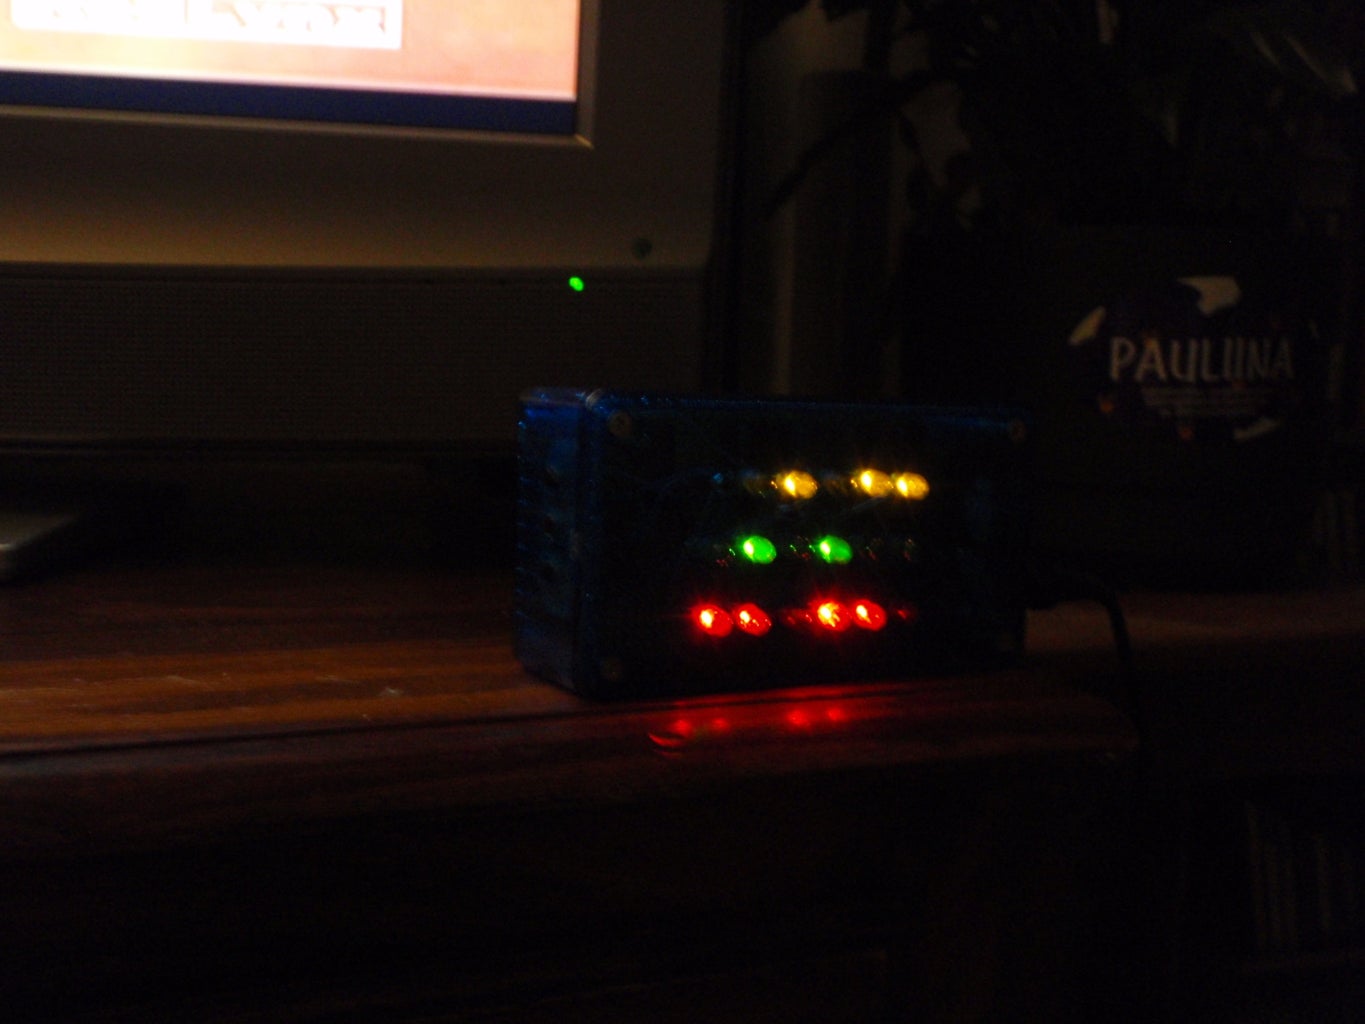
Here is a simple example how to build cool looking binary 24 hour clock. Red LEDs shows seconds, green LEDs minutes and yellow LEDs hours.

Case contains four buttons to adjust the time. Clock works with 9 volts.

This clock is easy to do and parts cost only few bucks, so it is also cheap to do.
 
Remove these adsRemove these ads by Signing Up
 

Step 1Schematic And Parts

Schematic And Parts
I used the blue colored case, because it was cheap and looked good to my eyes.

Parts:
- Clock crystal (Q1) 32.768 kHz.
I think the easiest way to get that crystal is take it from the old wall clock.

- 560pF, 22pF capacitors and one 10M resistor

- 1 x 4060 IC, which is the 14bit ripple counter.
With 32.768 KHz clock crystal this IC gives 2Hz out from the pin number 3

- 3 x 4024 IC
This is 7bit ripple counter

- 2 x 4082 IC
Dual 4-input AND gate

- 1 x 2,1mm plugin

- 17 x led
Red, yellow, green or what ever you like

- 17 x 470 Ohm resistors
I used the 9 Volt supply, so the output from the pins is something around 9V. Typical forward
voltage for these LEDs are about 2 Volts. Let's want that, the current to the LED is something about
0,015 A = 15 mA, then (9-2)V / 0,015A = 466 Ohm -> 470 Ohm is size of resistors.

Now it's time to download 4020 14-stage ripple counter data sheet and we will find that, the
max output current is 4mA =), but it is enough and works anyway.

« Previous StepDownload PDFView All StepsNext Step »
130 comments
1-40 of 130next »
Jan 2, 2012. 12:38 PMWakeUpWolfgang says:
This is what I was looking for!!! I was going to make a computer from scratch but this is where I wanted to start. Do you have a larger image of the schematic that I can use?
Dec 30, 2011. 4:00 PMlehthanis says:
I got this sort of working. Very nice schematic. I remade it in Eagle, and cleaned up the schematic based on my specific LED's and the capacitance of my crystal. I also changed the 4060 portion to match the circuit on the doctronics page (220k trimmer and 10M voltage limiter) I also changed it to a 15pF cap on pin 10 and 2.2-22pF trimmer cap on pin 11 of the 4060.

I'm getting some skipped digits on the hours and minutes...I'm going to have to evaluate which digits and see if I can figure out what's causing it...but I'm very pleased with this circuit...I'm going to try and modify it to keep time with a watch battery and light the LED's with the 9V external power. Assuming the watch battery will power all of those CMOS IC's.
Dec 28, 2011. 10:20 PMsgandhi says:
Is the set button a momentary button like this:
http://www.roleepolee.com/products/roleepolee/microswitch6167a.jpg

If so, how would the seconds 4024 counter get pulses when you release this button?
Dec 16, 2011. 2:12 PMlehthanis says:
I went to buy the parts, and the first thing I looked at were the 470 Ohm Resistors. They come in 1/8 Watt, 1/4 Watt, and 1/2 Watt...Which ones do I buy? Will I have that same issue with the other parts? Also are the capacitors microfarads or picofarads? I saw a 22 microfarad electrolytic capacitor...is that what I need?

Thanks! Can't wait to build this!
Sep 6, 2011. 2:29 PMNitemare says:
what if the clock gains or loses time? is that where the 39pF trimmer capacitor comes in? or should the oscillator keep accurate time no matter the value of the capacitor?
Aug 15, 2011. 7:58 PMjermatln says:
I am having an issue my clock is counting however it is counting slower then it should it takes about 100 seconds for a minute to pass. I am doing this for a school project so help would be greatly appreciated. thank you
Jan 11, 2010. 2:26 PMsxdemon says:
Why are you taking outputs from different pin numbers on the first and second ripple counters? (the ones calculating seconds and minutes respectively) Would you not be trying to get the same value of 60 from each counter? (60 seconds = 1 minute and 60 minutes = 1 hour)
Jul 26, 2011. 1:33 PMktucek says:
the 14 bit counter reduces the frequency to only 2 hz, which means that you need to count 2 signals for one second - that's why the first counter in loop is moved by one bit... on the "next step" its explained ;)
Jul 4, 2011. 6:57 PMzezin says:
Where is the 4020 in the schematic?
Jun 27, 2011. 12:18 PMrtty21 says:
I really like this project. It is very well-documented. The pictures are great!

I'm subbed.
Apr 7, 2011. 8:40 PMiiisao says:
this never worked out for me ... i tried lot's of things, and the clock never did anything.
Dec 24, 2010. 12:28 PMdutado says:
Hi, I have a bit upgraded this to fully working (I hope) Gregorian calender with time and date.
http://czshare.com/1537052/9tM_/BINCLK.rar
Information inside of archive.
1,29 MB
Jan 3, 2011. 3:03 PMtrogdorian1 says:
looks possible, this downloads safe people.

build it and post pictures! i'll follow closely
Jan 13, 2011. 11:14 AMdutado says:
Hi, folks!
I have remade the schematics, so they are readable and nice.
Improved some parts, days of month part still has binary counter, should have decadic.
For information, HH:MM:SS and DAYS OF MOTNH are binary, others decadic.
Here is the new version - 6B and 6C.
http://czshare.com/1559217/WAbQ/GEN6.rar
13,7 MB


If you want, download all versions here. Do not try to build the old ones!
http://czshare.com/1559205/F8Y_/BINARY_CLOCK.rar
55,2 MB - some artwork connected with it included


Look, I won't build it because of lack of time, money and existence of mistakes in design. At least not for now.
Nov 20, 2010. 3:31 AMbeehard44 says:
i'm trying to make a dirt cheap binary clock because, well, my budget is small. I only need minutes and not seconds, which ICs and components do i omit? sorry if i am a n00b
Jul 9, 2010. 11:05 AMolso2095 says:
Here's a good resource for learning more about using the crystal oscillator to make the time more accurate. Also, gives you an idea of how things are calculated if you need to troubleshoot a clock running too fast (like mine) or too slow. http://www.doctronics.co.uk/4060.htm
Jun 24, 2010. 12:03 PMuerliza says:
I apologize if either my english or my question or both are dumb, but I really want to make it and there are some information missing since I never did anything eletronic at all. The question is: How do I know what is a pull-down resistor ? I tried to buy this and couldn't find anywhere. I did some research and maybe it is a normal resistor just to make sure the signal will be 0 or 1? Could someone explain me? What do i have to buy? Thank you in advance...
Jul 4, 2010. 9:46 PMluisma.suarez says:
ok its not dumb, but you should have gone to wikipedia first. thats what i did when i hadthe same question. a pull up resistor es a resistor which connects to Vcc ( 5V for exp) and a button, while a pull down connector connects to ground and a button. that way, its a way of making sure you pin always has input ( ov, or 5v) and you dont leave it unconnected. a pull down resistor will put 0v on your pin until you press the button and will put 5v on it while keeping the current loss to a minimum. its the same thing, pull up or down. diference is down connects to 0v the up to 5v. all good? this means it is just a normal resistor. anything above a few k Ohm should work, though it depends on the circuit
Aug 11, 2008. 6:47 PM309 says:
hey man, this is an awesome project, but is there anyway that you can get a clearer schematics image up. I am having a really hard time reading this one.
Feb 7, 2010. 9:01 AMJ-Five says:
Thanks I couldn't read it either.
Feb 3, 2010. 4:06 PMJ-Five says:
One Word Cool!!!
Jan 12, 2010. 12:42 PMkd8gby says:
 Ok, I see three rows of LEDs. Where are the 4 LEDs for the 8? The way I see this red is 1, green is 2, and yellow is 4. Any help would be nice.
Jan 12, 2010. 4:46 PMsxdemon says:
oh, ok.


The way it work is you start with One then for the other you need to take the anwser of the last and multiplie it by two.

So the first led from right to left is
  #1:                      1
 #2                       :  1*2=2
 #3                       : 2*2=4
 #4                        :4*2=8
 #5                         :8*2=16
 #6                        :16*2=32

Then, for each lited LED, you add the values together.

So let's say the first, the third, the fourth and the sixth LEDS are lit.
#1 led=1
#3 led=4
#4 led=8
#6 led=32

1+4+8+32=45
Yellow is for hours
Green for minutes
and Red for seconds in this case.

so if:

Green #1,3,4 and 6 are lit
Red: #1 and 5 are lit
and Yellow 5 is lit.

Green: 1+4+8+32= 45 minutes
Red: 1+16=17 seconds
Yellow: 16 hour.

So it's  16:45:17   or 4:45:17 PM
Jan 12, 2010. 5:26 PMkd8gby says:
 Now I get it!!! when I looked at it I though that I had two digits for each (hour:min:sec) Thanks a ton :-)

Jan 17, 2010. 11:22 AMsxdemon says:
you are welcomed. I took me about 15min to write it down, thats awesome to me thanked.

:)
Jan 11, 2010. 2:51 PMStingzLD says:
Where did you find that enclosure mate? I really like it, and you said it was cheap. Sounds perfect to me.
Jan 11, 2010. 2:56 PMsxdemon says:
I would say Radio Shack.

But why is your SEC led connection start on pin 11 while all others start on pin 12?
Dec 3, 2009. 9:53 AMlazardj says:
 i have 1 more problem :(

my clock is 180 times faster then it shude be :(
in 20 sec it pass 1 hour :)

what can be problem? :)

thx 
Dec 3, 2009. 9:07 AMlazardj says:
 can some1 help. my IC 4060 is getting hot fast? what can be problem?
Oct 16, 2009. 10:40 AMTommassino says:
anybody, are these suggestions right? i think they are but im not sure
for people that dont want a sec timer:
omit all the leds, in the sec IC, connect pins 3-6 to the and gate pins 2-5
people that want only a flashing second led:
omit all leds except the led on the 11 pin of the sec IC, connect pins 3-6 to the and gate pins 2-5
Sep 12, 2008. 11:35 PMASDF3 says:
Could you please elaborate with respect to the components in the upper-left portion of your diagram? What are the components listed as SET_SEC, SET_MIN, SET_HOUR, PULL_DOWN_SEC, PULL_DOWN_MIN, PULL_DOWN_HOUR, J1, VDD and VSS? Also, what is SET connected to terminal 3 of the 14 bit counter? I am eager to try to build this, but want to know exactly what to do first. Thank you for your help!
Oct 9, 2009. 11:54 AMdavidmac2003 says:
Quick question - it looks like SET_SEC, SET_MIN, and SET_HOUR must be N.O. switches, and SET must be N.C.  Is that correct?
Feb 4, 2009. 5:59 PMNetReaper says:
What does the plug for? does it need to be plugged in?
May 26, 2010. 1:52 AMOMGitsSwanny says:
Shoot.. this blows my plan of installing all this in a Altoids tin and having it be portable. Anyway i could make it portable? I'm totally new to this Circuits and Electronics thing, but am willing to take a headfirst plunge into it. Any suggestions?
May 26, 2010. 2:07 AMOMGitsSwanny says:
Okay, i have a idea. Would it be possible to cut the power to the LED's but keep the power to the rest as to save the time and not wipe it. Installing a press switch to activate the LED's then let go to turn them off? I don't know anything about this stuff, so, i'm basically trying to be creative on conserving energy.
Jan 24, 2011. 6:42 PMrpicivil2011 says:
Yea, if you were interested you could definitely add a push button or a switch to cut off power to the LEDs. Since all the LEDs are connected on one side to ground, simply connect a N.O. button between the LEDs and ground. When you press the button the LEDs would then get power (more accurately a ground source) and can light.
1-40 of 130next »

Pro

Get More Out of Instructables

Already have an Account?

close

All Steps Viewing
View all steps of an Instructable on the same page when you're a Pro Member.

Upgrade to Pro today!
21
Followers
4
Author:iideetee