Introduction: Build Your Own Smart Hub: Prota OS for Raspberry Pi 3


The new Raspberry Pi 3 features a brand new quad-core 1.2GHz 64bit processor, 1GB or RAM and both on board Wireless LAN and Bluetooth!
The original Raspberry Pi came live exactly 4 years ago and since then got 10 times faster, yet remained in the same credit card sized form factor and at the same fairly low price point of $35 USD.
The new Raspberry Pi maintains exactly same board layout as its predecessor Raspberry Pi. In addition to a CPU boost from 900 MHz to 1.2 GHz, the new Raspberry Pi got it’s GPU upgraded from 250 MHz to 400 MHz! This opens the whole new possibilities for video recording and processing. However, perhaps the biggest upgrade for home automation and in particular Prota OS users is that the new Pi has all the necessary wireless connectivity on board — no more need for Bluetooth and WiFi dongles of any kind that often were easy to loose and took the precious estate of 2 USB 2.0 ports.
Let’s cut to the chase and learn how to start using Prota OS on Raspberry Pi 3. Also, at the end of this instructable, we’ll show how to start using power Pi 3’s GPIO pins with Prota Stories automation engine.
What do you need?
- Raspberry Pi 3.
- USB Power cable*.
- SD card large enough for Prota OS, apps, and automation stories.
- Visit https://prota.info/pages/downloads to download for free.
* Keep in mind that with the addition of more powerful hardware and added wireless capabilities this new Raspberry Pi 3 uses more energy than its predecessors. We recommend using preferably 5.1 V and 2.5 A power supply with the new model.
Get started
Open and follow our quick start and advanced guides to learn how to start using Prota OS in minutes.
Step 1: Difference in Performance

We put some stats together to demonstrate that the new Raspberry Pi 3 runs Prota OS and its applications 2x to nearly 3.5x times faster than its predecessor!
Step 2: Enable Bluetooth and WiFi on Your Smartphone. Then Open Prota Space Mobile App.

Step 3: Click on the + Icon to Find Your Prota [Instant Configure].
![Click on the + Icon to Find Your Prota [Instant Configure].](https://content.instructables.com/FSC/CGXZ/INS17GNT/FSCCGXZINS17GNT.png?auto=webp&fit=bounds&frame=1&height=1024auto=webp&frame=1&height=300)
Step 4: Enter Your WiFi Network Information to Connect Prota to the Internet.

Step 5: Enter Your Email to Get the Activation Email.

Step 6: Enter Your Email to Get the Activation Email.

Step 7: Choose Your Timezone, Location, Prota Name and Password.


Step 8: Update Your Prota.
This might take a while. Approx. ~10min.
Step 9: Check Your Inbox Again. Find the Access Link.

Thanks to the Cloud Access service this link allows you to connect to your Prota from anywhere!
Step 10: You're Done! Prota OS on Pi 3 Has Been Successfully Configured and Now Ready to Use.

Try out our new Prota navigation feature — history sidebar! While using app simply tilt your device for navigation button to occur on your screen. If you’re accessing Prota via a browser, drag your mouse to the left side of the screen.
When the sidebar is open you can easily jump across your favorite and most used features and apps.
Step 11: To Install GPIO App Go to the App Library, Find GPIO App and Click Install.

Step 12: Use History Sidebar to Navigate Back to Homescreen and Open GPIO.


Now let’s learn more what can we do with it.
GPIO stands for general purpose input output and you can do a bunch of cool stuff with it. Even though GPIO pins only have two options — high and low which mean on or off respectively.
To understand how GPIO works, at first let’s look at the layout.
Pins 1, 2, 4, 17 correspond to power source (3V, 5V, 5V, 3V respectively). Pins marked up as GND correspond to 0V output (ground). When you connect power and ground, you’ll have circut. Other pins marked only as GPIO (green dots in the diagram) can have value of 1 or 0 which essentially means they either they transmit power or not. To keep it simple let’s leave out other special pins for now (other than green, red, orange or black colors in the diagram).
Step 13: Let’s Illustrate How GPIO Works With Little Example.


Connect an LED on a breadboard by placing its longer leg next to a blue wire which will connect to let’s say GPIO pin 21 and connect its shorter leg which we will connect to GND and thus create a circuit.
Then open the GPIO app and click on GPIO pin 21. Select OUTPUT mode and enter 1 into the “value to the pin” box, click “write”. LED should turn on. Try replacing 1 with a zero and LED should turn off.
You can use this GPIO feature to output and signal some information visually as things happen. For example, you could create a simple automation story to light up this LED whenever it’s going to rain tomorrow (Prota Weather app should be installed in this case).
Step 14: Another Interesting Feature of GPIO Is Interrupts.

Interrupts are great mechanisms built into Raspberry Pi GPIO that are ideal for monitoring all kinds of real-time events from various sensors (buttons, sound sensors, PIR sensors, laser sensors, and so forth and so on).
When a certain signal is detected, an Interrupt interrupts whatever the Raspberry Pi was doing, and executes designated Prota automation Story in reaction to whatever external stimulus was sent to the Raspberry Pi. Once automation Story has been executed, Prota will go back to whatever it was previously doing.
When open GPIO app, you can easily start anticipating for interrupts by clicking on any pin number and selecting the INTERRUPT MODE.
Following options determine what pin action triggers an interrupt.
- `Rising`, which activates an interrupt on a rising edge of the interrupt pin.
- `Falling`, which activates on a falling edge.
Step 15: Simple Interrupt Example — Button Interrupt.


Perhaps the simplest example of a GPIO interrupt is a button interrupt. To begin, add a simple pressable tactile button on the breadboard.
Set GPIO pin 21 to be in INTERRUPT mode. Now whenever you will press on the physical button, Prota will register a falling interrupt, and when the button is released, it will register a rising interrupt.
You can, of course, use it as a sensor in your automation Stories. For example, create a Story which will send everyone an email suggesting to have some coffee whenever you push this button.
Step 16: To Check If Everything Works Simply See Automation Stories That Have Taken Place.


Every story that has taken place is recorded and can be reviewed via the Stories app History tab.
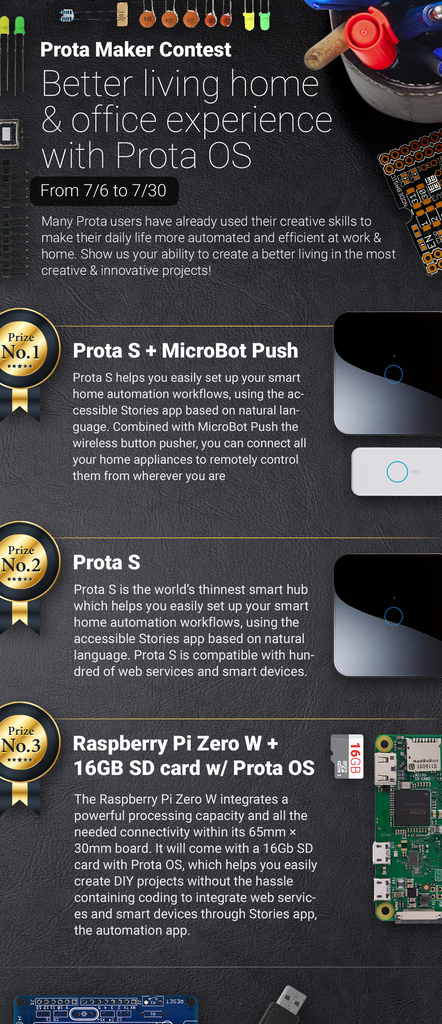
You like our projects? Make your own!
We are currently (and until July 30) running a maker contest. Show us the creative projects you can do with Prota OS and win awesome prizes!
More info here - https://support.prota.info/hc/en-us/community/top...