

Introduction: Building a Gypsy Wagon


For many years I have been interested in Gypsy Wagons or "vardos" and western sheepherder wagons. As it isn't practical for me to have an authentic, horse-drawn lifestyle I decided to make a version towable at highway speeds. After reading just about every book I could find on wagons, caravans, old-school RV construction and trailers, a model began to take shape in my head. For me, it needed to be short and maneuverable, sleep two to three people, and still have the air of old world craftsmanship. This meant not looking like a modern RV. My secondary goal was that it should cost as little as possible without sacrificing sturdiness or basic comfort. Finally, I decided on wood as the primary building material as that is what I am familiar with and is definitely a very cozy and comfortable medium for a living space.
Most of the actual work was performed with a table saw, band saw, drill, and a slew of hand tools as I found time around my day job. Although I don't really consider it "done", it is complete enough to use and is currently on the road.
Step 1: The Mock-up


After about fifty sketches and lots of graph paper renderings, I decided I needed to visualize this in three dimensions. Here is my cardboard mock-up of the final design. An earlier version is visible behind it but this one had a lot of appeal for me. My requirements were 7' width for sleeping cross-ways, 8-10' long, and enough height to stand up in. A collapsible bed and table allow for a shorter overall wagon. The first drawing above probably gives the most accurate dimensions for the final product. You can see some changes in design even as I approached the final product.
Step 2: Trailer Conversion


I found a sturdy little cargo trailer with a heavy duty frame and tongue. The first step was to cut off the box with a reciprocating saw and grinder. I intended to save the wiring harness and lights but they proved to be outdated and fairly ratty.
Step 3: First Cuts


There was a huge sense of relief when I made the first cuts to create the brackets. After years of pondering, waiting, and changing plans, I felt committed. It was like I was starting an avalanche. No turning back now. I plunged into long evenings and weekends, cutting, fitting, and sawing. The base came together quickly after work one evening. Finally, the base was set on the newly painted frame and through-bolted for strength and safety.
Step 4: Walls


The walls are built like a box, not like modern stick framing. All are tongue and groove pine, the front and rear being 3/4" thick, the sides 1/4". This is why the sides have hardwood strengthening battens (1") run vertically inside and out on 1' centers. Corner posts are made from 1 1/4" pine stock. Outside corners are oak. Upright bracing around the door inside and out from poplar. Upright bracing on front wall is oak. Sub-floor is 1" salvaged plywood.
Footnote: I have since put a second layer of wood over the outside side-walls. This added some strength (and at least 40 pounds) but was primarily to add insulation for heat transfer. The walls get incredibly hot in the southwestern sun and transferred much of the heat inside. I didn't really notice a problem in the cold as the wagon is quite snug.
Step 5: Internal Structure and Roof


The bed structure ties the walls together and stiffens the entire structure. Without this, I would have to find some other way to strengthen the walls. The roof is plywood, screwed to poplar purlins. Outer and inner tops of walls are stiffened with oak band boards.
Step 6: Table, Window, and Door


The table is modeled after those in old British wagons. The window was made as a separate unit and then attached whole to the wagon body. It is oak and pine. The door is modeled after some sheep wagon styles from the western U.S. It is a "Dutch door" with a functional casement window and a wash pan holder. Not quite finished in the photo below but nearly there.
Step 7: A Trial Run and Some Finishing Touches


We took her on a 500 mile journey into the desert to test her out and figure out some interior layout issues. We got a base coat of oil paint on most of the body by the end of the week. After we returned, we added an oak floor, finished the table, and added a lot of homey touches. There ample storage under the beds, but I intend to add more outside.
Step 8: Stairs, Paint, and Shelving


Stairs were built to match wagon. Oak treads, fir risers. The paint was still proceeding slowly at this point but we had to take some time off to head to the ocean for a second "test" journey. The wagon traveled across New Mexico, Arizona, and southern California through the scorching desert to the beautiful San Diego area for a week. When we got back, she got her full coat of paint, and some more interior work. The shelves are an enormous amount of space, and can be covered by a roman shade type cover.
Roof: Although I didn't photograph this step, the roof was ultimately covered in a low profile steel that was epoxy coated in the factory. It is a light color to keep some of the radiant heat out and seems to work well. It is screwed through the roof into the purlins.
Step 9: The Stove


With autumn here I felt it was time to deal with the dreaded stove. I made a hearth area in the corner, tiled the riser with slate, covered the walls with 14 gauge flashing, covered that with fire shield board, inserted a wall thimble, and placed the pipe and stove in the wagon. In case of rough driving conditions, the stove is screwed to the deck, and two large eye screws attach it to the back wall. It is unlikely to move in anything short of a rollover. The stove is from Four Dog Stoves and is probably too big for this space. Its what I had though.
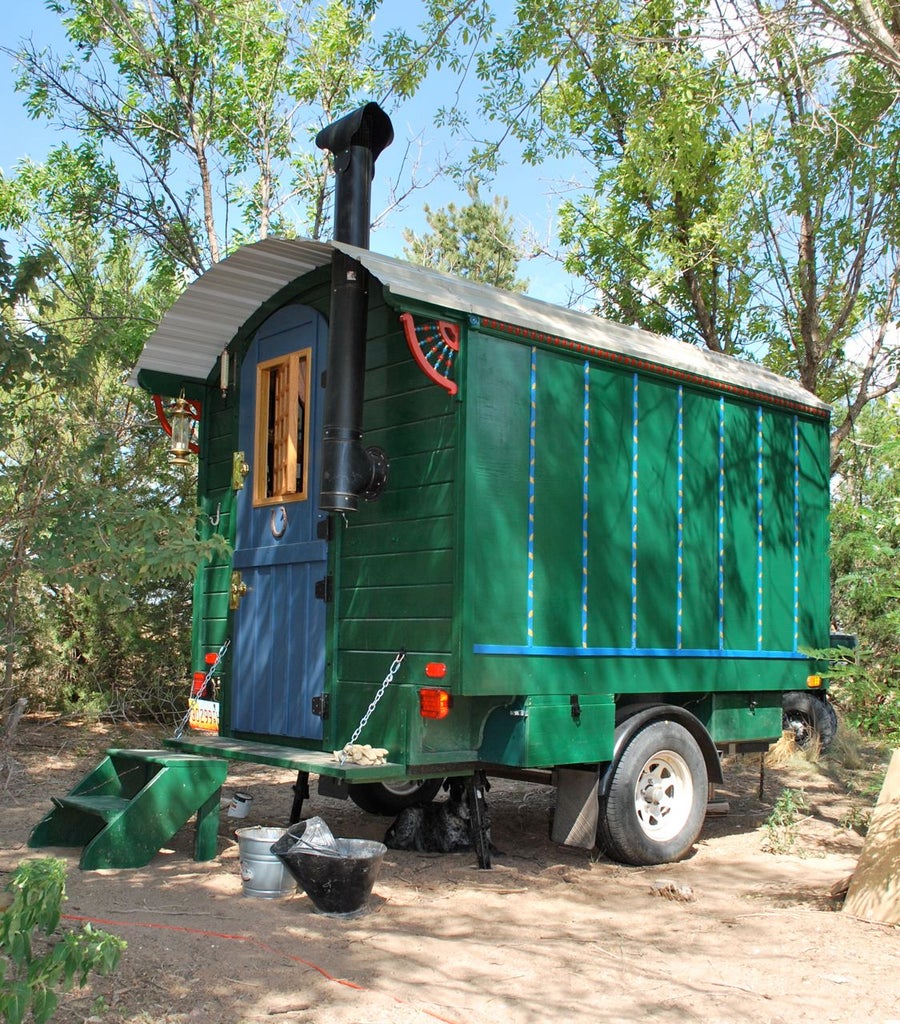
Step 10: On the Road


This is the wagon being used on the road. I have fired up the stove and have spent about three weeks worth of nights in it by the time this photo was taken. It is all I could ask for. I added three outside boxes, two pictured below, for extra space and for things that don't need to be inside. Two more boxes were added later.
Step 11: Living Space


Only with time will the wagon really take on a personality as it get lived in and things are arranged "just so". Like a ship or any small living space, a good deal of thought needs to go into every little detail, especially when it comes to storage. I think it will help me minimize and is now my real "escape pod", whether its to get to the mountains or beach, or to just someday hit the road. Here is a three photo pan to give a feel for the space.
There are a few more photos of the rig and other stuff on my weblog at http://paleotool.wordpress.com/ under "projects" and "vardo". It will be updated as it is continually improved.
Step 12: After 9000 Miles...


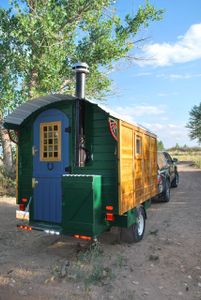


Here she is after 9000+ miles and more improvements. Its a continuing process that I hope to perfect in the next decade or so. The paint is still not finished in this photo but most of the exterior construction is finished here. Thanks for looking around. More at http://paleotool.wordpress.com. Happy travels.
Step 13: And a 20,000 Mile Update...
New cedar siding and windows for 2014. More varnish and paint to keep things fresh and protected.
Grand Prize in the
Woodworking Contest


