

Introduction: CNC Drip Coffee Stand

This is a drip coffee stand I made using a Shopbot CNC Router.
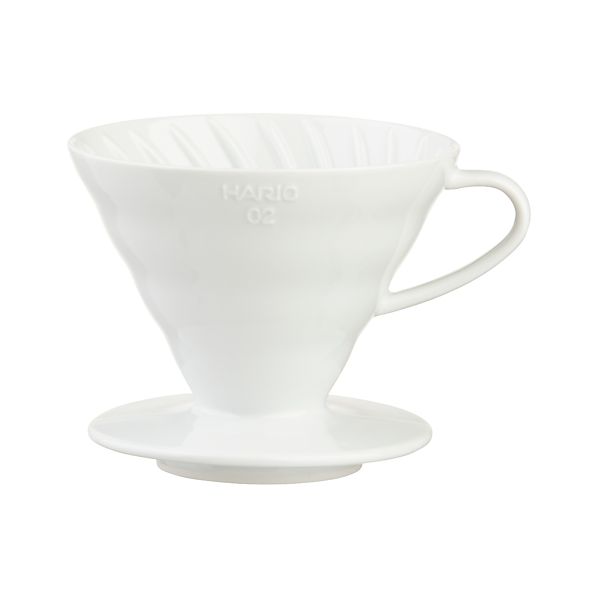
It was made specifically for a Hario V60 Ceramic Dripper, but should be easily customizable for any other dripper. The overall form is very a simple twist (literally) on other drip stands like this one, but I specifically wanted to meet three additional objectives:
1. Easy to clean
2. Use only natural materials (no MDF or plastic)
3. Hide the CNC-made aspect
To these ends, the stand is made of wood (walnut) and lined with cork in a couple of places to absorb unwanted dripping. To add some much-needed but optional contrast, an aluminum disk is added to the base on top of the cork lining. The legs face opposite directions, but either leg can be mirrored to make a more traditional design.
Please see the attached zip file for DXF vector files as well as VCarve CAM files embedded with the toolpaths I used for cutting out the various shapes.
Supplementary files like my Rhino mockups in 3D and Grasshopper files have been posted to Github.
Attachments

Step 1: Tools and Materials

The specifics are largely up to the style you'd like to achieve, but here's what I used to make mine:
0. CNC Router - Could probably be done with a laser cutter and most definitely with manual tools, but those are outside my area of expertise. Bits I used were: 1/4" downcut bit for wood and cork, and 1/4" straight bit for aluminum. Feel free to substitute for what you have on hand.
1. Thin wood - Walnut, 1/2" thickness, at least 26x6" but larger is better. The bulk of the structure is made with this. I chose walnut because I love the color and, less romantically, because it matches coffee stains. Purchased for about $5-10 a plank on eBay.
2. Something absorbent - Cork sheet, 1/4" thickness, also purchased way more than I need on eBay for about $10.
3. Glue - Titebond or any other wood glue should work A-ok.
4. Sandpaper - I only used 150 and 220, but you may have a better technique. Random orbital sander could be used for planks before routing.
5. Wood finish - AFM Naturals Oil Wax, used for both the wood and bamboo because it's natural, food-safe, and imbues water resistance. Can be substituted with any other oil or wax finish, or even something non-natural. Sponge, rag, or brush for applying this.
6. (optional) Router table with roundover bit - I used a 3/8" roundover bit for taking away sharp edges from most of the sides.
7. (optional) 6061Aluminum, .040" thickness, at least 5x5". This is perforated and cut into a circle to act as a "landing pad" of sorts over the cork absorber. It is optional because it scratches easily and probably only exists for its good looks. Purchased from onlinemetals.com at $5 for 12x12".
8. (optional) Flapper wheel. This is basically a bunch of small sandpaper pieces attached to a shank that you put in a drill press or the like. It gives you a quick and dirty way of smoothing over rough cuts, but I also used it to deburr the aluminum and give it a brushed look.
9. (optional) Laser cutter or scissors. This would make quick work of the cork. So could a sharp, strong pair of scissors.
Cost, moolah, cash money - The bottom line cost is a little hard to calculate, since most of the materials, consumables, and tools will hopefully last through many more projects. However, I'd say a minimum of ~$25 is needed for just enough wood ($10), aluminum ($5), and cork ($10) to complete the project. In reality, though, I went through a few rounds of prototypes and tests in MDF first, and a couple of screwups in walnut itself.
Step 2: Cut Wood


(For reference, please see the .dxf files attached, or the .crv files with toolpaths included if you are using VCarve. I'll do my best to describe the cuts in words below.)
There are 4 main pieces (as labeled in the picture) -
1. Top
2. Side A
3. Side B, identical to Side A, although it could be mirrored if you want a symmetric stand
4. Base
For the rest of this Instructable, I'm going to use "profile cut" to mean one that goes all the way through the material, and "pocket cut" to mean one that only cuts to a certain depth (usually 1/4"). A machinist might cringe at this, but I'm being consistent with the terminology I've learned from VCarve.
The top supports the dripper, and thus has an inner circular profile cut for the dripper's bottom flange to fit into. It makes an allowance for a cork inlay and adds a lip for this inlay to sit on with a pocket cut. The purpose of the cork is to provide a squeeze fit for the dripper, so it is cut to make the radius of the hole exactly the radius of the dripper flange when placed on the lip. The radius can be changed to accomodate your dripper, or to leave out the cork inlay entirely if you get rid of the pocket cut.
The sides are identical and have simple rectangular pockets for the top and base to fit into. Making these pockets instead of profiles means that the joints are hidden from the other side of the material. These rectangles should have dogbones at the corners, which are overcuts made since spinning bits can't make perfect 90 degree corners for pocket cuts. I used a 1/8" bit for the dogbones so that they wouldn't stand out as much, but they may not be required at all if you plan to round the edges over later with a roundover bit.
The base is asymmetric because the legs are facing opposite directions and it would be impossible to align both the top and bottom pockets given the compactness of the whole structure. It is the simplest part, having only a pocket for the cork and aluminum circles to fit into.
After an embarrassing number of failed prototypes and an almost fatal zeroing error when cutting the walnut (see picture), I finally had enough working pieces to assemble the stand. The same bit (1/4" downcut) was used for every cut, and tabs were added for all profile cuts.
Make sure the plank you have is wide enough for all the pieces (at least 7") and that you have zeroed the bit correctly. I had a hard time holding the thin plank of wood down as the profiles were getting cut and the internal support was weakening. It's pretty important to maintain a border of uncut wood around all your parts so that the plank doesn't start to buckle under the force of the cut. In retrospect, I would recommend screwing this into a larger, more easily-secured piece of spoilboard.
Step 3: Cut Cork


There are two places I used cork - the top, as a liner to give the dripper a squeeze fit and capture any stray drips; and the base, to act as a sponge for spills. In theory, both can be removed and washed if they start smelling like stale coffee or wet dog.
The top piece is just a long rectangle cut to the circumference of the inner circle and then squeezed into the hole. As you can see from the design of the top piece, I chose to put a pocket cut on the inside circle to add a lip that the cork can sit on, so the cork can be pocketed halfway as well to fit into that lip. I used the Shopbot to cut the cork, but it was extremely hard to hold down during the cut! I'd recommend using a router table for both the profile and the pocket, or better yet a laser cutter if you have access to one, or even a sturdy pair of scissors if you can pull it off with the help of a template! If you use one of these techniques, the pocket isn't easily possible but that's not such a bad compromise for the extra accuracy. Alternately, the cork here can be left out altogether.
The base piece is a circle cut to just under the diameter of the base pocket to allow room for expansion. In case it is not flat (as in my picture) it can be steamed for a few minutes and then placed under a heavy weight on a flat surface or clamped between two flat pieces of material. I didn't have any luck flattening it without steaming first, as the water and heat seems to "loosen" the binder up a bit.
Step 4: Cut Aluminum (optional)


The aluminum base piece is just a circle with perforations. Both the drill holes and profile cut were made with the same 1/4" bit.
The aluminum was screwed into a piece of plywood spoilboard to keep it flat during routing.
After cutting out the disk with shears, I deburred the edges with a flapper wheel attached to a drill press, but a file would have worked just as well. I quickly discovered that even placing a cup on the aluminum would scratch it, so I gave it a thorough brushing on the flapper wheel to see what would happen. I'd like to say that this gave the aluminum a spectacular brushed effect, but that would be a white lie. It does look a lot better with somewhat interesting, intentional scratches that mask the unintentional ones, though.
A side note on the design - I used a parametric modeling tool called Grasshopper 3D (which acts as a plugin for Rhino 3D) to create and place the perforations in a honeycomb pattern. The file can be found on Github here.
Step 5: Round Over Edges (optional)


I used a router table equipped with a 3/8" roundover bit to take some of the edge off the wood pieces. I experimented using some scrap walnut of the same thickness until I found a depth that resulted in the same amount of rounding on both sides. This is purely for looks, and not everyone might like the resulting effect.
You can also place the cork lining inside the top piece and round over the cork itself.
Note that if you choose to round over the top and base pieces, the pockets in the sides may not need to have dogbones. See the picture on the next step for a visual explanation.
Step 6: Test Fit


Before gluing the wood, make sure everything fits, including your favorite coffee mug and dripper!
Be gentle...I had an oopsie that nearly made me tear my hair out until I realized I could easily fix it with some glue.
Step 7: Finish


Sand the wood and cork to your liking. I used 150 and 220 grit sandpaper in that order until the wood was smooth to the touch.
I applied two layers of AFM Naturals Oil Wax to the wood and cork. The oils give a richness and luster to the surface that I found really appealing compared to the polyurethane or polycrylic stuff I've used in the past. Leave oil out of any pockets if you plan to glue it all together next.
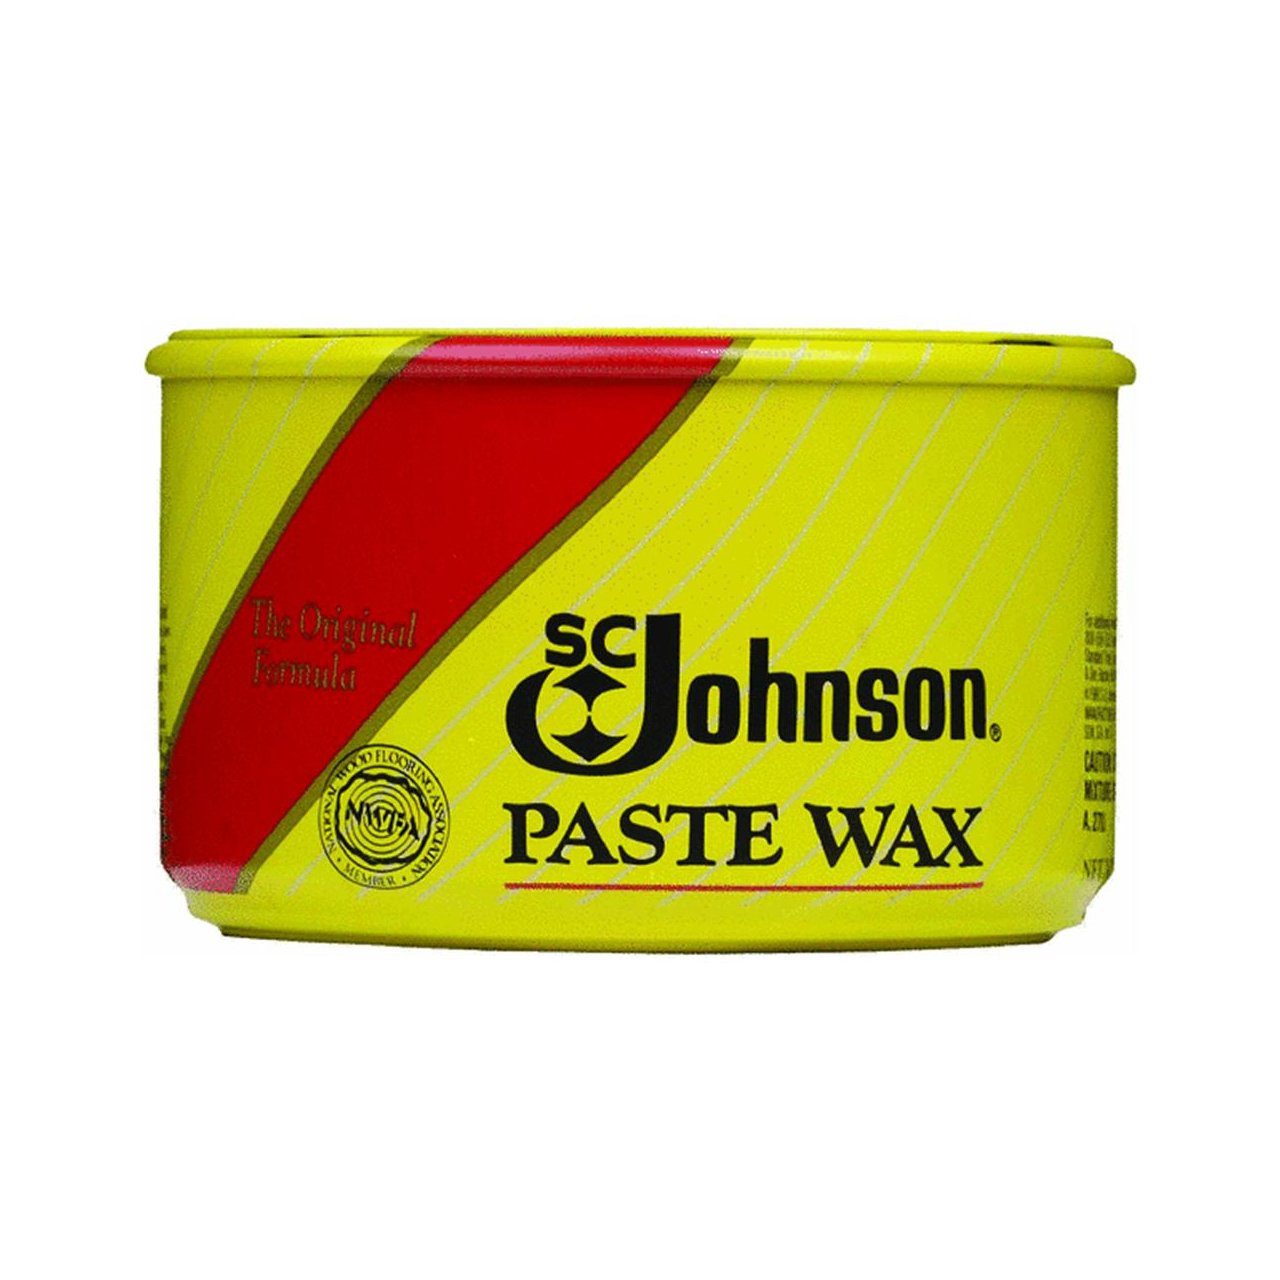
On the recommendation of a more knowledgeable friend, I used Johnson Paste Wax to try and further protect the aluminum from scratches and water. If you have some around and want to try this, be warned that it does detract from the metallic shine.
Step 8: Glue It Together (optional)

If you're comfortable with the pieces individually, do another test fit and see if you need to glue the wood pieces together. In my case, I had a nice friction fit without glue, which meant the whole stand was disassemblable. However, I wasn't totally comfortable trusting this fit so I decided on glue.
I applied glue to just the rectangular pockets in the side pieces and then fit it all together. After waiting around 10 minutes, I cleaned off the excess glue with a scraper and wet rag. As a side note, I HIGHLY recommend the Bench Dog Tools glue brushes. They are super useful, easy to clean, and if you get the 2-pack, you can use one as a brush to clean your grinder! It won't grow old and funky like the horse hair bristle brush or whatever those other coffee snobs use.
You could also glue the cork liners into their respective wood pieces, but I chose not to. If they can be removed, they can be cleaned separately from the stand.
Step 9: Done?!


At this point, everything should be assembled and ready to go!
I spent about a month overall designing, prototyping, and iterating. I had to cut some corners to get done with this before all my hair turned gray, but at the end I had a drip coffee stand I was happy with and a little proud of to gift to a friend. I hope this Instructable inspires someone to make a coffee stand tailored to their needs instead of buying a generic one lacking personality. Though the materials and time were costly resources, the experience of doing it myself is always worth more to me.
If you have any comments, please feel free to contact me. It's quite possible I forgot a crucial step!
Lastly, thank you to the friend who commissioned this project and kindly provided me with a Hario dripper to mold the design around, and thanks to my coworkers who provided me their design expertise and feedback, most of which I ignored at my own peril.

Participated in the
I Could Make That Contest


