

Introduction: Carbon Fiber Laptop Case (DIY)


Hi everyone! I've made this Carbon Fiber laptop sleeve/case for my Lenovo Thinkpad X1 Carbon http://shop.lenovo.com/be/nl/laptops/thinkpad/x-se...
I've decided to share the progress on how I've build it on here. I know it very hard to make something like this at home without the right equipement but I hope this will inspire you in some way. At least it will show you how carbonfiber parts are made in the F1/bike/race/space industry
Step 1: Watch the Video!
A picture is worth a 1000 words, Well I guess this video is worth a 1000 pictures ;)
It's a fast summary on how I've build the case with some more voice-over information on how I did everything!
If you don't like videos, scroll down and find more pictures with written explanation ;)
Step 2: Making the Pre-mould


what's a pre-mould? It's the piece I will make to make the mould of to get the part out at the end.
I had to make a premould because I (kind of obvious) Didn't want to make a mould from the laptop itself. So I checked the dimensions of the laptop online on the website of Lenovo. Then I reproduced that dimension + some thickness of the foam and the thickness of the carbon fiber.
I drew everything in Autodesk Fusion 360 First to see if everything would fit. I Then used my Xcarve from inventables to cut out the shape with very exact dimensions using their free software called Easel!
Once I had the box-shape out I decided to route the edges with a 12mm rounded edge (the thickness of both halves together was 24mm making this an exact half-circle edge.
Once that was done I undid the screws of both halves and put a metal plate inbetween to be able to create the both mould halves.
Mdf is kind of porous and sucks up a lot of moist/water/resins, that why I decided to coat the mdf first with a coat of red epoxy (epoxy is mostly translucent but you can color it with some specific pigments)
that way I had a nice sealed mdf shape bonded on a plate (both sides) ready to mould!
Step 3: Making the Mould (2 Times)


Here comes the fun part!
making the moulds. I'm using the Uni-mould system from Easycomposites. You can find a good .pdf on their website on how to make moulds on following link using their mould system.
Here's a link to the webshop: http://www.easycomposites.co.uk/#!/starter-kits/un...
Here's a link to their guide https://system.na1.netsuite.com/core/media/media.n...
PRIMARY STEP: REALEASE AGENT! I don't have this step in the pictures (It's in the video) You need a proper release agent to be able to demould at the end! IF YOU DONT USE A RELEASE WAX OR RELEASE AGENT YOU WONT BE ABLE TO REMOVE THE MOULD AND EVERYTHING WILL STICK TO EACH OTHER!!!
Here's a good release agent I like to use: http://www.easycomposites.co.uk/#!/wax-and-mould-r...
1. apply the gelcoat (black here) This is some kind of "paint" that will be the first layer you will see when you demould, it is easy to sand and polish to a high gloss and will make sure you get good parts out of your mould.
2. You let the gelcoat cure to a tacky state, then you can proceed to the next step: the Coupling coat with a 100g/m² chopped fiberglass mat. I used 150g of the coupling coat for each side. This Coupling coat will create a good bond between the gelcoat and the tooling resin that will come on top of that. The coupling coat will also prevent print through of the fiber and tooling resin in a later state.
3. You Let it cure to a tacky state (means it sticks but if you put your finger on it won't leave a mark of your finger on. The you can put out the big buckets and mix the tooling resin. I've used around 1,8kg of tooling resin and 4 layers of 400g/m² chopped fiberglass mats. You might think isn't this an overkill of materials to make a mould? If you want a stable mould (means it won't shrink or wrap after use or curing) you will need to do this.
4. repeat this step for the other side (We are working on 2 mould halves)
5. Once Cured! DO NOT DEMOULD! They are still positioned in a good way to each other. Time to drill the holes and put in the screws. that way they will always be positioned in a good way to each other when demoulding and re-assembling them
6. I'm demoulding each side from the metal plate that was put inbetween. Unfortunately the pre-mould came loose with the mould. But not a big deal, you can remove it after demoulding (It's a demoulding after demoulding)
7. Sand and polish the mould (go from a 400-600-1200 sanding grid)
8. Polish the mould to get a high gloss if needed
9. Re-trim the mould to wanted size
Step 4: Let's Make the Parts!


Here's the carbon fiber finaly!
I'm using a build of 3 layers creating a thickness of 1mm after cure!
2 layers of a 200g/m² Carbonfiber (this means 1m² of fabric weighs 200grams)
1 layer of a 650g/m² Carbonfiber
NOTE: I'm using a high end technique here called "VARTM or Resin Infusion" This is one of the techniques they use to make high end carparts/boats/planes/bikes next to an other technique called Prepreg (that's something for an other instructable if you guys are interested in it)
An easier technique is called wet-lay-up (check it on youtube, you will find many videos about it) You will need less tools and should be able to do it at home if you get the basic materials like the carbonfiber, releaseagent, epoxyresin and some brushes.
1. You apply 5 layers of release agent (NOT IN THE PICTURES) You want your part to release from the mould once cured right?! :)
2. You put down the 2 layers of carbon fiber in the mould (make sure you put it tightly against the mould in all the corners to prevent bridging)
3. You add the peelply (this is a fabric that will allow you to remove all the layers on top after curing (remove the infusion mesh/excess resin/vacuumbag)
4. add the infusionmesh (not in the pictures) this will enable a good flow of the resin through the part.
5. add the vacuumbag using some tackytape and place the connectors. there is one connector on one side to let the resin in and an other one to the vacuumside.
6. You pull everything under a good vacuum and make sure there are no leaks (otherwise you will get some pinholes or bubbles in your part!
7. You mix your resin for the infusion. I'm using the infusion resin from EasyComposites as well www.easycomposites.co.uk you will find everything needed on there to do most of the work with composites.
8. you put the hose in the cup of resin, remove the clamp and let the resin flow through your part.
9. wait for 24 hours and you can remove the vacuumsupply (peelply/infusionmesh/vacuumbag/connectors)
10. You now have your part with an edge that needs to be removed! Up to the next step
Step 5: Finish the Part


The parts are cut to shape using a dremeltool with a diamond blade. You can then sand the parts to a high gloss using sanding grid 800-1200-2000 and then polish the part! after that you can cut out the front side of the cover on both sides! you still want to be able to slide your laptop in it right?! otherwise you would be left with a closed box! Then I'm using a fast curing epoxy glue to bond both halves together. I've inserted a foam pad first to avoid the carbofiber scratching the laptop. Let it cure for a couple of hours and you are ready to remove the clamps.
Step 6: We Are Done!

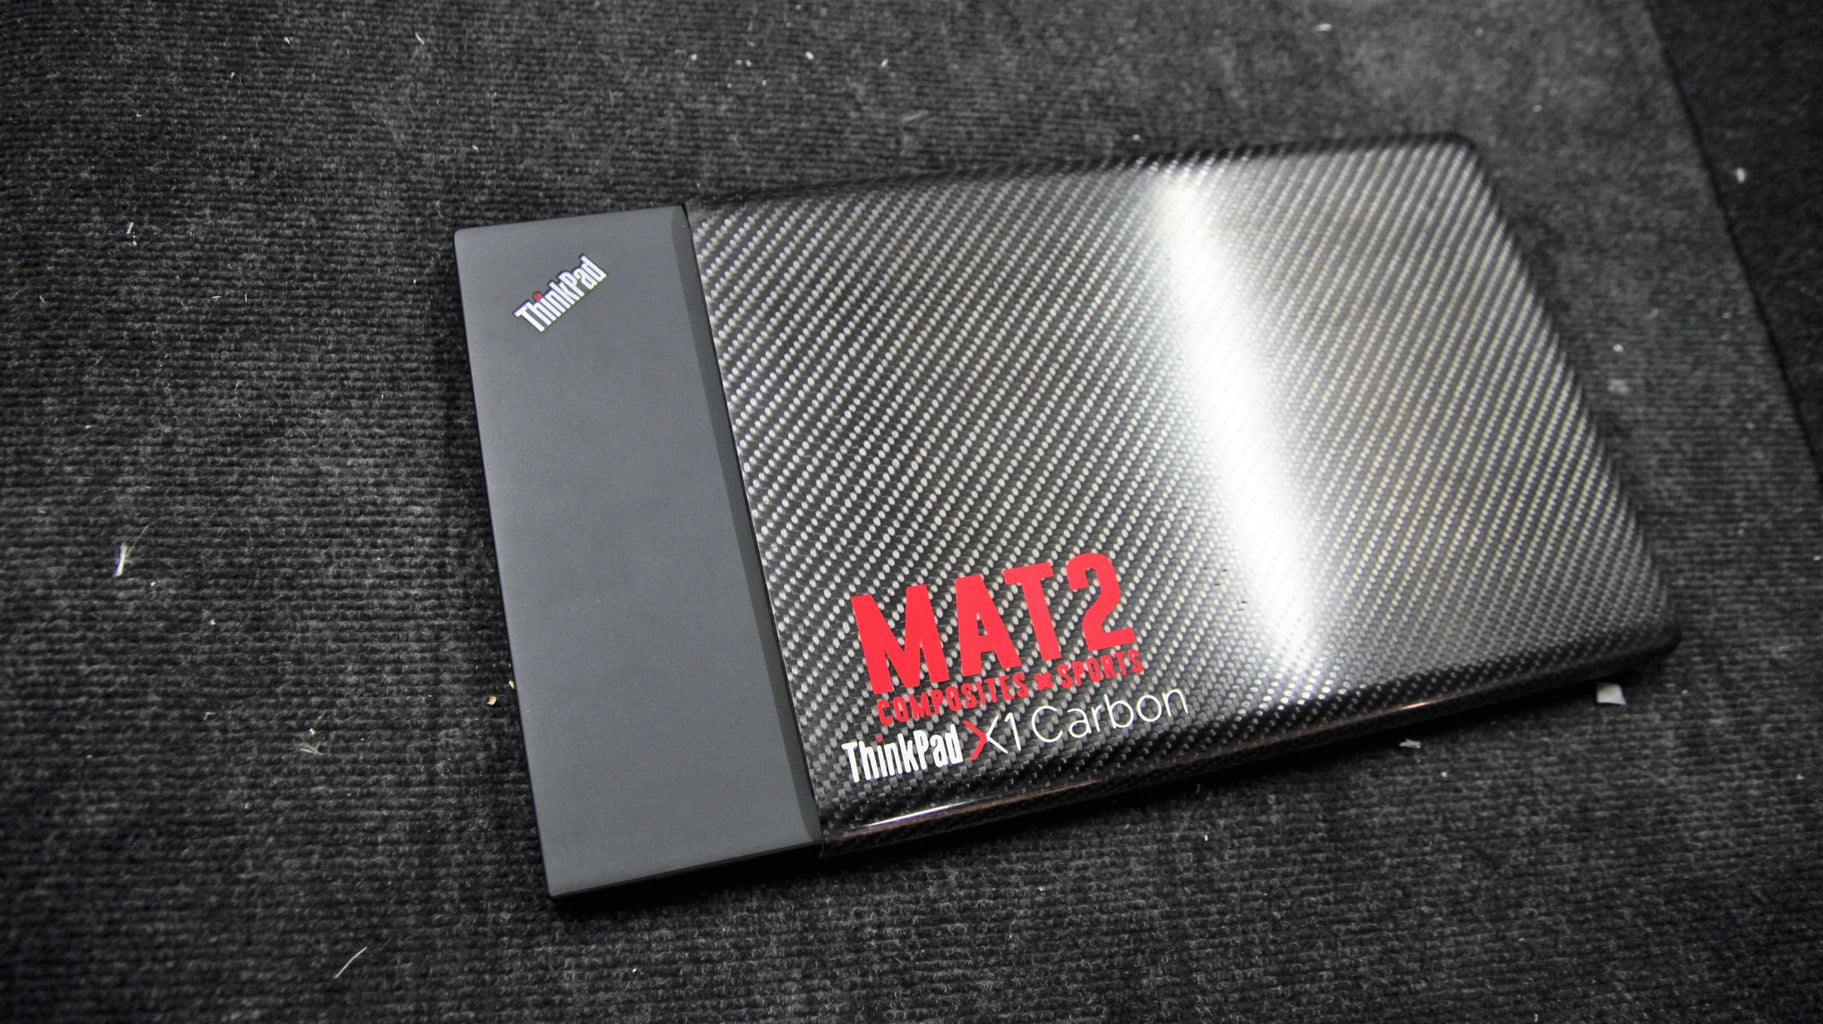
Add some stickers if you want to, and enjoy your new laptop sleeve!
I'm making a lot of carbon fiber related tutorials on my youtube-channel, have a look and say hi in the comments! If you like what I do subscribe as well for updates ;)
www.youtube.com/user/matthieutje65
Want to stay up to date with pictures and so on inbetween the projects find and like me on facebook as well!
www.facebook.com/MAT2COMPOSITES
If you have questions or if I have been unclear at some steps in the video or written part, ask them in the comments below, I will give you more information if needed in the comment section!

Participated in the
Design Now: 3D Design Contest 2016


