

Introduction: Arduino Prototyping Stand From Carved Foam


The Idea: Create a Portable Arduino Prototyping "stand" that is easy to make
and easy to transport from your home to school, to your friends house or just
from your living-room to your room without worrying if you left something behind.
Some advantages of the Portable Arduino Prototyping Stand from Carved
Blue Foam:
- Very low cost, under 1€ for a small sheet of Blue Foam
- Very easy and fast to make ( Blue Foam is easy to carve )
- Having your Arduino project organized during the prototyping stage
- Easy to transport ( the Foam is very light ) your project from one place to
another during the prototyping stage
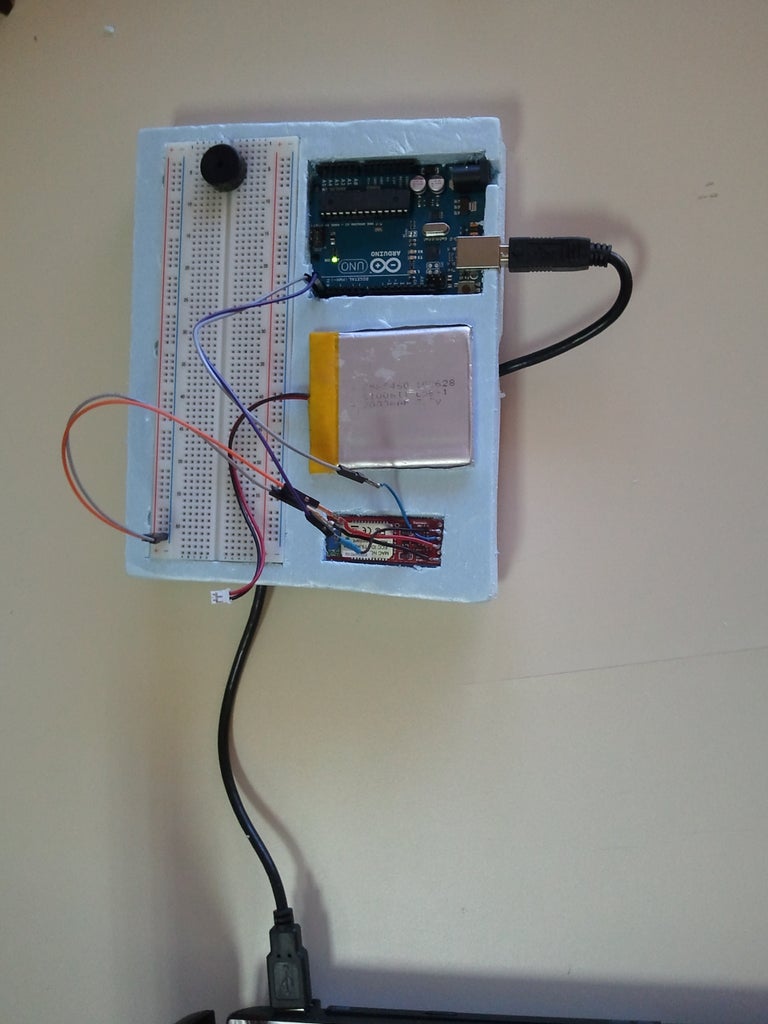
- Capacity to integrate new items on the Blue Foam Board, for example an
on-board 6V Battery for power
Step 0( Tools and Materials )
0.0 The Items you should already own
0.0.1 Arduino Board
0.0.2 USB cable
0.0.3 A Bread Board
0.0.4 Other stuff such as LED's, motors, batteries ...
0.1 Materials
0.1.1 Blue Foam( or white foam )
0.2 Tools
0.2.1 Paper knife
0.2.2 Pencil
0.2.3 Hot Glue Gun ( optional )
Step 1 ( The Blue Foam )
1.1 Buy some Blue foam from your local construction sales shop. The Blue
Foam is better than the white Foam in terms of the material density for
our particular Portable Arduino Workbench Project
1.2 Using the paper knife cut a rectangular shaped piece of Blue Foam,
have in mind the size of your components for your particular project. You
can cut off the rectangular a little bit bigger than necessary in order to
accommodate new items as your project advances
Step 2 ( Positioning )
2.1 Position your Arduino , the breadboard, and other devices on the
rectangular shaped Blue Foam
2.2 Underline the perimeter of the objects you have just put on top of the
Blue Foam by using a pencil
2.3 Turn the Blue Foam Board around on its back and position the USB
cable on top of it, underline the perimeter around the cable using the
pencil
Step 3 ( Carving the Blue Foam )
3.1 Carefully carve out the interior of the perimeter of the drawings using
the paper cutter. Be careful not to carve more than necessary.
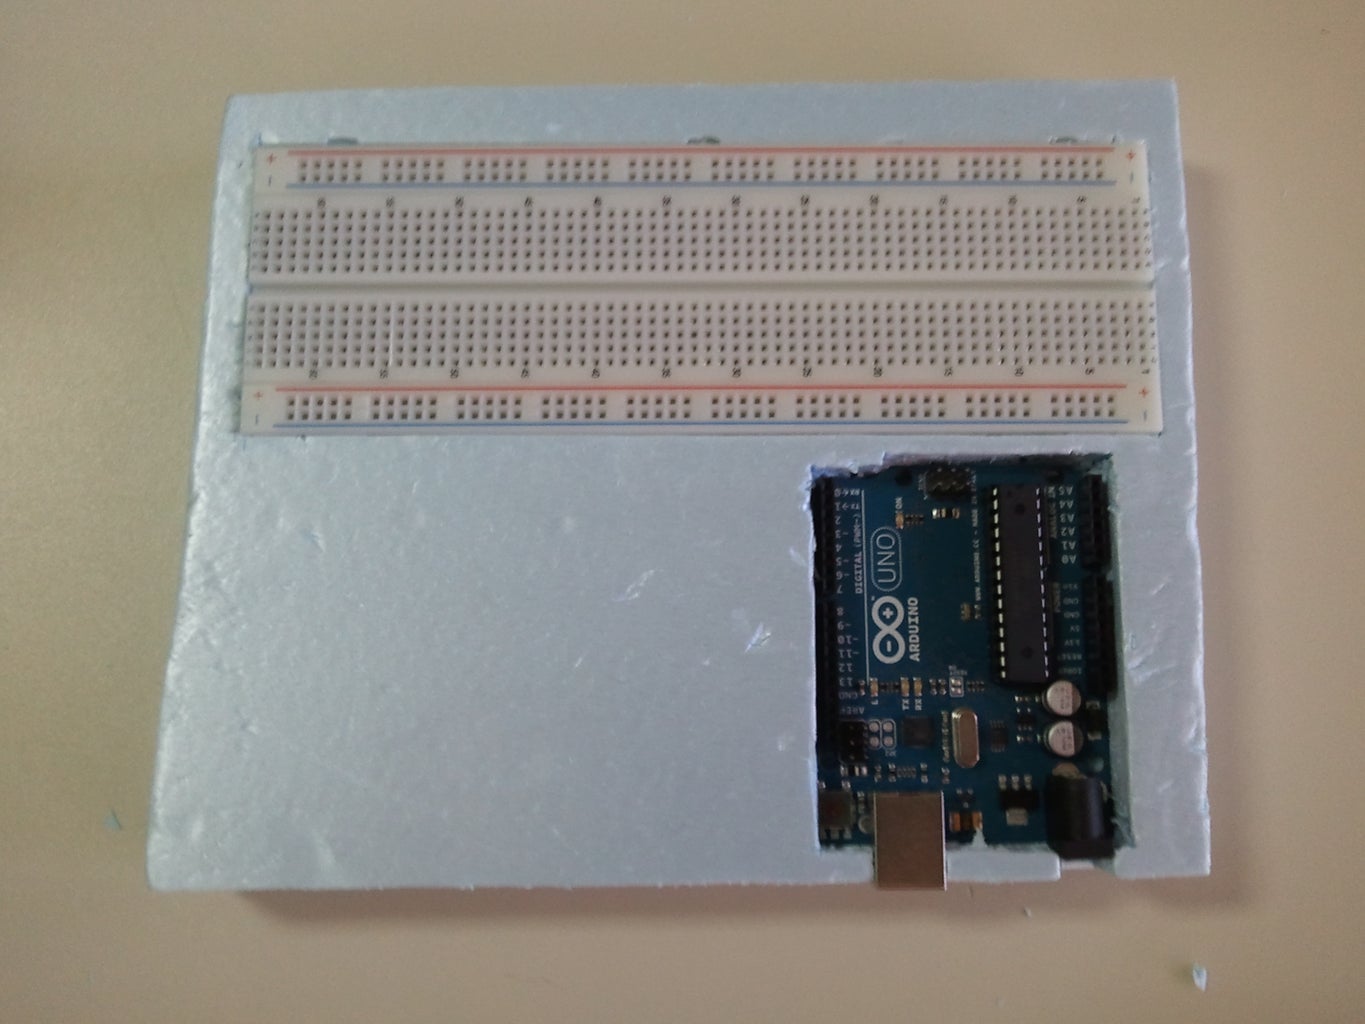
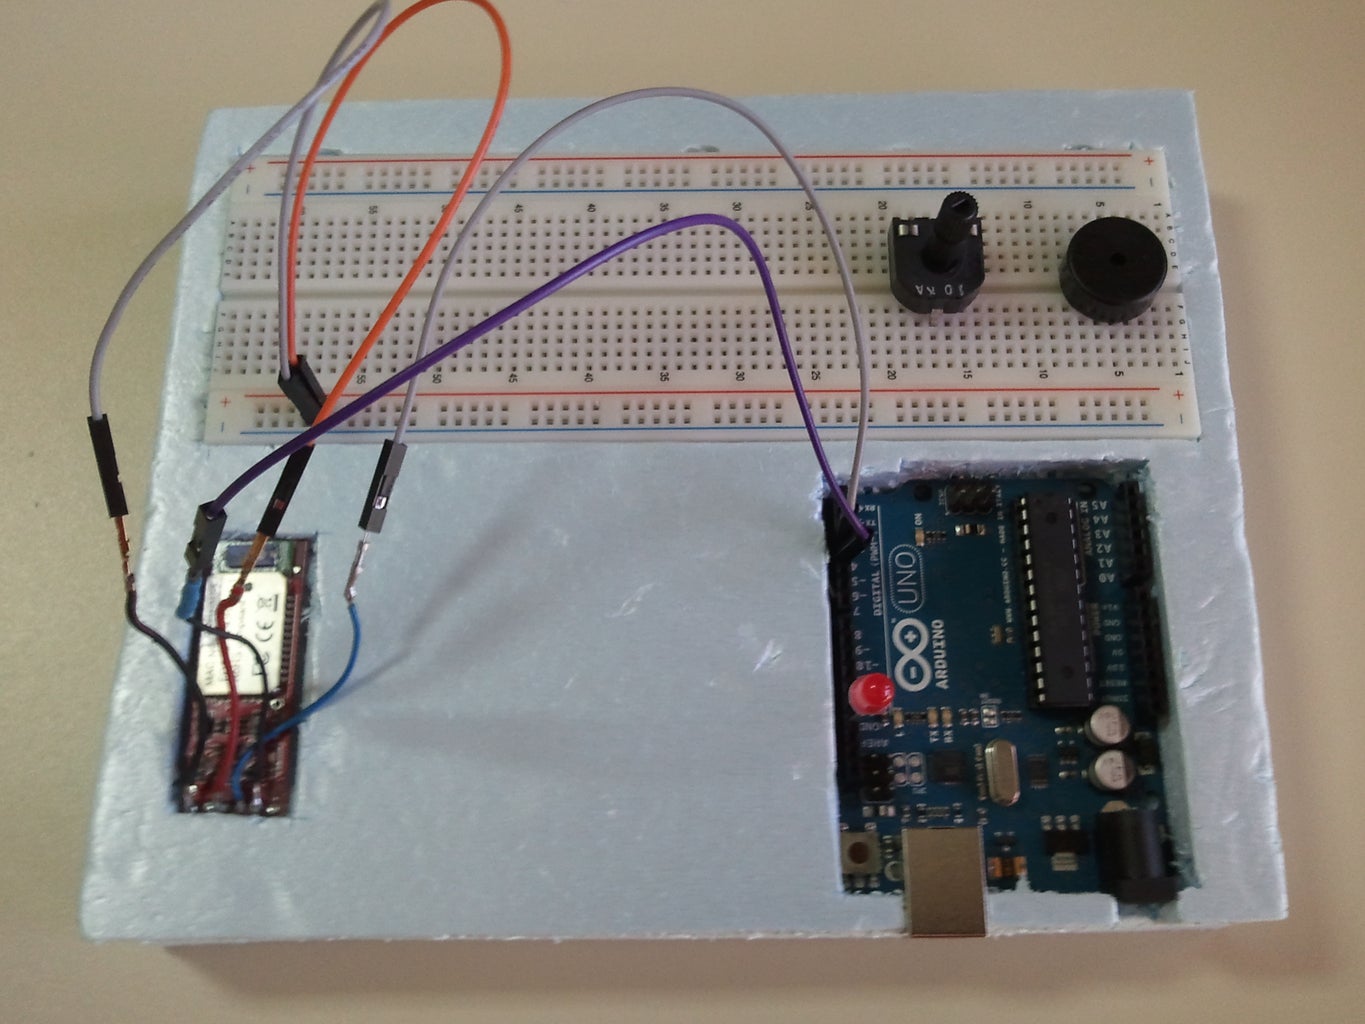
Step 4 ( Attaching the Items on the Blue Foam Board )
4.1 Position and attach the items in the carved housings in the Blue Foam
Board
4.2 Position the USB cable under the board inside the carved housing and
apply some hot glue.
or alternatively:
You can put the cable on top of the Blue Foam Board by carving its
housing on top of it, and avoid using hot glue.
Step 5 ( The Blue Foam Boards 4 Legs)
5.1 Cut 4 small rectangular pieces of foam and glue them on the corner of
each border of the Blue Foam Board in order to elevate the Board from
the ground by half a centimeter or so.
/******************************************************************************************************/
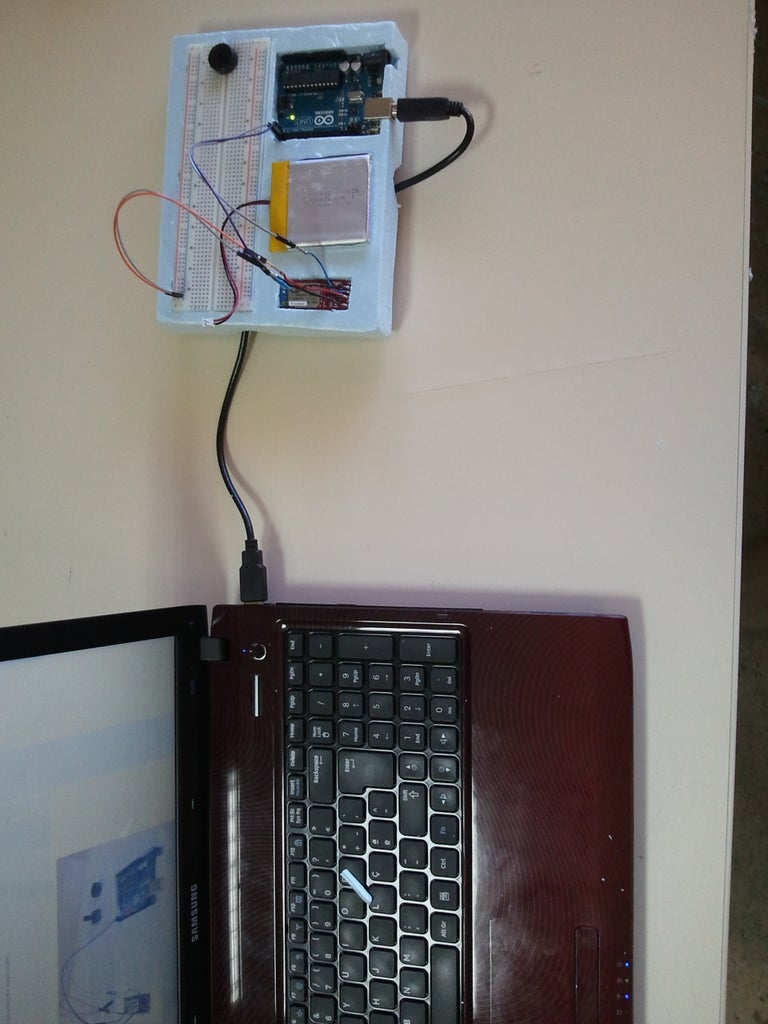
You now have a Portable Arduino Prototyping "Stand"
from carved Blue Foam, plug and play style.
/******************************************************************************************************/

Participated in the
Education Contest


