

Introduction: Catalog Folder


Another simple and cute folder to put your handouts in so it's ready for clients in an attractive package!
Also, very handy to carry in your purse or bag without your catalog getting bent up or random stuff stuck inside.
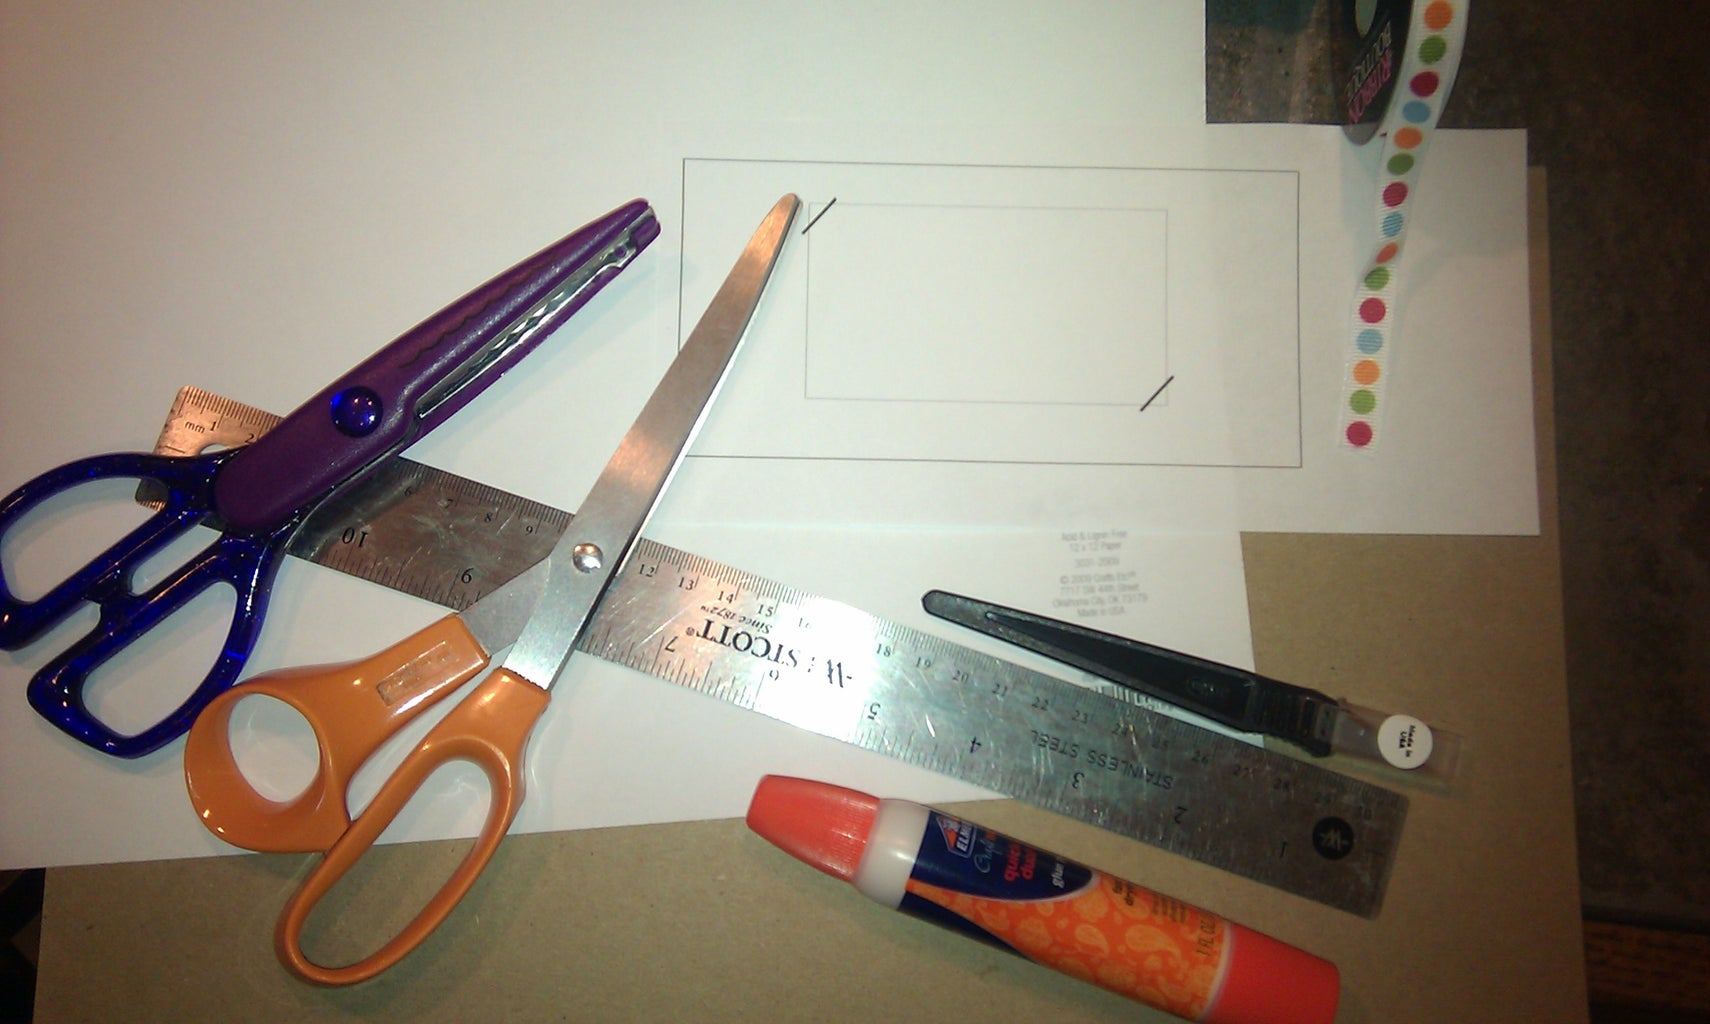
You will need...
A 12x12 piece of scrapbook paper or cardstock
A ruler
Scissors
Glue
Optional:
Ribbon
Craft knife
Decorative edge scissors
Step 1: Step One

Decide which edge of your paper is the bottom. The back 6 inches of this edge will be hidden, so you probably want any part with tags, bar codes, etc. to be the bottom.
Fold your paper in half vertically, so if the bottom is to you, you have a 12 inch tall by 6 inch wide rectangle.
Unfold before going to next step.
Step 2: Step Two

Measure up 3 inches from the bottom of your paper. Mark in several places.
Step 3: Step Three

Place your ruler so it lines up with the 3 inch marks you made. Use the edge of your scissors to score a straight line all the way across your paper.
Step 4: Step Four

Fold on the line you just scored. It should be pretty easy to do.
Unfold before going to next step.
Step 5: Step Five


Refold your paper on the first fold.
Use your scissors to cut a long narrow triangle shape on the fold side of the bottom. The triangle should run from the bottom to the newest fold line.
Unfold paper. It should now look similar to the second photo.
Step 6: Step Six (Optional)

This is the point to add one or two options, if you want. If you don't want any added options, skip to Step 7!
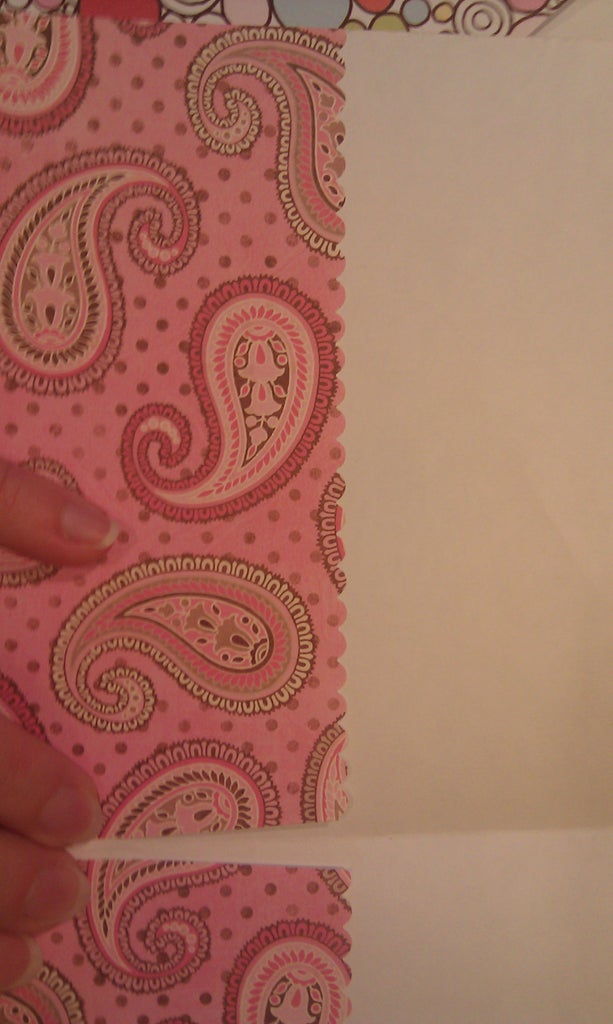
If you'd like your folder to have a decorative edge on the flaps, use your decorative edge scissors to cut a VERY SMALL amount off the two flaps that fold up. (The photo for this option is a different folder than the one in all the others.)
If you want your folder flap to display your business card or magnet, cut a pattern the same size as your card or magnet. Place it over the folder flap you want to display it, and cut two small angled slits at opposite corners. Make sure your paper is UNFOLDED at this point!
(I created a printable pattern for this option that is the same size as my flap with the magnet outline and angled lines.)
Step 7: Step Seven

Put a small line of glue along the outside edge of each flap and fold up.
If you are making just a basic folder with no other options, once the glue is dry, it is done! You can see my finished folder, open with contents, at Step 10.
Step 8: Step Eight (Optional)

If you want to add a ribbon tie, decide where on your folder you'd like the ribbon to be. I put mine about 1/2 inch above the folder flaps.
There are two options for this. You can glue the ribbon to the desired points and let it dry. However, if your folder doesn't have a lot of things inside, it may gap open when tied with this method. Not a huge deal, but something to be aware of.
For option two, I cut a slit slightly wider than my ribbon about 1/2 inch from the edge of my folder.
Step 9: Step Nine (Ribbon Option Continued)

Slide the ribbon through the slit and secure with glue.
Another option - I like to put a small amount of glue on the opposite end of the ribbon to keep it from fraying.
(I don't have a picture of this option!)
Step 10: Step Ten

Once all the glue is dry, your folder is complete! Load it up with your hand outs, and it's ready to give to clients!
The photo on the Intro page shows the completed folder, loaded up with my hand outs, closed and tied shut. You could also add a tag that lists current specials or other information when tying your folder shut.


