

Introduction: Cheap Bump Sensors for Arduino Robots
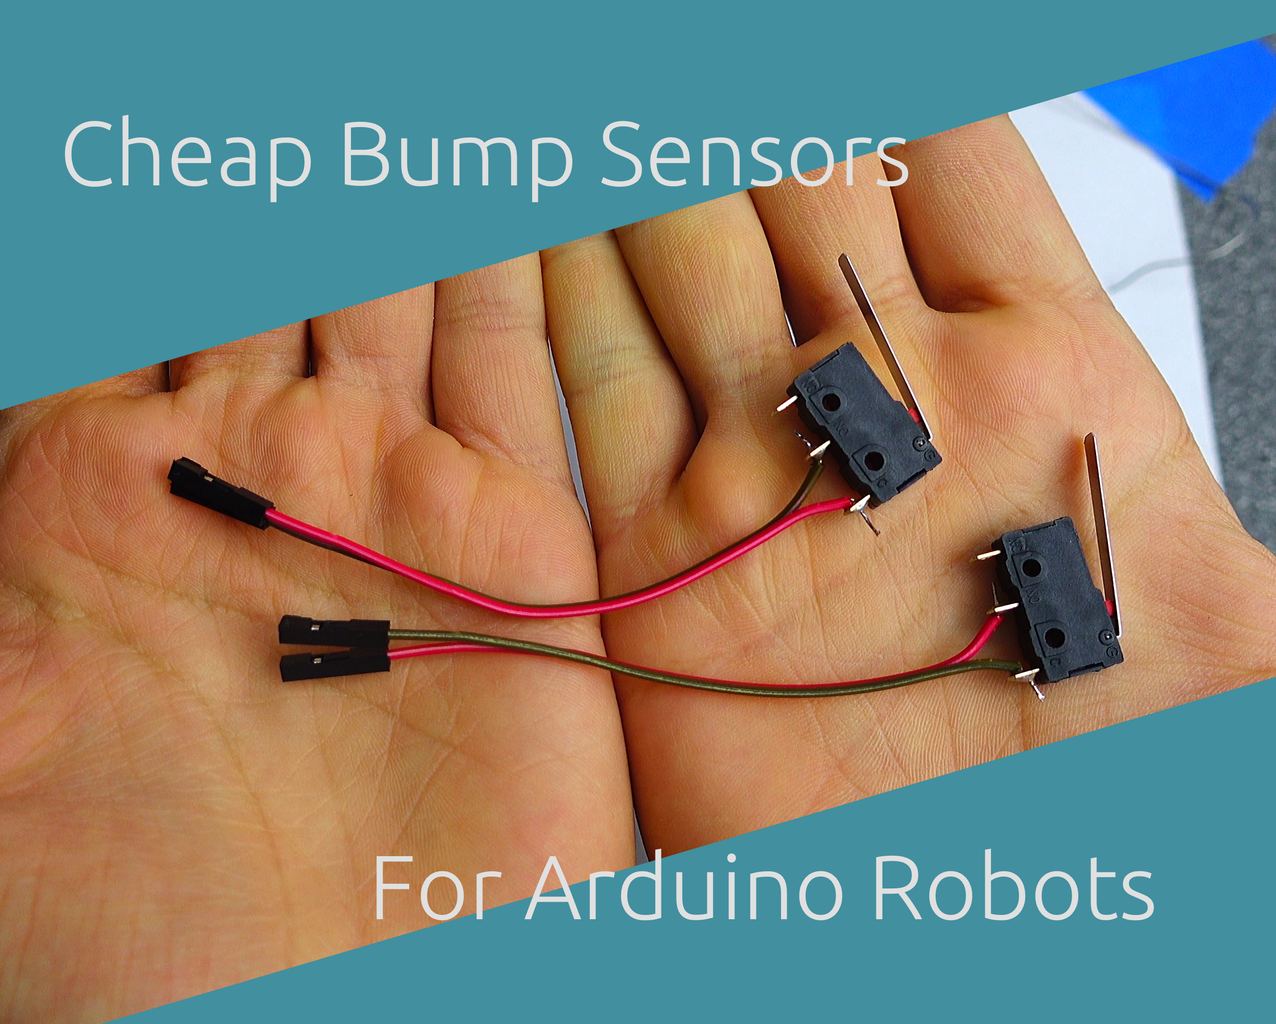


Need cheap, easily sourced bump sensors for your robot takeover- I mean, Arduino project?
These small sensors are easy to use, easy to make, and easy on the wallet (17 cents apiece!), and work great for simple obstacle detection on microcontroller-based robots.
Step 1: Supplies: Parts, and Tools.
Parts: (links to eBay)
- Bump Sensors (Tactile switches, 10 pcs.)
- DuPont Female to Female wires (40 wires)
Tools:
- Soldering Iron (This is 7$ on Amazon, I've used these and they're actually quite nice)
- Solder (the soldering Iron I linked comes with some)
- Wire strippers and Cutters (Usually these are combined)
Some other stuff that's nice to have is a workspace, and some masking tape or something to hold the sensors in place. Total cost, (not including tools) is 2.60. Not bad for 10 sensors and 35 extra jumper wires!
I should note that the eBay links are free shipping from China, which means they'll get to you in about a month. You can find US listings too, but they'll be a little more expensive.
Step 2: Wires: Cut, Strip, and Tin


Once you've got your supplies, you're ready to start!
- Separate 2 wires.
- Find the center of the wires, then cut them there.
- Using your wire strippers, strip away 5MM (About 1/8 inch) of insulation from the ends.
- Twist the wire strands on each wire together, so they stay tidy.
- Tin each wire, by holding it on top of the solder, then applying your (tinned) soldering iron.
Step 3: Solder Wires:


Soldering! Whee!
- Secure the bump sensors in some way, so they don't wiggle around when you try to solder them.
- Now, separate your wire ends, and bend each wire so that it's 180 degrees from it's fellow wire.
- Insert the wires in the two connectors as shown. (If the lever is pointing rightwards, the two leftmost connectors)
- Solder each wire.
As always, make sure you clean your tip well, and tin it with a little bit of solder before using. Not only does this make your tip last infinitely longer, but it helps transfer heat to the joint faster, resulting in a cleaner, easier joint.
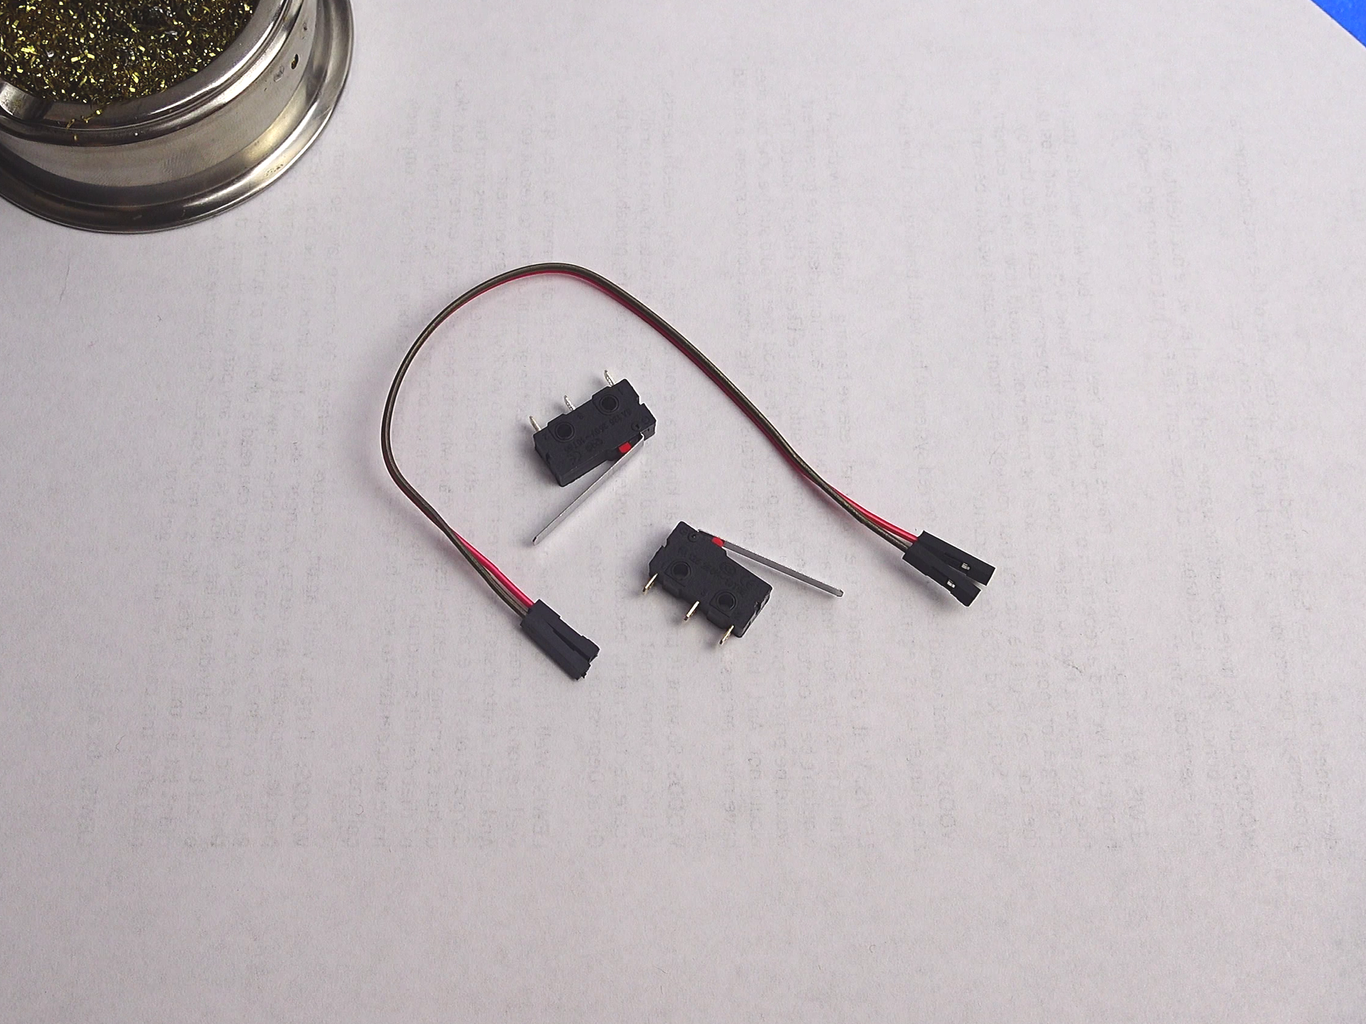
Step 4: Finished!

Now that you're done, here's a few tips on using your new sensors.
The way these are wired, they're configured as "Normally open" switches, which means they won't let electricity through until they are bumped. You can solder the wires so that they're "Normally closed", but for most purposes this works fine.
To use them with an Arduino, wire one wire up to 5V, then another to a digital pin on your Arduino. Connect a 10K resistor between the digital pin and ground, to eliminate stray signals. Use "digitalRead(pinNumberHere);" to see when it's bumped, or however else you prefer.

Participated in the
Arduino Contest 2017

Participated in the
Epilog Challenge 9


