

Introduction: Cheap and Effective USB Write Blocker


This instructable shows you how to make a cheap (<$20) and compact USB Write Blocker. This device will allow you to block USB write operations to your flash drives. Why would you want to do this? Reason 1: Your friend asks you for help with their computer. You stick in your flash drive full of all your fun security tools. His anti-virus software starts deleting your stuff. Now you have to reload your flash drive. What an inconvenience. Reason 2: You are doing some sort of forensic investigation and notice some flash drives near the system you just confiscated. You want to look at them without altering them.
This device was originally presented at Black Hat Europe 2012. The code is somewhat commented, but it might be somewhat challenging to understand without the background as presented at Black Hat. You should be able to get my white paper and PowerPoint slides from blackhat.com, so I will not repeat that information here.
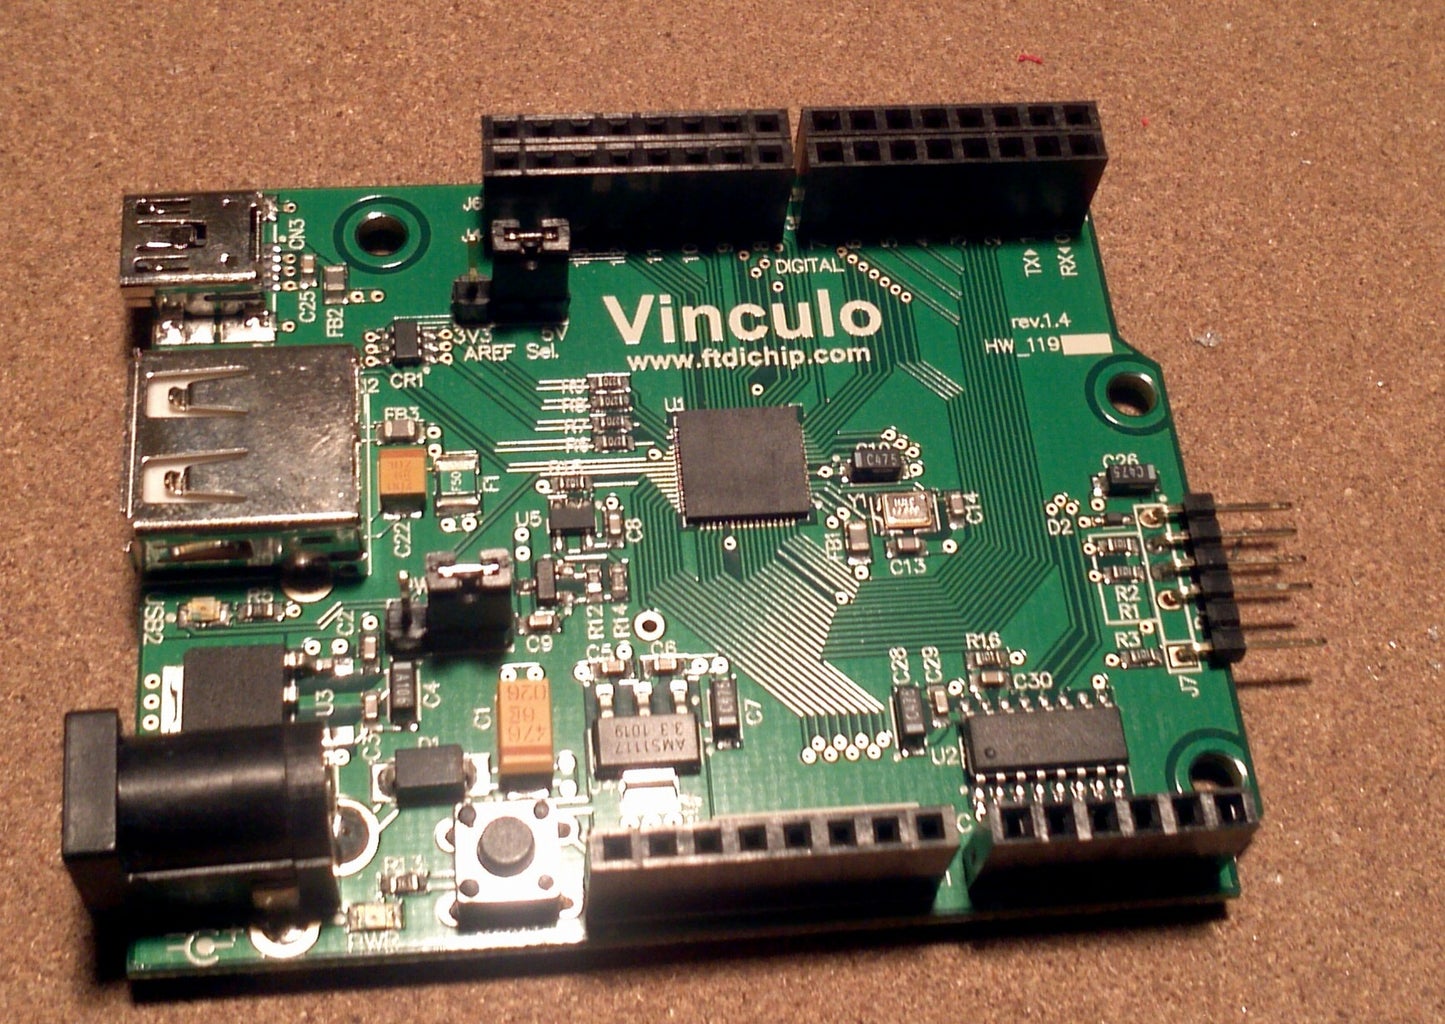
There are two possible packages for the write blocker. Both use the same code. If you are soldering phobic, you can buy an FTDI Vinco development board for around $30, upload the software, and you are done. If you want to have a much smaller device you should get a FTDI V2DIP1-32 development board (about $18) and an old USB cable to be used for its connector.
Step 1: Get Parts
You will need either (a FTDI V2DIP1-32 and a USB cable) or (a FTDI Vinco development board) to complete this project. You will also need an FTDI Debug module in order to program your device. All of these items should be available from your favorite electronics supplier.
Step 2: Construct Device
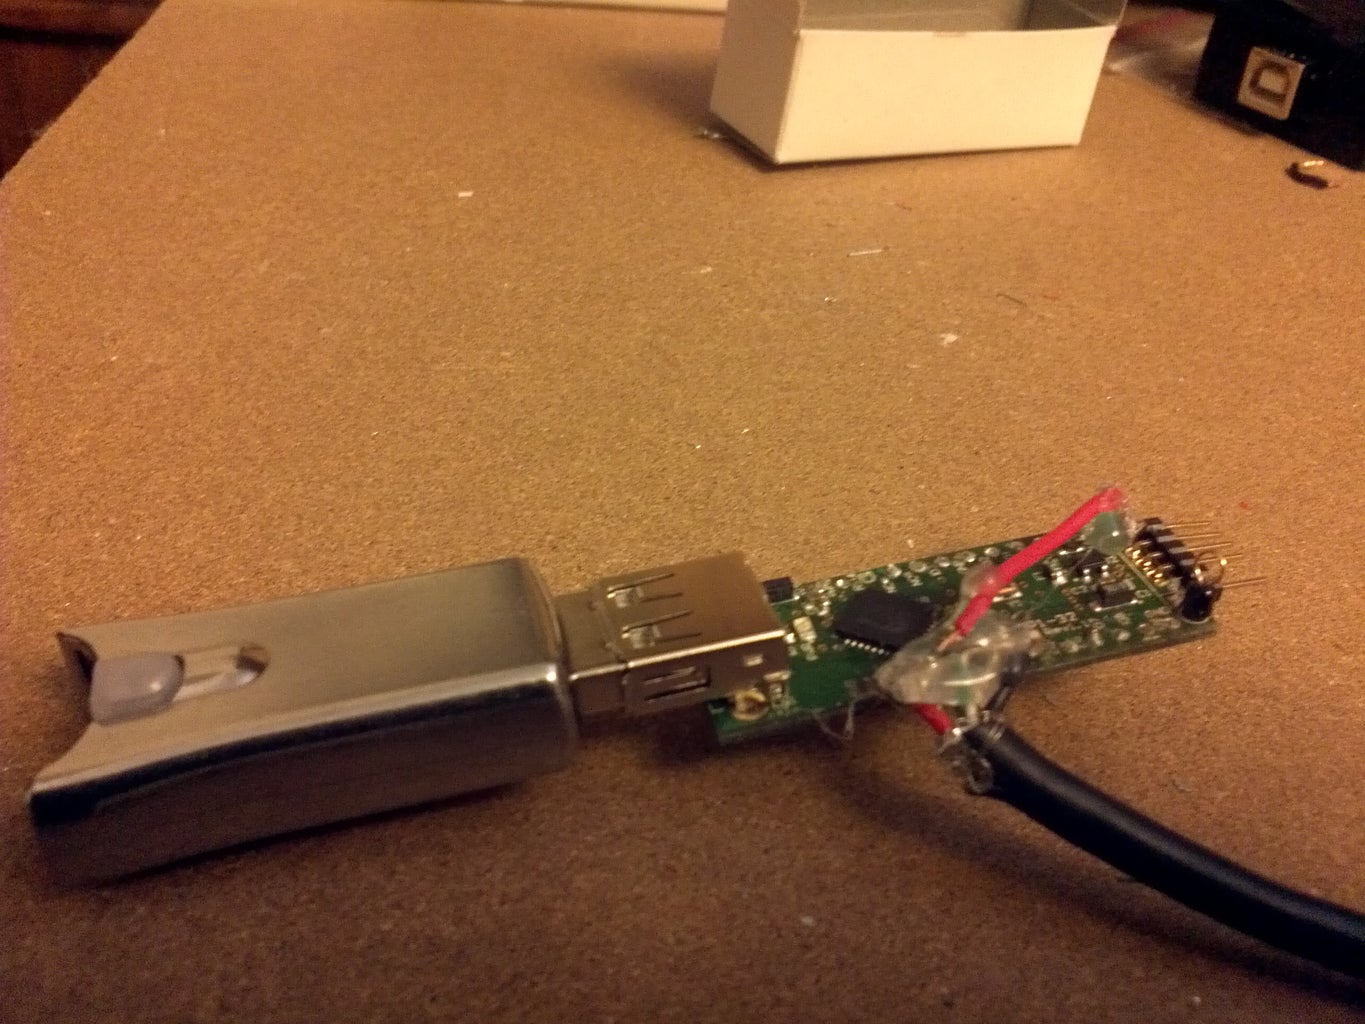
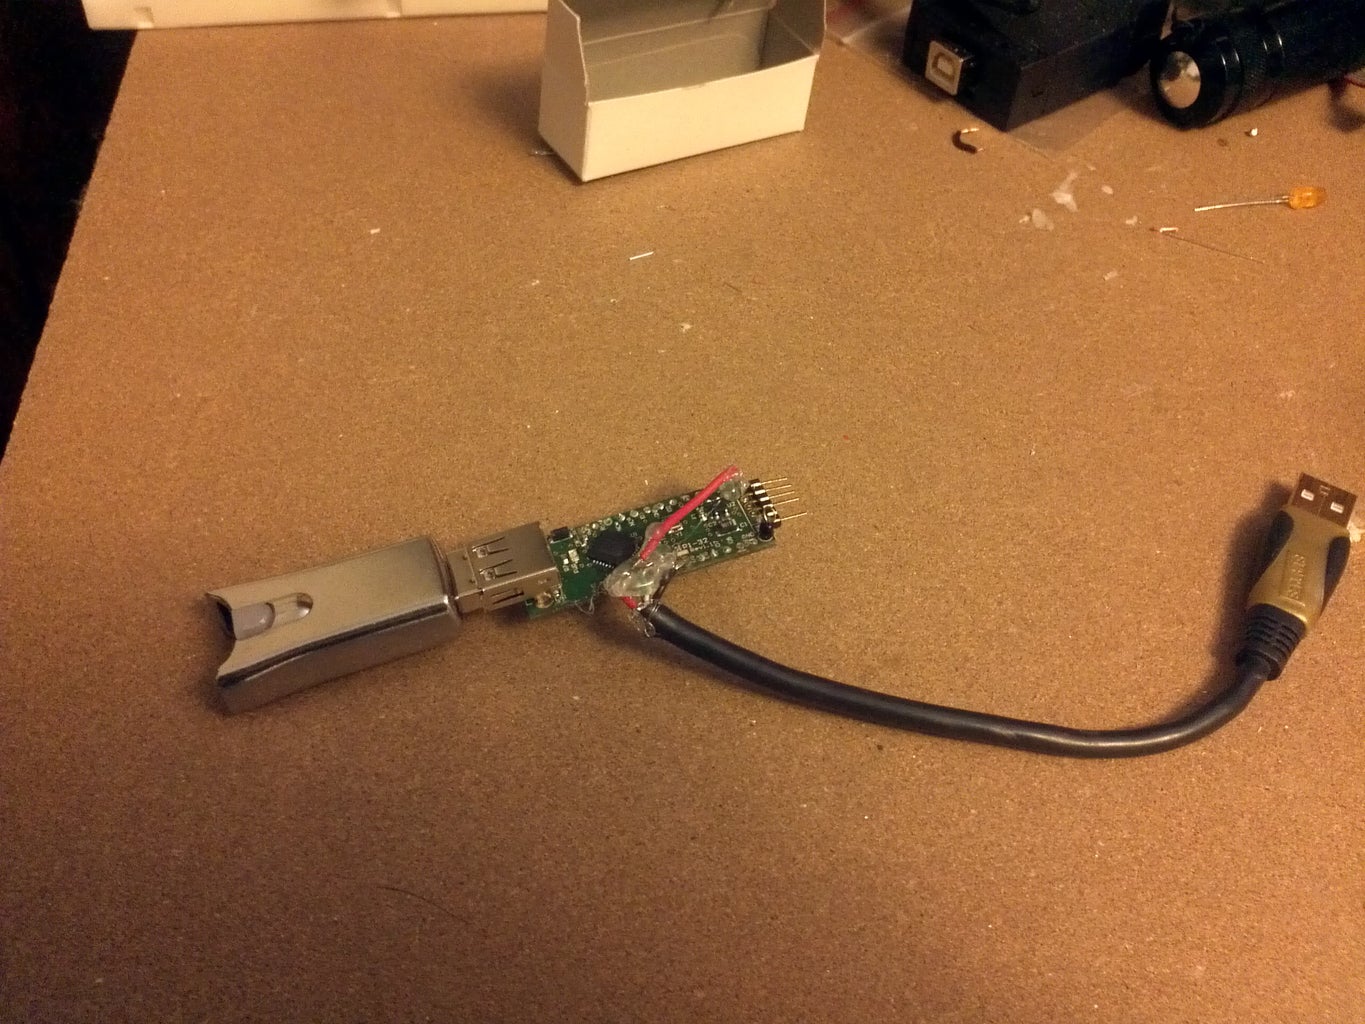
If you opted for the Vinco, there is nothing to do. If you opted for the cheaper and more compact V2DIP1-32 device there are 4 wires to solder. Note that the red wire in the picture was from a little soldering goof on my part. I accidently pulled the +5V pad off the board so I ran a jumper to the only other +5V pin on the board which is attached to the debug port.
Cut your USB cable. If it has the standard wire colors construction should be very easy. If you are like me, you probably have at least one USB cable with the full size B connector (for a printer or similar) taking up space, so these are good choices for sacrificial cables.
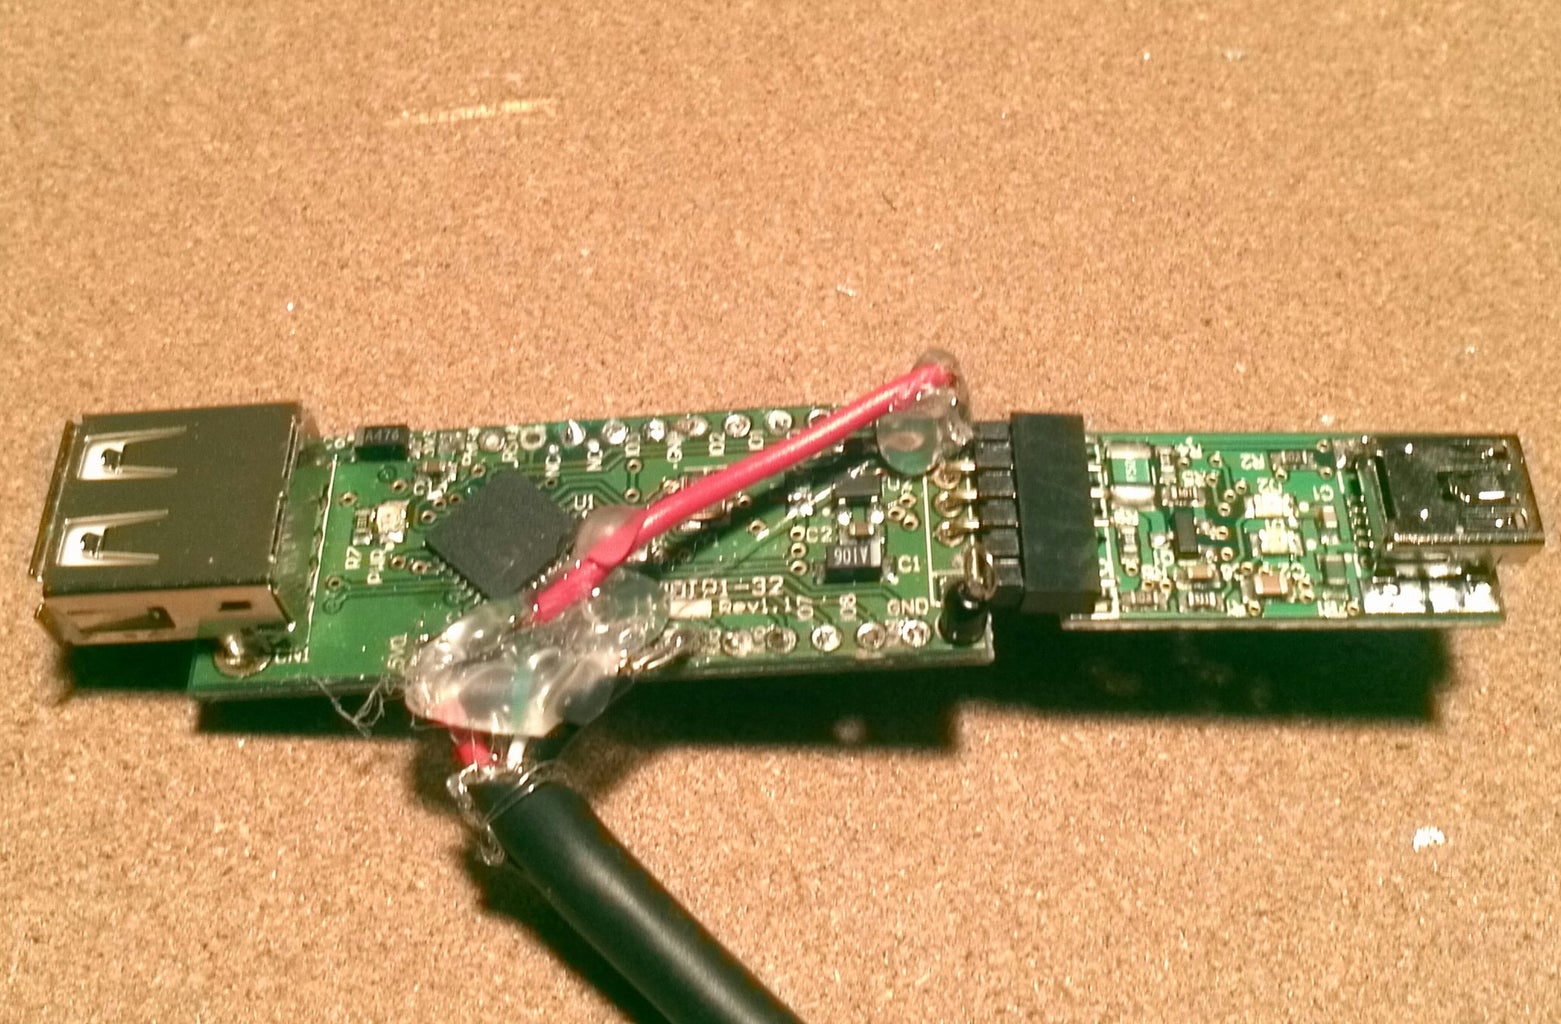
Strip the 4 wires in the cable. Solder them to the board using the table below as a guide:
Pin # Wire Color Function
____ _________ _______
1 Red +5V
4 Green USB D+
5 White USB D-
7 Black Ground
You may want to apply some hot glue AFTER you test the connections to make sure things are nice and rigid and you don't strain the wires by pulling on the cable.
Step 3: Program the Device

Program the device using the code in the attached zip file. Note that this file has been updated from what I originally uploaded. There was a small problem with the original file (a pathname was wrong) that was easily fixable, but I wanted to make sure it was 100% correct as is. Also, this file is meant to be compiled with version 1.4.4 of the Vinculum toolchain. I am looking into what this is, but FTDI broke something in version 2.0.0 and this device no longer works. Here is the back door way of downloading this old version. Follow this link http://www.ftdichip.com/Firmware/vnc2toolchain/Vinculum%20II%20Installer%20V1.4.4.exe
Also, please note that a few users have reported problems with 64-bit Windows 7. I'm looking into this, but for the moment I have verified this to work on 32-bit Windows, and both 32-bit and 64-bit Linux without any issues. Speaking of Linux, if you are wanting to build this device to do forensics stuff under Linux, I would recommend you have a look at my instructable for The Deck and in particular have a look at the 4Deck module. The 4Deck will allow you do do write blocker at high speed USB on your Linux system, while the write blocker described here only does full speed.

Step 4: Use It
Plug a thumb drive into the device first, then connect the device to a computer. After a short delay your device should be recognized. Note that this may take slightly longer than usual as this device operates at USB full speed only. Also, if you are using Linux (if you aren't you should!) be aware that Linux loads more up front than Windows so the delay is more noticable.
If you notice any bugs or glitches, please let me know. You can find me on Twitter at @ppolstra.
Enjoy!


