

Introduction: Control ESP8266 Over the Internet (from Anywhere)


There are but a few things better than (succesfully) programming and using your Arduino. Surely one of those things is using your ESP8266 as an Arduino with WiFi!
In this instructable I will show you an EASY way to get the ESP8266 working as a web server AND accessing that server from anywhere (over the internet)
Also if you find this instructable interesting, perhaps you'll like some of my others:
EASY Arduino OLED sensor data display
How to make a high voltage power supply
How to send data from Arduino to excel (and plot it)
How to display Arduino sensor readings on Nokia 5110 display
Step 1: What You'll Need:

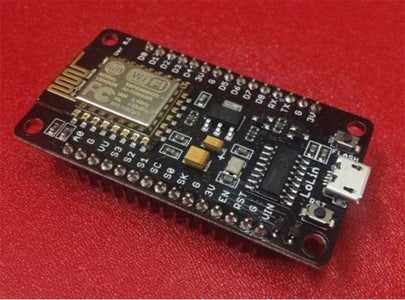
Since the esp8266 NodeMcu is so cheap, I highly recommend buying one. You can simply plug it into your PC and use it as an Arduino. No weird commands or anything "unknown".
Step 2: Arduino IDE+ESP8266:

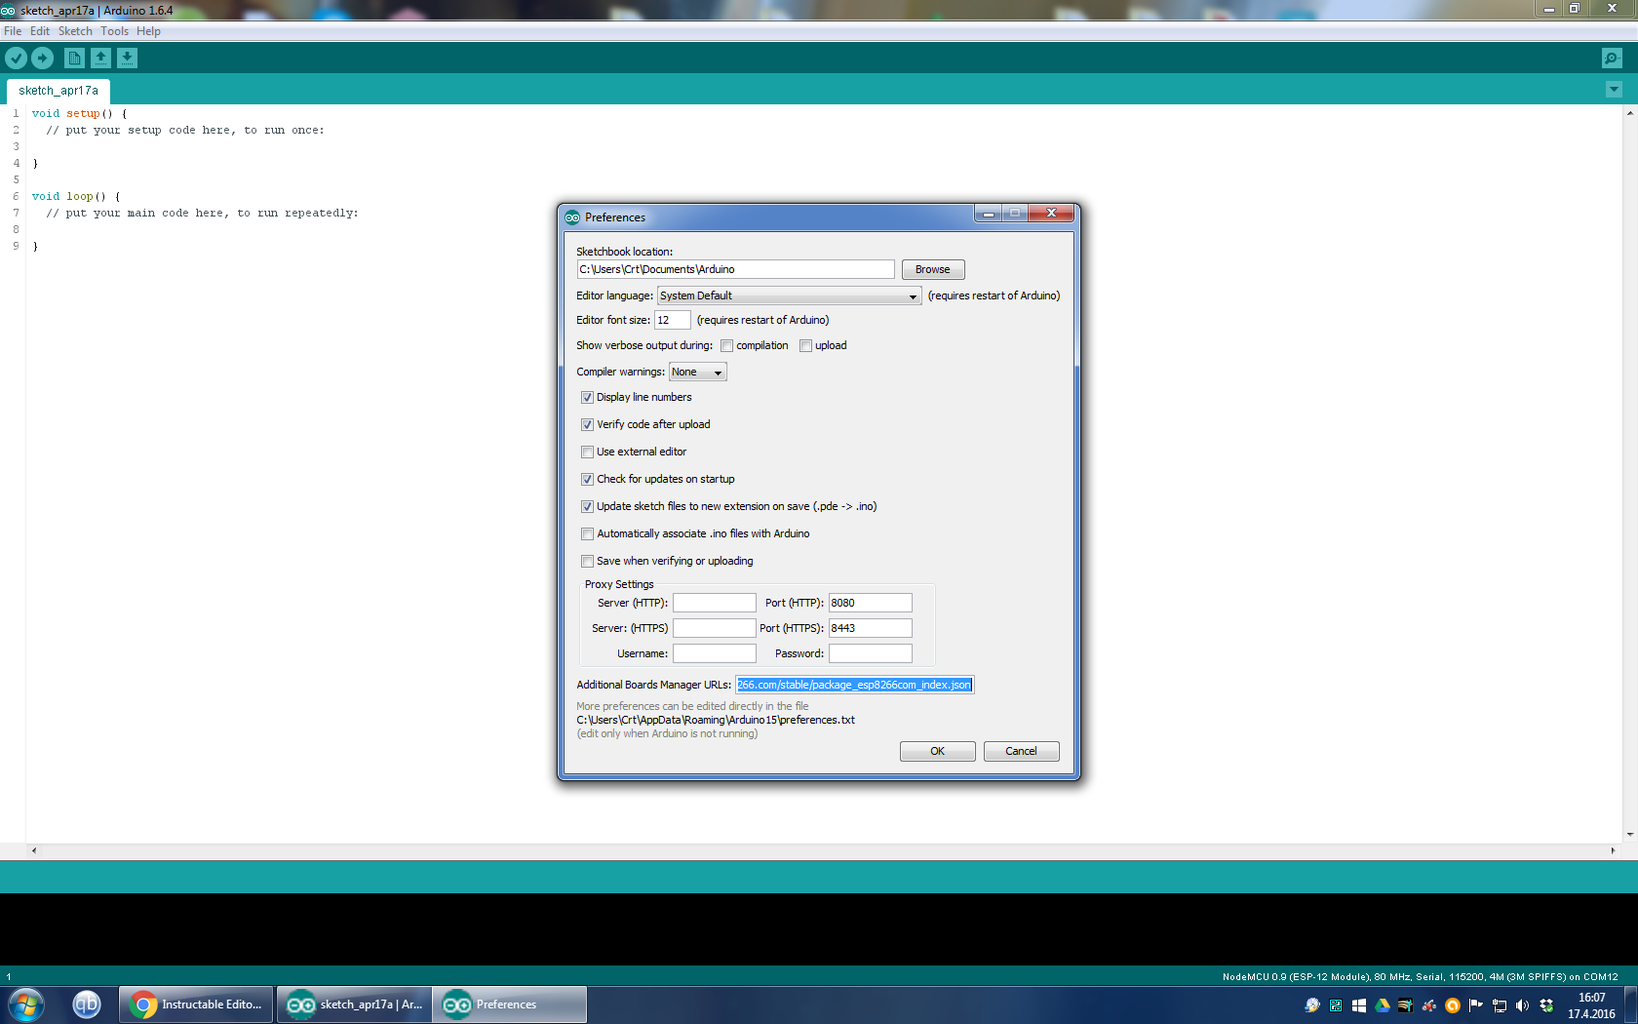

-Open up the Arduino IDE
-Go to File->Preferences->Additional Boards Manager URLs: http://arduino.esp8266.com/stable/package_esp8266c... ->click OK
-Close the IDE and open it up again
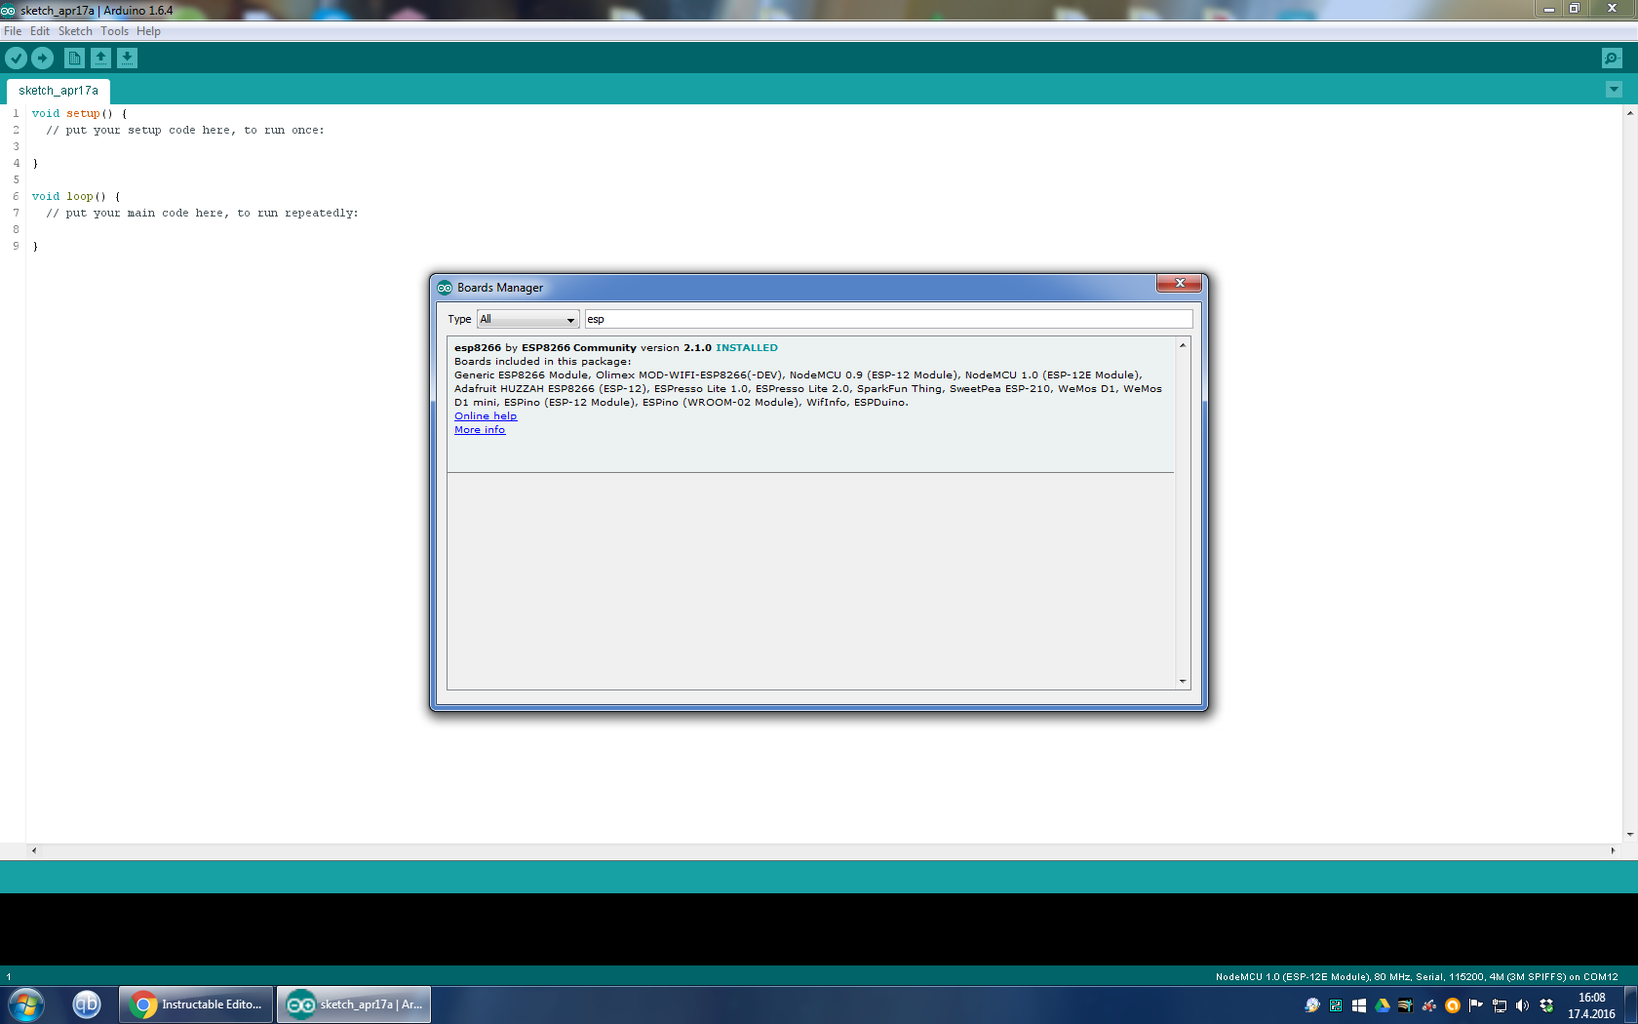
-Go to Tools->Board (where you'd select your version of Arduino)->Boards Manager, find the ESP8266 and click Install
You now should be able to use the ESP8266 as an Arduino. Simply select the NODEMCU 1.0 as your board and you should be ready to code. (if it doesn't work, try the 0.9 version)
Step 3: "Arduino" Code:
Since the code gets messed up when pasted, I have included it as an txt file. Download it and paste it into your Arduino IDE.
The code is commented, so you should have no trouble understanding what to change to suit your needs.
Attachments

Step 4: Access From Anywhere:
First you need to go to www.whatsmyip.org and copy your IP.
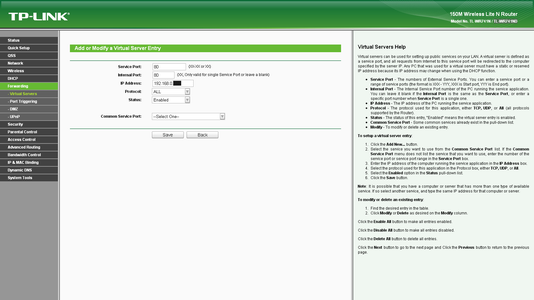
You should now open up your router settings. (google how to do this for your router) Open up your browser and type in the address for your router. There you will find some settings, including something along the lines of Forwarding or port forwarding.
The important thing to note here is the "Service port" and the "IP address".
In "Service port", you should type the port that you specified in your Arduino code. (mine was 301)
In "IP Address", you should type: IP(from whatsmyip) : ServicePort
so it should look something like xxx.xxx.xx.xx:301
Just leave the other settings on Default. (or check how to port forward for your router)
Step 5: What Now???
Now...just type the xxx.xxx.xx.xx:301 into your browser and you should have a basic webpage with two buttons on it. I'm sure you can figure out how to use those.
You can type the address into your cellphone while away from home and access the ESP8266 that way. Perhaps instead of turning an LED on and off, try telling it to turn on your AC on those hot summer days.
If you enjoyed this Instructable, consider visiting my Fundrazr page here. And of course, share.


