

Introduction: Control Servos With Arduino and RC Receiver/Transmiter


In this Tutorial I'll explain how to control more than one servo with only one channel of your Transmiter/Receiver and program own movements. It is usefull for complex movements like robotic arms.
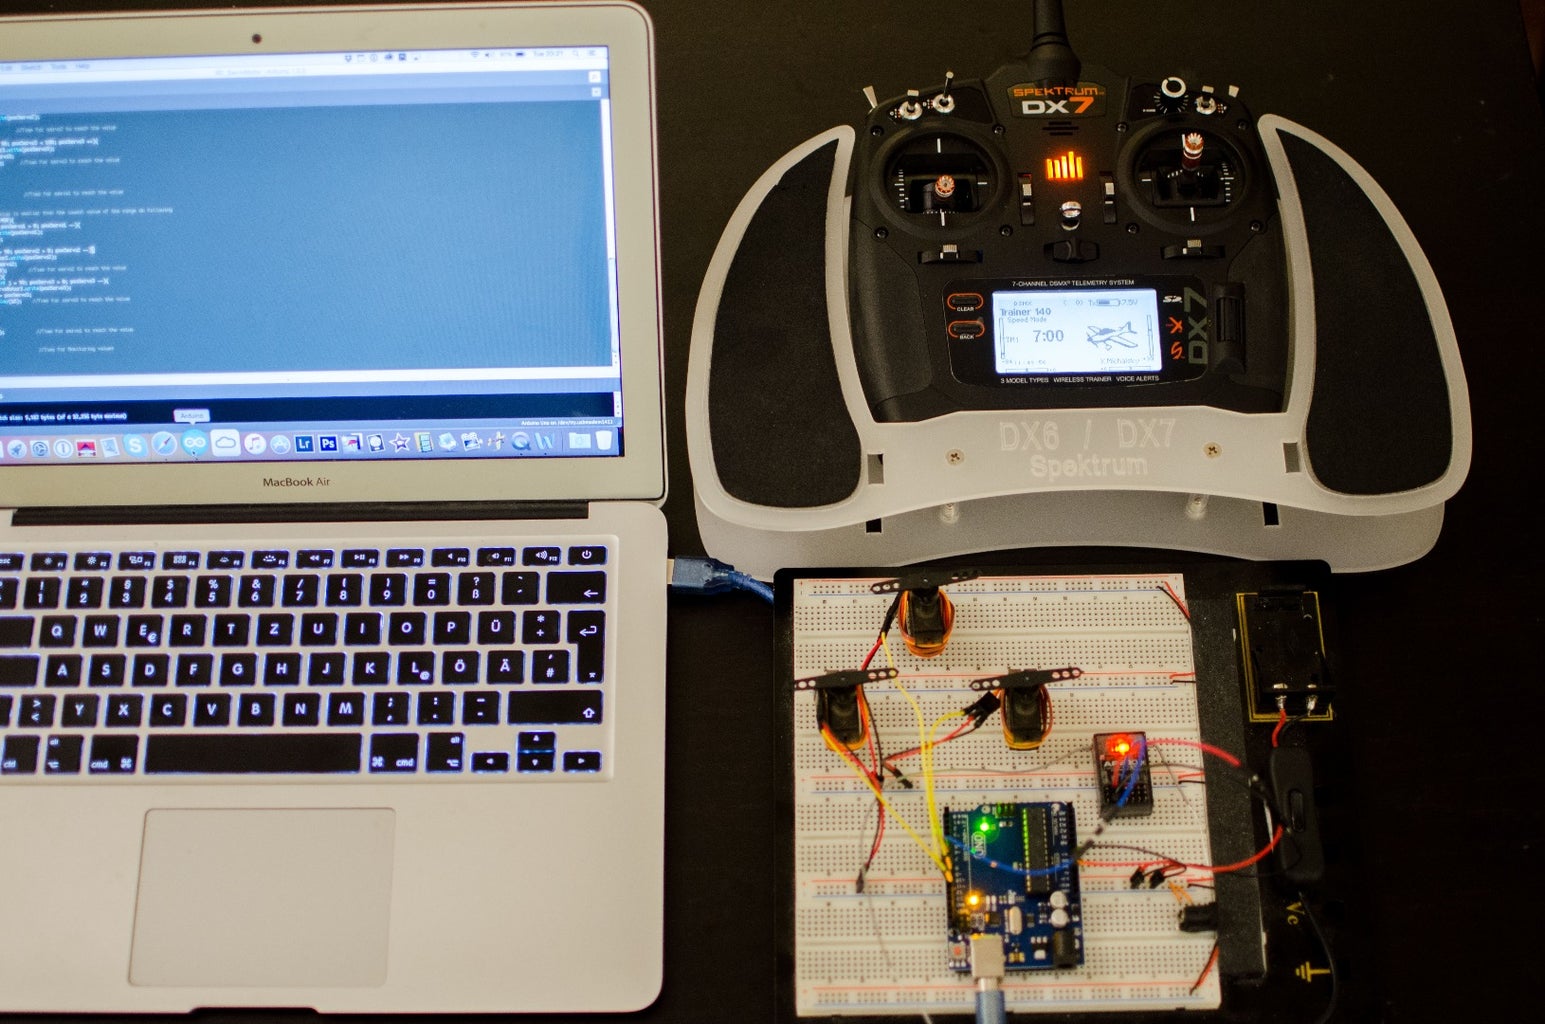
You will need:
-Arduino Uno
-Transmiter
-Receiver
-3 Servos
Step 1: Wiring

Step 2: The Code
This Code is very simple,
in this example, when the aileron stick is set left or right the 3 servos will move from 90 degrees (center) to 0 degrees and respectively 180 degrees one after an other. Change the delay() to change the speed of the Servos.
You will have to define your own range to center your servos by monitoring the values of the receiver. I defined a range between 1450 and 1550, because the value I monitored was around 1500 for ailerons -> channel2
if((channel2 >= 1450) && (channel2 <= 1550))
//***------ RC Servo control -----***
// ***---- K. Michalsky / 2015 ----***
//Arduino Pins
// Pin7 to channel2 of receiver
// Pin9 to Signal of Servo1
// Pin10 to Signal of Servo2
// Pin11 to Signal of Servo3
//Include Servo library.The Servo library supports up to 12 motors on most Arduino boards and 48 on the Arduino Mega.
#include <Servo.h>
//Create servo objects to control the servo motors
Servo servoMotor1;
Servo servoMotor2;
Servo servoMotor3;
//Define variables for the position of the servos
int posServo1 = 0;
int posServo2 = 0;
int posServo3 = 0;
//Define a variable for the channel of the Receiver with which you want to control the servos, in this case channel2 (ailerons channel from my receiver)
int channel2;
//Attach each servo variable to a pin
void setup() { servoMotor1.attach(9); //Servo1 attached to pin 9
servoMotor2.attach(10); //Servo2 attached to pin 10
servoMotor3.attach(11); //Servo3 attached to pin 11
//Define the input Pin for the Receiver
pinMode(7, INPUT);
Serial.begin(9600); //Serial comunication for later monitoring of channel signal value
}
void loop() {//Read the pulse from Pin7 either HIGH or LOW
channel2 = pulseIn(7, HIGH);
//Monitor channel value
Serial.print("Channel 2:");Serial.println(channel2);
//Define a range of the channel value to center the servo when the stick of the transmiter is centered. This range can vary depending on which servos and Transmiter you are using. Servos are centered at 90 degrees
if((channel2 >= 1450) && (channel2 <= 1550)){posServo1 = 90;
posServo2 = 90;
posServo3 = 90;
servoMotor1.write(posServo1);
servoMotor2.write(posServo2);
servoMotor3.write(posServo3);
}
//If the channel value is bigger than the highest value of the range do following
else if(channel2>1550){ for(int i = 90; posServo1 < 180; posServo1 ++){servoMotor1.write(posServo1);
i = posServo1;
if(i>=179){ for(int j = 90; posServo2 < 180; posServo2 ++){servoMotor2.write(posServo2);
j = posServo2;
delay(10); //Time for servo2 to reach the value
if(j>=179){ for(int j = 90; posServo3 < 180; posServo3 ++){servoMotor3.write(posServo3);
j = posServo3;
delay(10); //Time for servo3 to reach the value
}
}
}
}
delay(10); //Time for servo1 to reach the value
}
}
//If the channel value is smaller than the lowest value of the range do following
else if(channel2<1450){ for(int i = 90; posServo1 > 0; posServo1 --){servoMotor1.write(posServo1);
i = posServo1;
if(i<=1){ for(int j = 90; posServo2 > 0; posServo2 --){servoMotor2.write(posServo2);
j = posServo2;
delay(10); //Time for servo2 to reach the value
if(j<=1){ for(int j = 90; posServo3 > 0; posServo3 --){servoMotor3.write(posServo3);
j = posServo3;
delay(10); //Time for servo3 to reach the value
}
}
}
}
delay(10); //Time for servo1 to reach the value
}
}
delay(100); //Time for Monitoring values
}
Attachments

Step 3: Testing
Attachments


Participated in the
Tech Contest


