

Introduction: Controlling AC Light Using Arduino With Relay Module


Hello friends! I'm Ostin,I ll demonstrate how to control a AC light with Arduino using relay module.It is a simple project and also very dangerous as we are going to deal with high voltage 220v . Do not attempt if you are a amateur in dealing with high voltage.
I'll answer few basic questions, which hits when you are novice!
Why to use relay for controlling AC light?
AC is alternating current 220v (india) which powers the ac lights. Arduino cannot control high volt n amp, but a relay can do this job, which is the sole design of it. so we are using relay as switch to control high power devices.
What is NO NC and COM in relay?
C = Common Connection
NC = Normally Closed Connection
NO = Normally Open Connection
I have explained NO NC COM elaborately in step 3, refer it -if you feel it bit confusing.
I'm going to use NO Normally Open Connection.
Step 1: Components Needed

1) Arduino UNO
2)5V Relay module 220v
3)Ac light
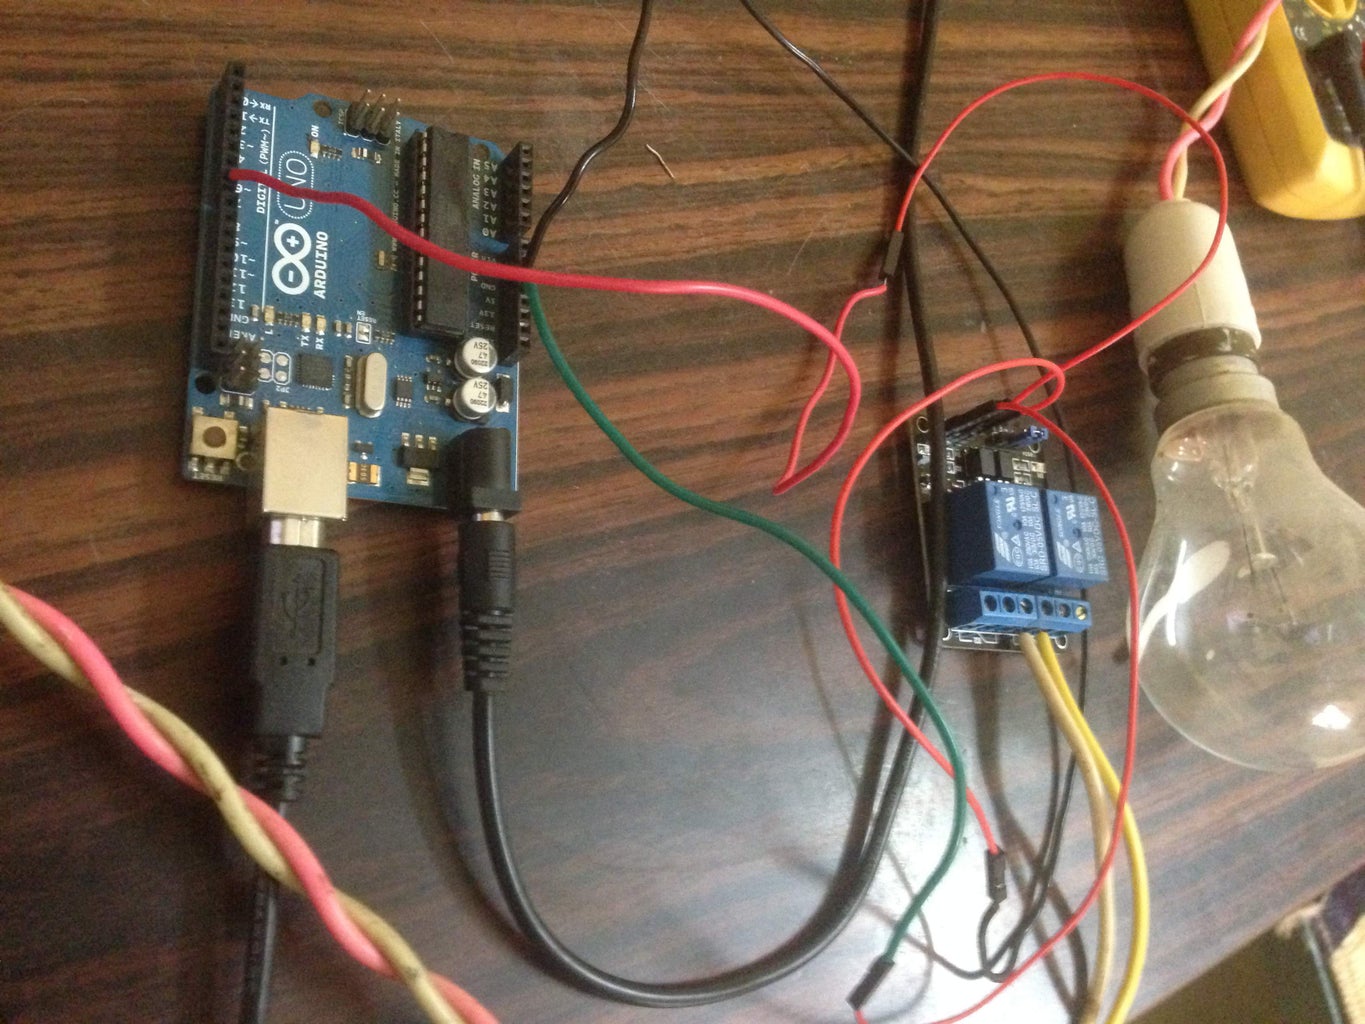
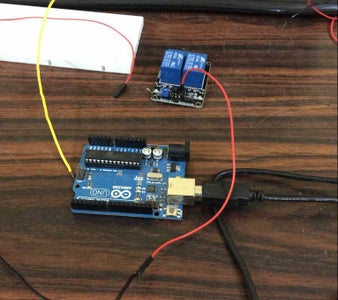
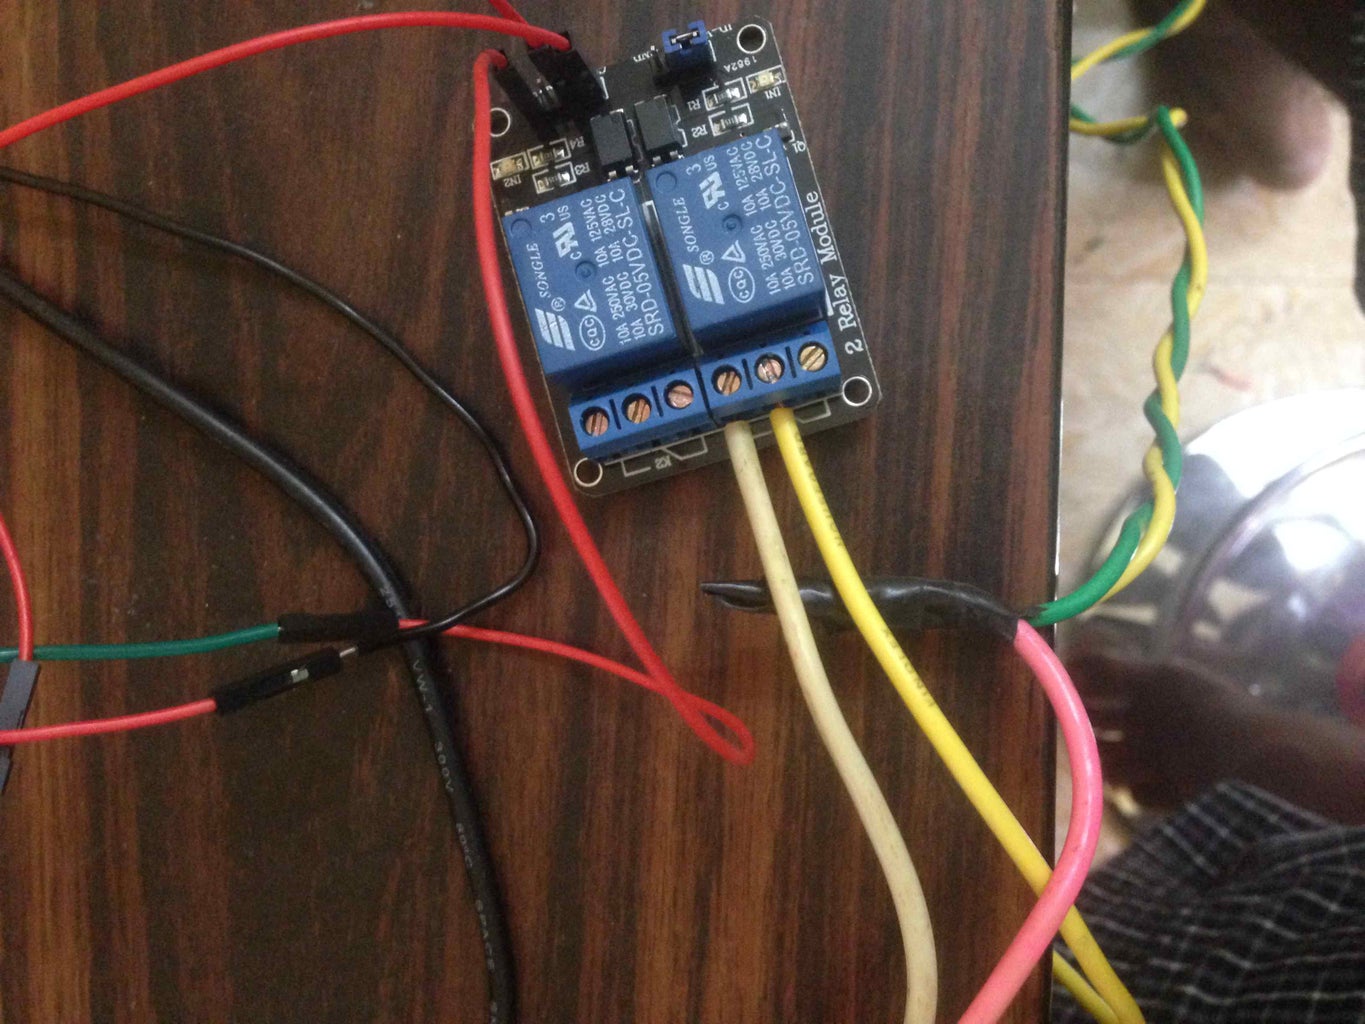
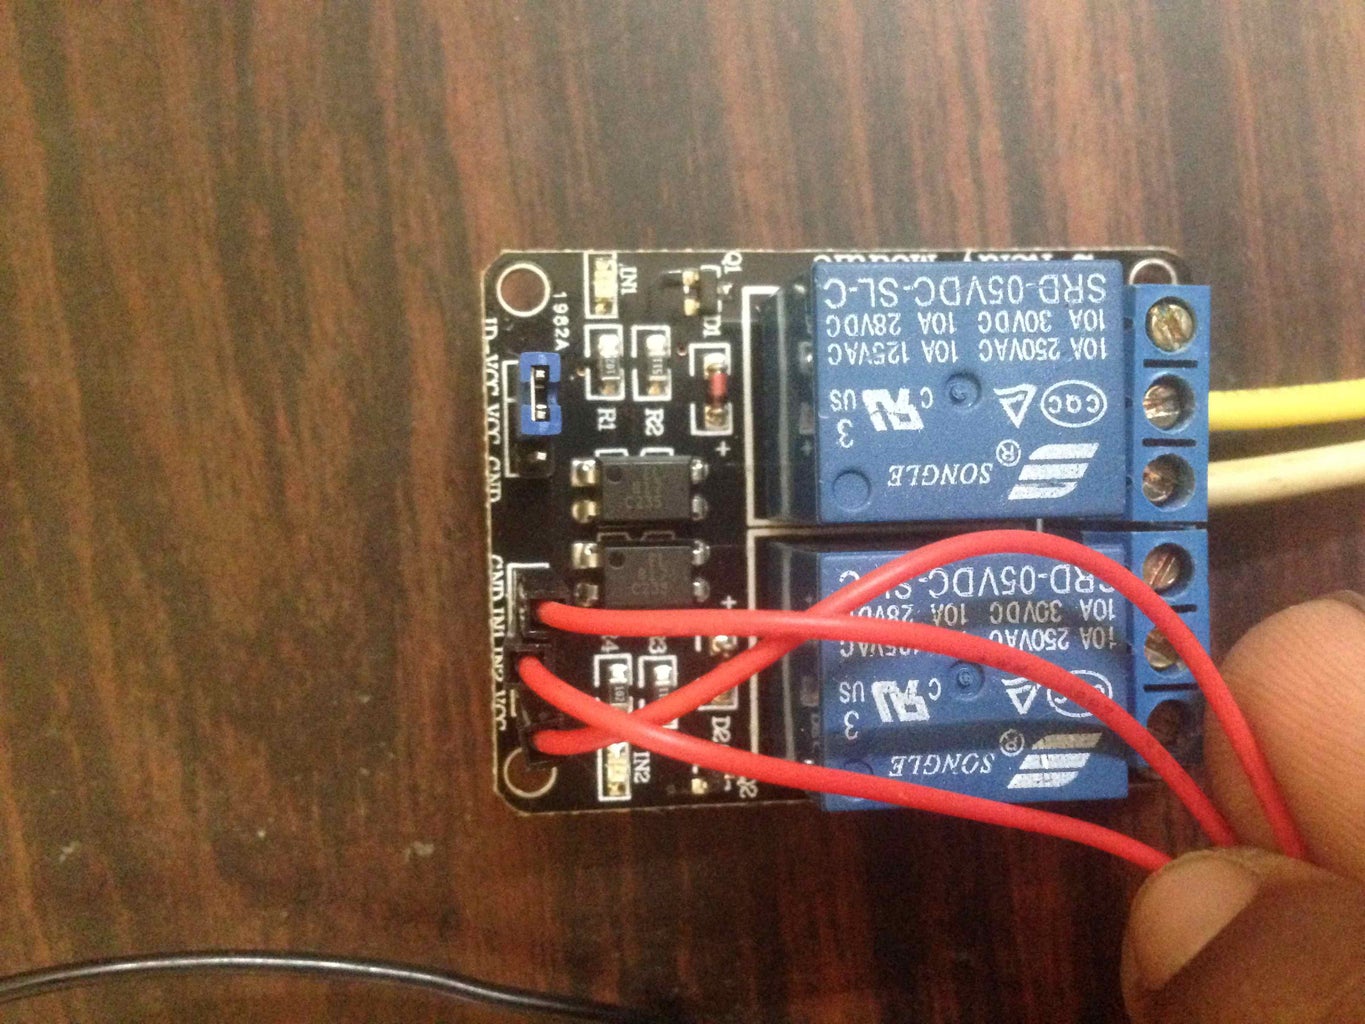
Step 2: Connections
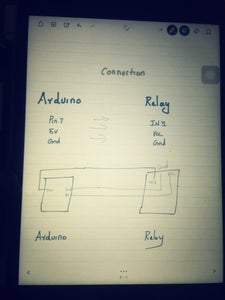
Connect pin 7 arduino to IN 1 relay module
5v to vcc of relay module
gnd to gnd of relay module
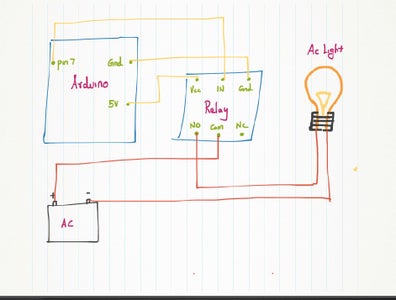
Step 3: NC COM NO of Relay
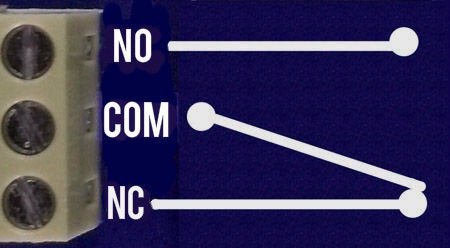
COM - Common connection--> it is the center terminal, It is hot as power to the load is connected at this terminal.
NO Normally open ---> It acts like a switch,since it is open - there will be no contact between COM and NO, When we trigger the relay module, it connects to COM by the electromagnet inside the relay and supply to the load is provided,which powers up the light.Thus the circuit is closed until we trigger the state to low in relay.
NC Normally closed---->It is always in contact with COM, even when relay is not powered.when we trigger the relay it opens the circuit, so the connection is lost. it behaves just opposite to NO.
im using NO connection,but here in this type of relay "HIGH" state in code turns off the relay(opens the circuit). "LOW" state in code turns on the relay.
Step 4: Relay Connections
We are using Normally open connection in relay. so that we can trigger on and off the light .
Hot line from supply is connected to COM
Supply line to the Ac light is connected to NO
Gnd or - or other terminal in light is connected directly.
Step 5: Circuit Diagram
Step 6: Code
digitalWrite(RELAY1,LOW); // Turns ON Relays 1
Serial.println("Light ON");
delay(2000); // Wait 2 seconds
digitalWrite(RELAY1,HIGH); // Turns Relay Off
Serial.println("Light OFF");
delay(2000);

Step 7: Watch

Participated in the
Arduino Contest


