

Introduction: Convert 35mm SLR Film Camera to Digital


It is a fairly easy and inexpensive project to mount a Sony Nex onto a spare SLR camera back to convert your old film camera into a multispectral digital camera that will produce high quality images comparable to modern DSLR's. This Instructable is just a condensed version of the project. For full comprehensive details on this go to SLR Conversion Details
You will need to check the suitability of your SLR. The film back needs to be removable. You need to be able to slip a filter holder up behind the SLR mirror against the shutter frame. The focussing screen can be removed to mask it to a smaller viewing size. The camera I have used is a Nikon FE. I could do the same to a Nikon FE2 and a Canon A1. Many other high end 35mm SLR cameras will be suitable. Rangefinders may be easier as they don't have a mirror.
- Disassemble your Sony Nex. Look this up on google as there are a few sites showing the different models.
- Cut out the rectangle area for the sensor on your camera back. You can make your own camera back quite easily. These details are on the link above.
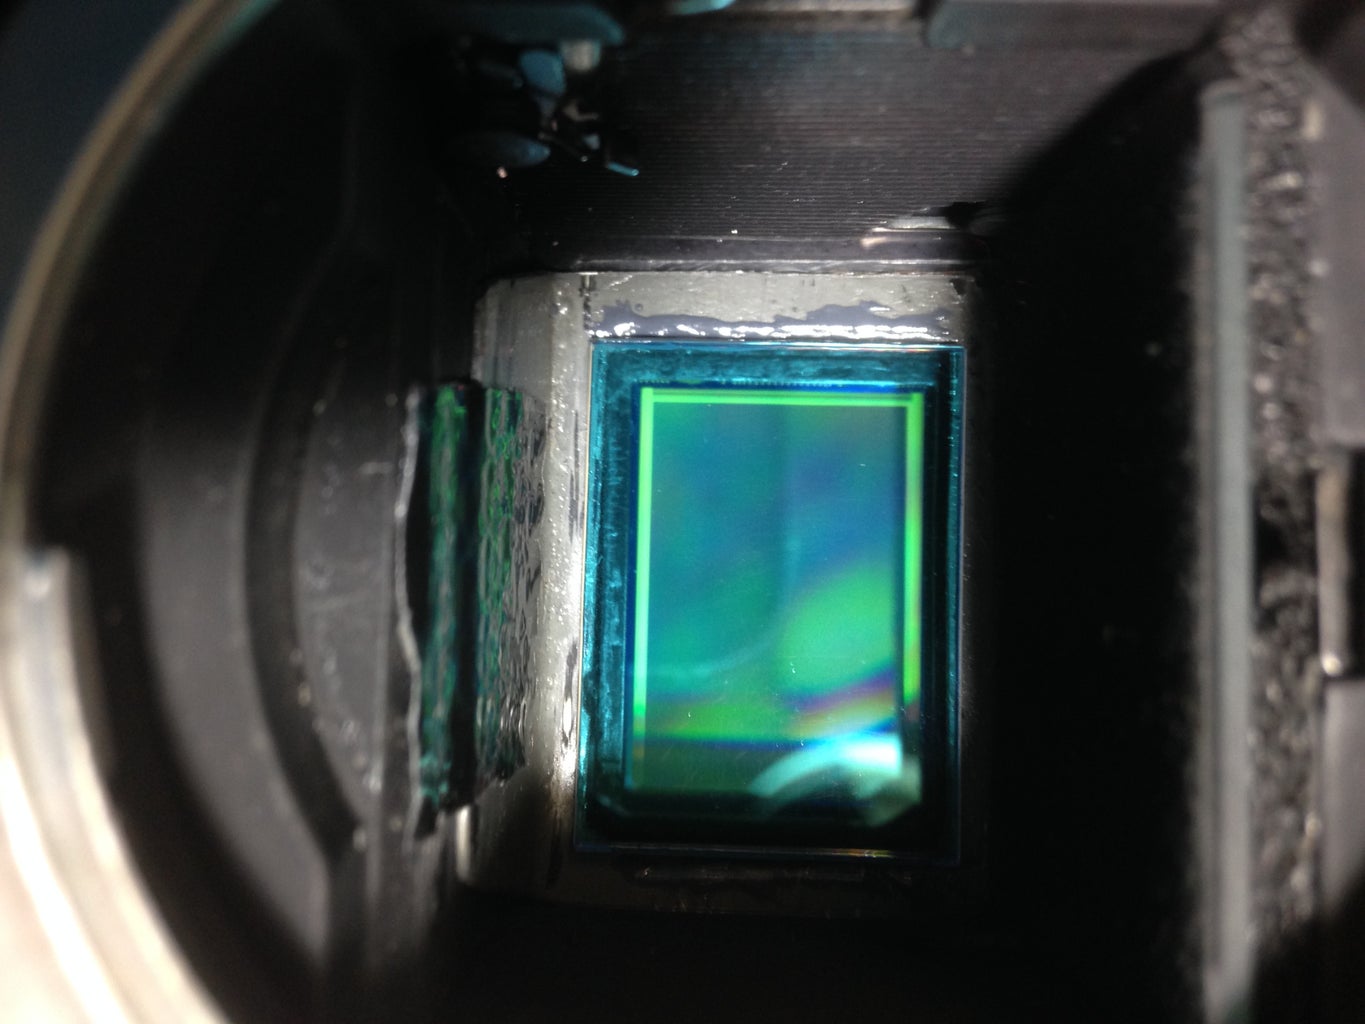
- Prepare the sensor by
- Use a diamond knife sharpener to grind back the lower sensor covering glass to a width that is less than the distance between your film rails.
- Remove the IR Filter combination from the sensor.
- Rebate the sensor on some 80 grit sandpaper down to the critical film plane measurement. You need to get this exact to within 0.02mm to get perfect focus.
- Attach the sensor to the inside of the new film door with "Tarzan tape"
- Mount the Sony Nex to the outside of the camera door. The sensor ribbon cables will need to now loop over the shutter to plug onto the motherboard. See the above link.
- Make up the filter holders that will slip the filters up behind the SLR mirror. You will reuse the original infra red filter combo which will give you the RGB colour pictures. The other filter make out of glass from a microscope slide. You will use this for infrared photography. Slip this filter in behind the mirror and use black tape to hold it in position.
- Remove the SLR focussing screen. Using light grade painters masking tape, mark out the area about the same size as the sensor on the smooth convex side. This takes a bit of experimentation to get it in the right position.
Once it is working, experiment with your camera on a tripod taking photos at varying distances to check the focus accuracy. If you follow my measurements of the sensor rebate this will be exactly the same for all cameras. You will just need to blueprint it a bit. Final sanding can be done with the sensor in place but watch the dust from getting into your sensor connections.
This is a very rewarding and satisfying project. You will end up with a high quality SLR able to take digital photos comparable to new DSLR's worth $thousands. My Nikon FE with Tamron SP lens cost $60 and the Nex $100. What a great way to revive old cameras and they are so much nicer to use than those plastic ones!
For information on this project from inception to completion and for tips on using your new SLR/DSLR go to X Over Cameras blog
By the way, your converted SLR is easily changed back to a film camera, so has lost none of it's collector value. I hope you have enjoyed this Instructable and if you do build this project please send me details to Xovercameras Email
Robin Guymer


