

Introduction: Crate Coffee Table


Saw this on the internet, but had to figure out how to do it myself. So my plan is to show you all how to do build this awesome movable coffee table you can build for under 100 dollars, but looks like you paid big for it. Only really takes an afternoon, tools, stain, and some screws!
Step 1: This Crate Though
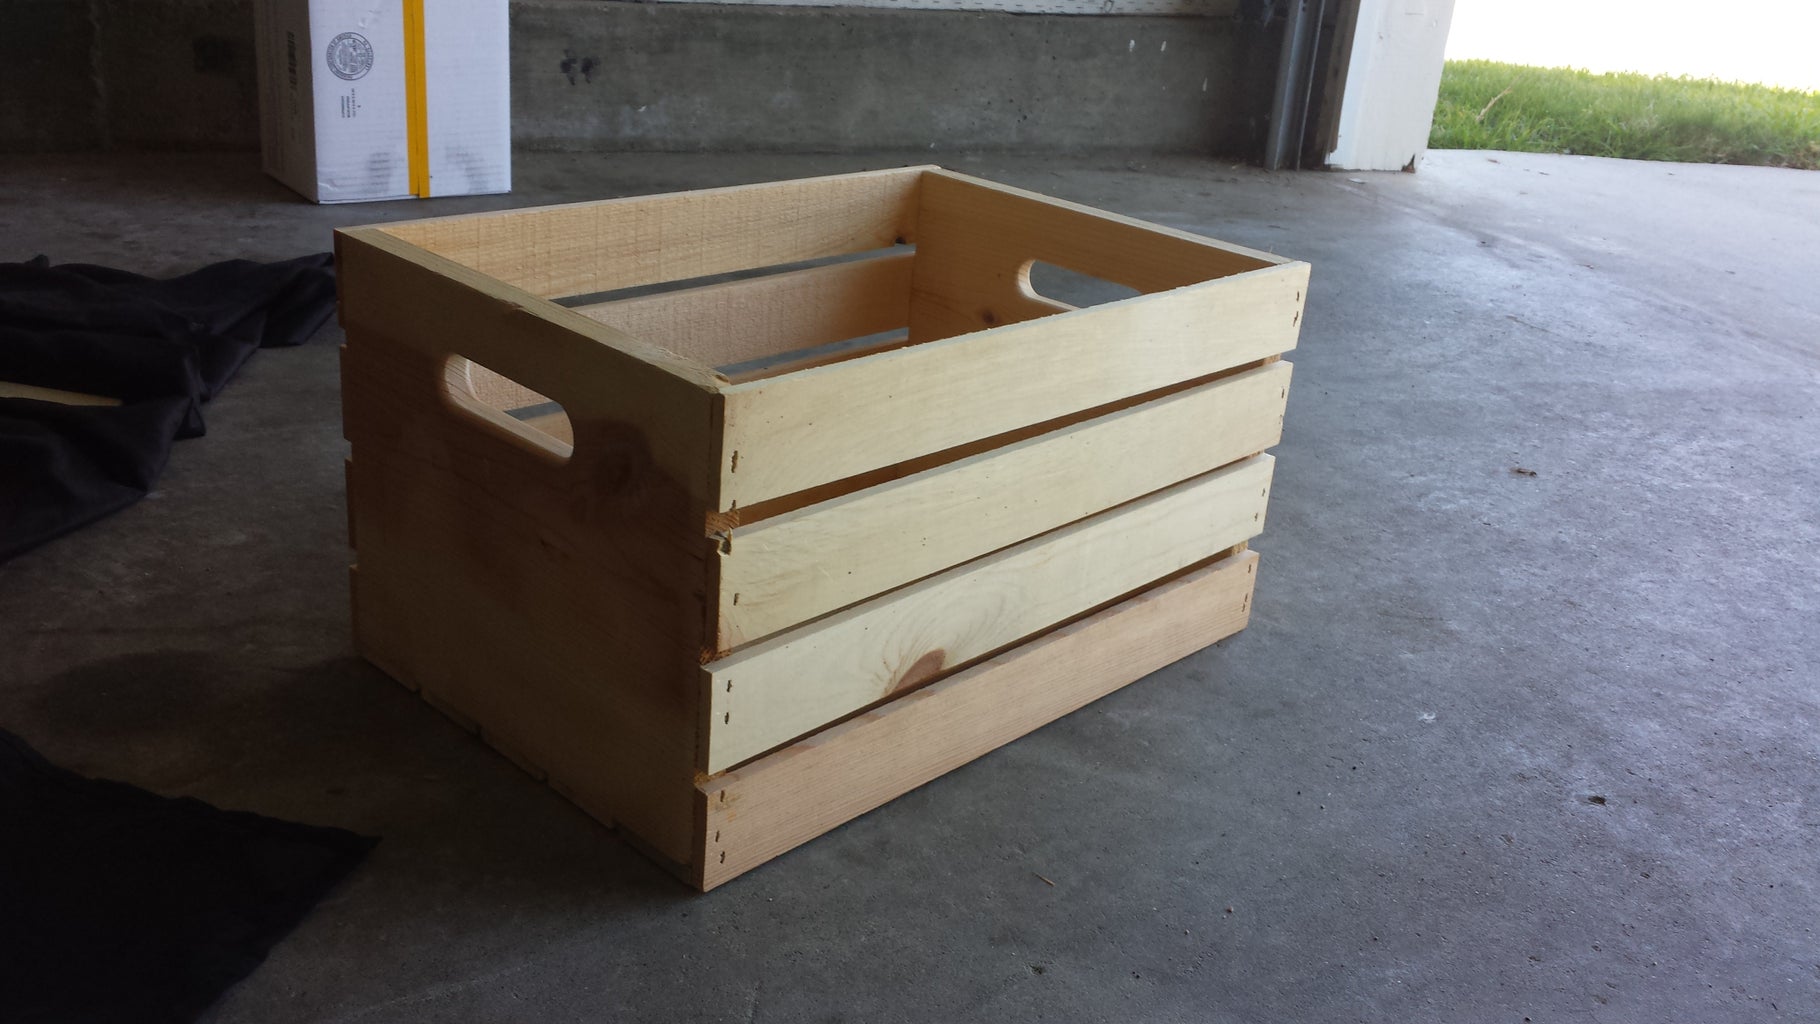
Look at this bad boy! Individually, completely useless! Okay, maybe not completely, but still, four of these make for one sweet table. I got mine at a Michael's craft store, I've seen them at some Walmarts as well. Check around for the best price that suits you.
The crates I purchased were about 12$.
Step 2: Stain Those Jokers

Lowe's Home Improvement store has an impressive line of stains. You could also paint it, but staining wood, to me, brings out more of a rustic look. Depending on the space you wish to put it, base your decision on the color of stain by the color of the furniture that will surround it. The furniture in the room this table went into had dark brown tones with light accents making this dark stain perfect.
Step 3: Assemble Them Properly First Son!


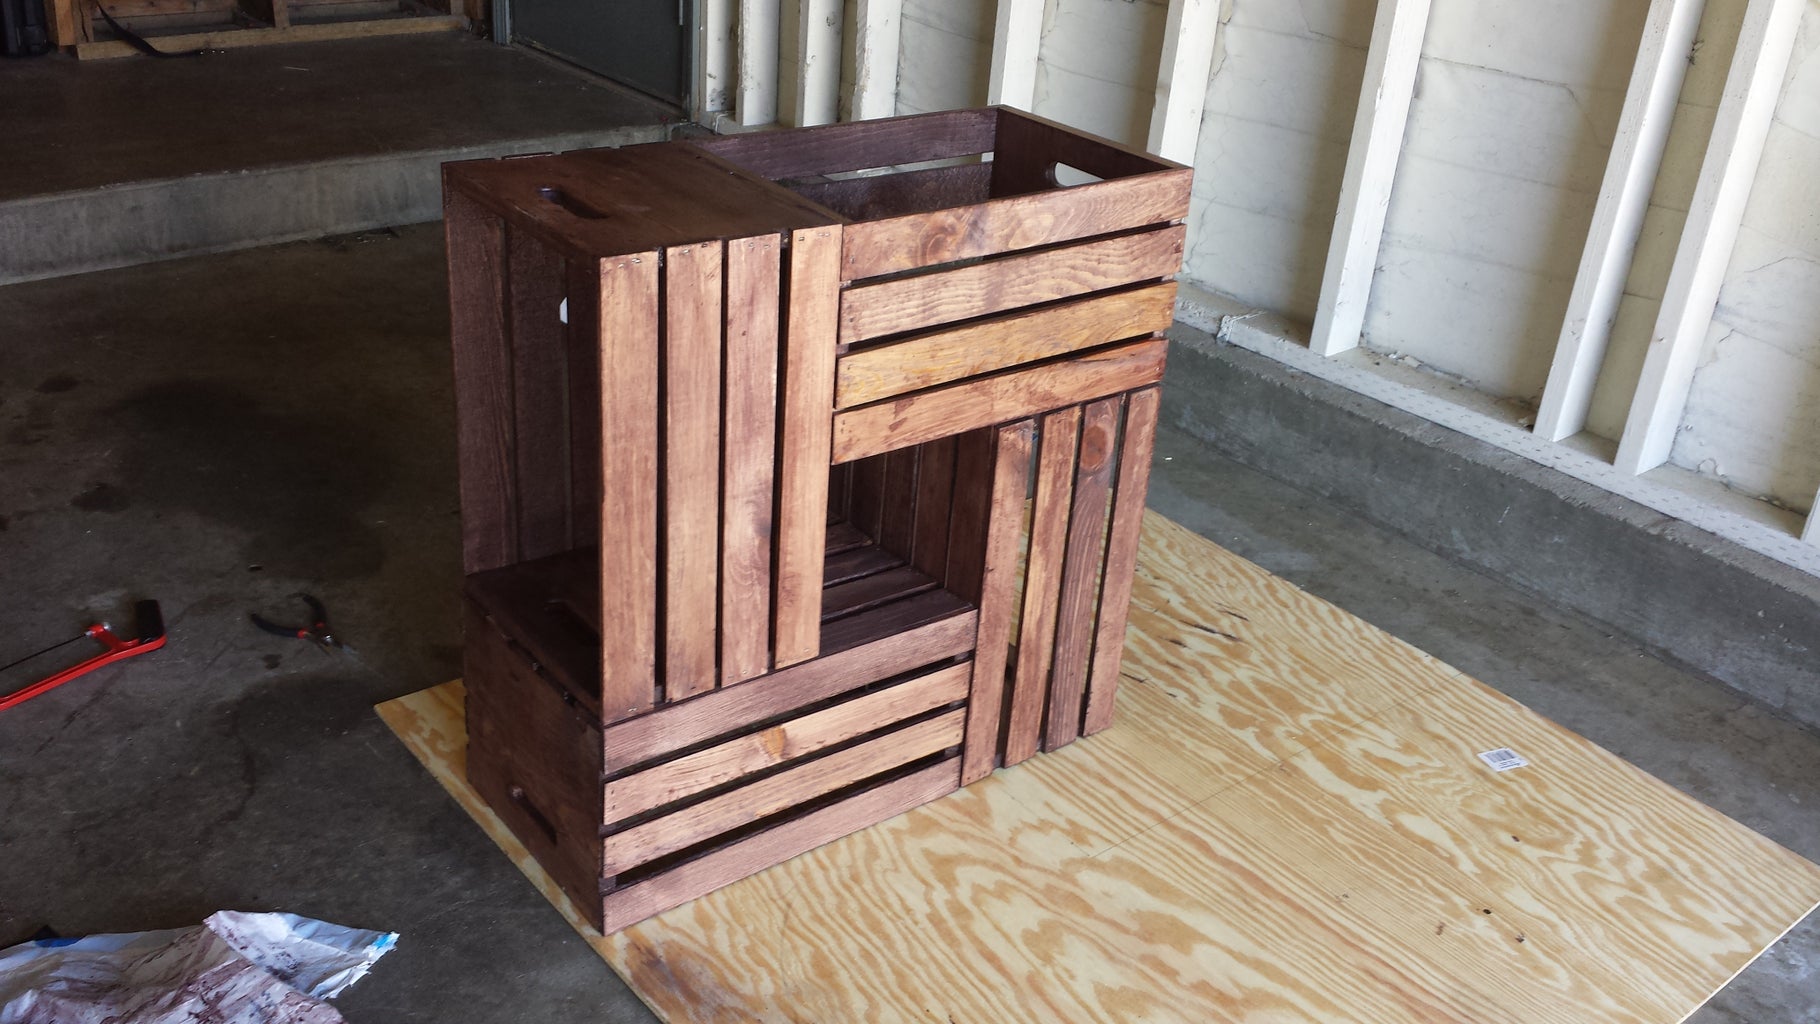
Screwing everything together is so much more simple when you arrange them in this fashion. Due to the planks being 3/8 in. thick, thin screws in the center of each one will prevent cracks. Two screws on every other plank separated by about 4 inches allows for a very solid structure in the end.
Step 4: You Need a Base


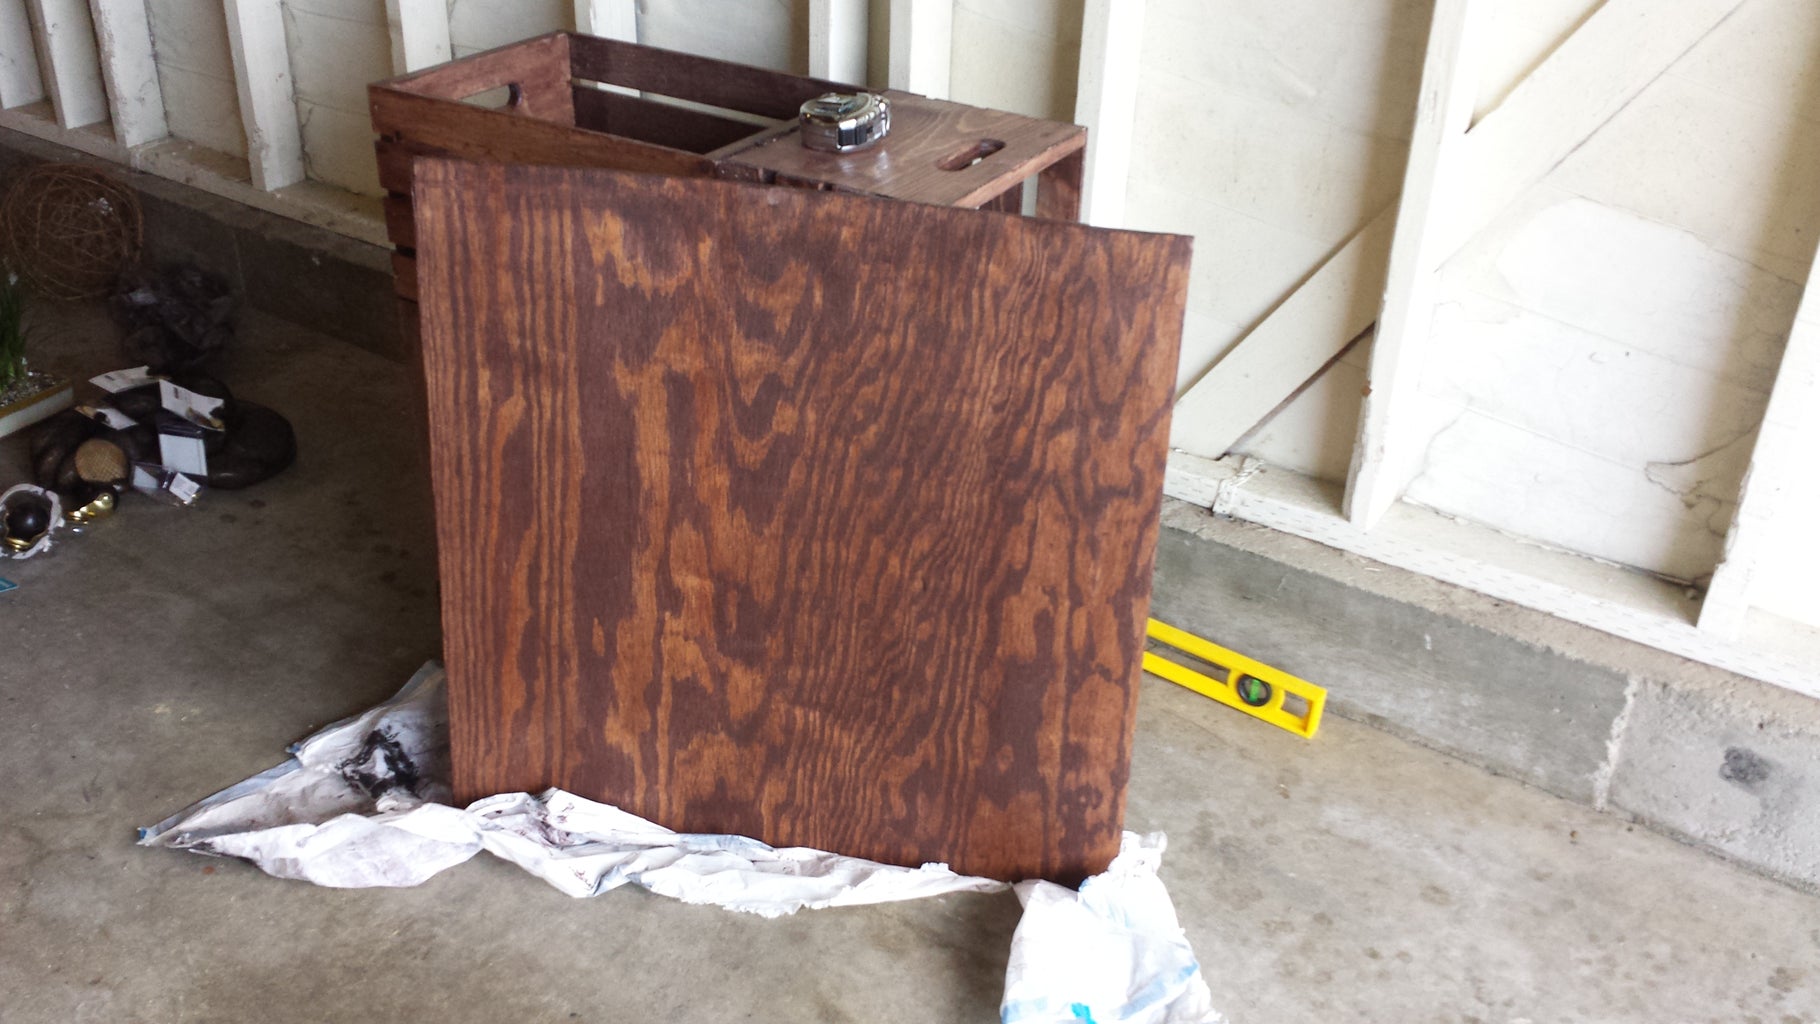
3/8 inch plywood is a good fit for this job. It is just thick enough to endure the stress of use and thin enough that it isn't super heavy.
Since the crates are not created perfectly, it was most accurate to outline the crates on the plywood. Make sure to give a 1/2 inch border to the square drawn on the plywood. It brings the whole thing together. Make sure to stain the cut out piece, only one side though! Only one will be visible when finished.
Step 5: Time to Mobilize!


These were inexpensive, but very solid! Based on the color you choose you may want to go for a different wheel. Although, you can't really see them when fully assembled, it may not be the biggest deal to you. Make sure to keep them equally spaced in all the corners. No one likes an off kilter table!
Step 6: BAM! Enjoy Coffee!
With some decoration it looks right out of some interior design magazine! Everything seen on or in the table was purchased at Michael's, besides the bonsai in the center, that was purchased at Lowe's. When all was said and done it was all under 100$!

Participated in the
Woodworking Contest


