

Introduction: Creating Personalized Calendars

Instead of the generic landscape scene hanging on your wall, wouldn’t you rather see the faces of people you know and care about? Well, with this Creating Personalized Calendars Instructable, you can design your own calendar with pictures of family or friends just using Microsoft Word. This project does take some planning and creativity, but the results will last for a lifetime. I have been designing calendars for my grandparents for years and now you can do it too with these nine simple steps.
Step 1: Materials Needed


In order to create your own personalized calendar, you will need the following materials.
• Computer with Microsoft Office Word 2007
• Digital copies of all photos and images
Note: If you have hard copies of photos, they should be scanned and saved to your computer before beginning this project.
• Color printer
• Monthly calendar pages
Note: Calendar pages can be found in different places. One simple way to create calendar pages is using Microsoft Office Publisher 2007.
• Plastic sheet protectors
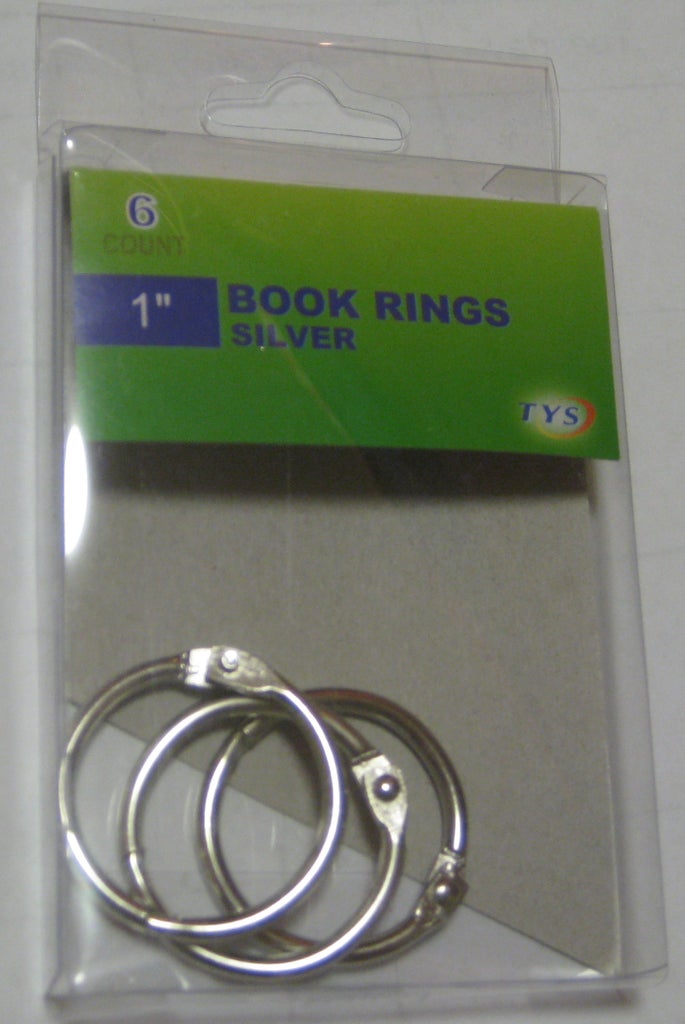
• Book rings
Step 2: Set Up


To start, open up a new Microsoft Word document. Once in the document, you need to change the page layout of the document by going to the Page Layout tab and then click on the Orientation icon and choose Landscape.
You will also need to make sure you can view the entire page. This is done by going to the View Tab and then choosing One Page.
Before moving on to the next step, make sure the type cursor is at the top of the page. If it is not, it will make arranging images on your calendar page more difficult.
Step 3: Insert Pictures


Now that the page is set up correctly you can begin to insert your images into the document. To start go to the Insert tab and select Picture. This will bring up a browser window. You can select the folder that contains your pictures and choose the specific picture that you want to insert.
Hint: To make the selection process easier, you can determine which images you want for each month and separate them into different folders before you begin the design process.
Step 4: Size and Arrange Pictures


Once a picture has been inserted on a page, a picture format tab should appear across the top when that picture is selected. This tab allows you to make changes to your inserted picture.
The first change that needs to be made is to change the text wrapping of the picture. Go to Format, text wrapping and pull down the menu. The default text wrapping is usually “In line with text”. You want to choose “Tight”. This will allow the pictures to be moved around more freely on the page.
Another common change for pictures is to crop them. Go to Format and select the Crop icon in the upper right corner of the screen. This will allow you to cut off unnecessary sections of an image.
After cropping your images, they can be resized by selecting and dragging the picture at the corners. To ensure that the image does not lose its proportions, hold down the shift key when dragging the picture. Once all the images are resized, arrange them as you like on the page.
Try to balance everything on the page, but feel free to leave white space to add in clip art or text.
Step 5: Format Pictures


You can now add borders and reshape your pictures using more features from the Format Tab and the toolbars that are displayed under the tab. The styles toolbar gives you a variety of different border and shape options for your pictures. It also has pull down menus that allow you to change the color of your border.
When formatting the pictures, it is a good idea to follow a theme for each month. You should try to put the same size and style borders on each page. You should also pick a color scheme to follow, using the same combination of colors throughout the page.
Step 6: Add Page Border


In order to add a page border, go to the Page Layout Tab and go to Page Borders. This will open a box that will allow you to choose what type of border you want, including the thickness, style and color of the border.
Once again, the border should agree with the theme that was used when formatting pictures.
Step 7: Add Clip Art


Clip art can be used to add to the theme of a page. This is especially useful in holiday months because it is easy to find clip art that represents holidays such as Christmas and Valentine’s Day.
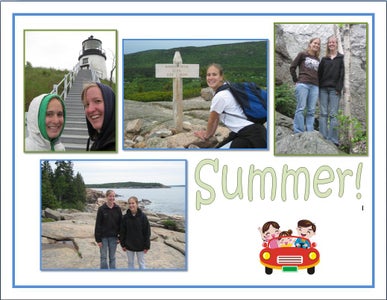
To add clip art, go to the Insert Tab, and then click on the Clip Art icon. This will bring up a new task bar on the left side of the screen. Here you can search for a specific type of Clip Art, such as a heart or any clip art that is summer themed. Then click once on the clip art that you think best fits your page. The image will automatically be inserted into the page.
Once a clip art image is inserted into a page, it behaves exactly like a digital image. Therefore, by following Step 3 again, the clip art image can be arranged and sized as needed.
Step 8: Add Word Art


While the month is always listed on the lower portion of the calendar, sometimes words can be used along with pictures to reiterate the theme of the month. An example of this is saying “Merry Christmas” for the month of December.
To add Word Art, go to the Insert Tab and click on the Word Art icon. It should be on the right side of the tool bar. This will give you a drop down menu where you can choose a style of Word Art.
Once you have chosen a style it will bring up a new window where you type in the words that you want displayed on the page. This also allows you to determine the font you want to use. Then press ok and it will be inserted onto the page.
Once the word art is on the page, a new format tab appears when you select the word art. This tab has a range of different tools that can be used to format the Word Art.
Step 9: Print and Finish
Now that the formatting is done, all that is left is printing and putting your calendar together.
Print your pages using a color printer. This project does require a large amount of ink, so make sure you are stocked before you begin.
Once the pages are printed, they are combined with the correct monthly calendar pages and placed in sheet protectors. The sheet protectors are connected using three book rings as seen in the image below.
You have now created and finished your very own personalized calendar. Hang it on a wall for all to see!


