

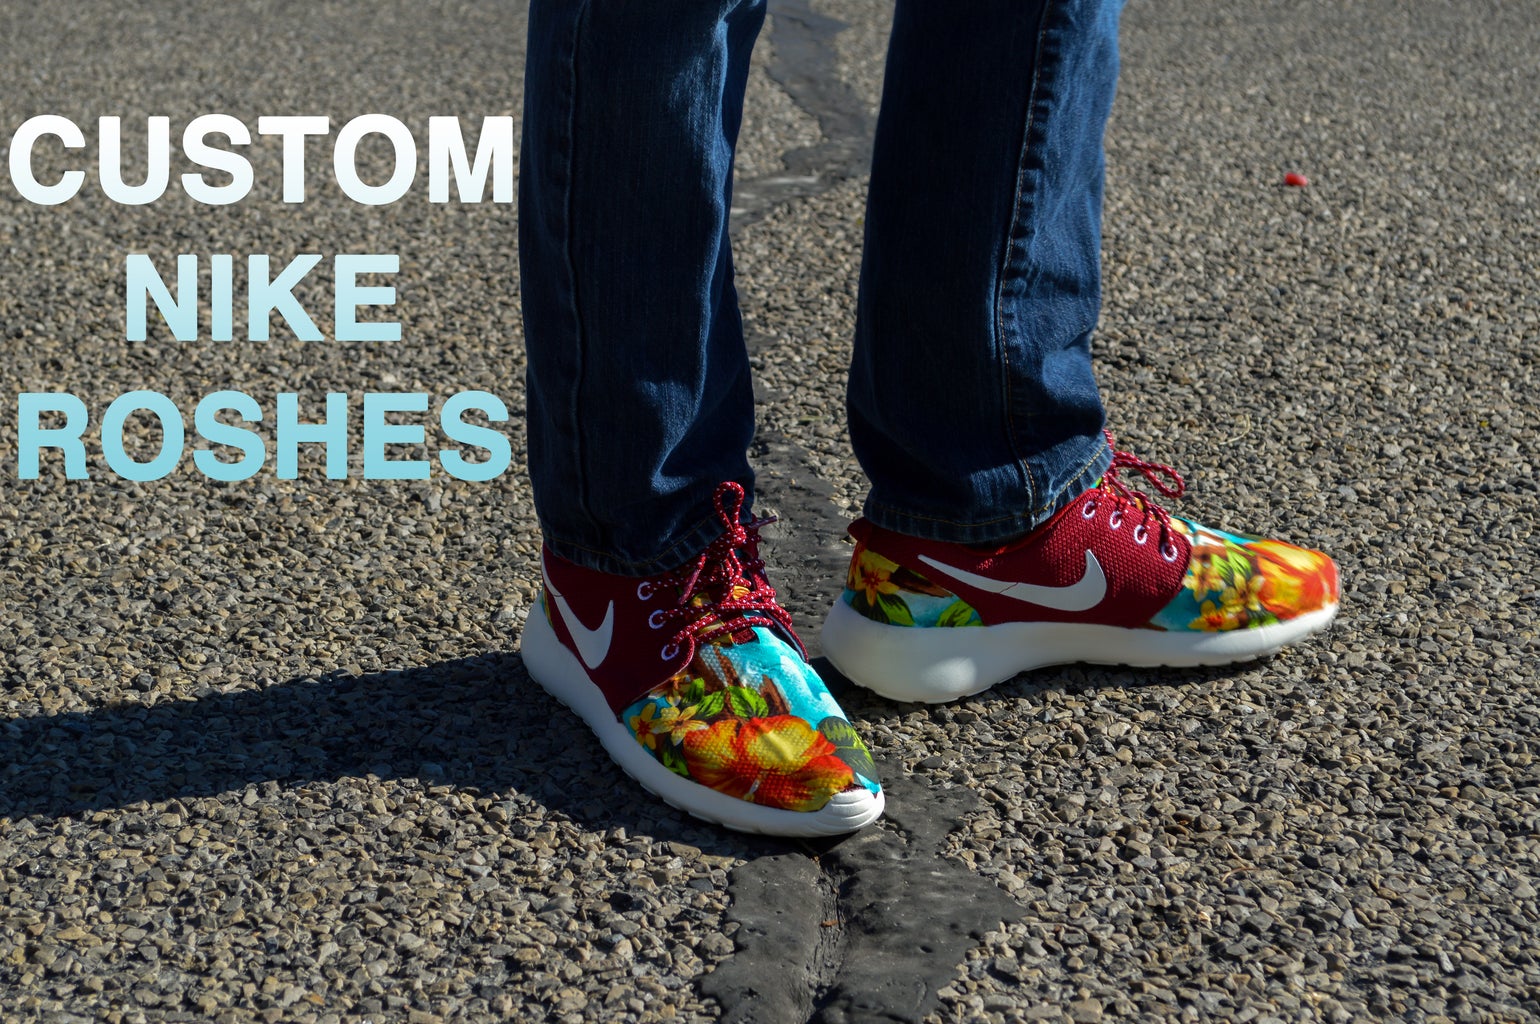
Introduction: Custom Nike Roshes (Or Other Shoes)


Thanks for checking out my instructable! I want to start by apologizing for any poor quality photos. They were all shot on a DSLR but I took tons of pictures so I had to compress them down to be able to upload them all.
This is a super in depth tutorial on making custom shoes with a fabric overlay, the technique used will work on other shoes but I chose the roshe because I love this shoe and it works really well with it. This is a very in depth tutorial that will go over every single step I used. You can find videos of a similar method on youtube but I found them somewhat useless.
Good luck!
Step 1: Supplies


Required:
- Shoes
- Fabric
- X-ACTO Knife
- Masking tape
- Fabric Glue
- Scissors (Fabric scissors recommended)
Recommended:
- Fray Check
- Headphones/music
- Caffeine
Things I used along the way:
- Socks (I stuffed these inside the shoe so it held its shape)
- Tweezers
- Lighter
- Pins
- More Caffiene
The entire project cost me about $90 but can be done for cheaper depending on the shoe you buy and whether you buy fray check or not.
The Shoes: I was hesitant to use the shoe I did because that color isn't made anymore and they are worth about 200 on eBay but they turned out really good so I am glad I did. If you are worried about making an investment on shoes and then ruining them, find a pair of old vans at a thrift shop and clean them up (or use new vans they are only $45)
X-ACTO Knife: THIS IS NECESSARYdo not try to use a razor or other knife, you need to be very precise and anything other than an X-ACTO won't cut it.
Fabric Glue: There are tons of different types of this fabric glue out there and its just important that what ever you buy is flexible and waterproof. I used Aleene's Fabric Glue
Fabric: I chose a hawiian print and it turned out incredible. The fabric was actually on sale at Joann's craft store and I got 15'' of it at $5 a yard. It was way cheap, It only cost like a 1.50 for me and 15'' was just enough. (Get a little more if you are afraid of messing up.
Step 2: Making the Template (Heel)


How we are going to make the custom:
The way we are making this custom is by making a template of the toe-box and heel of the shoe and then cutting out fabric in the shape of the toe-box and heel. After we have pieces of fabric we can glue them on top of the shoe for an awesome custom design.
Making the template:
I started on the heel because it was easiest, you can do it in whatever order you want. I did the heel on each shoe and then the toe-box of each.
Start by taking several long pieces of tape and covering the back of the shoe with the tape, make sure to tape a larger area than the actual heel piece, this allows us to easily cut out the template off of the shoe. I would recommend trying to keep the tape one layer thick along the outer edges of the piece otherwise it becomes difficult to cut. I used the back of the knife to press the tape along the seams of the shoe, the outlines of the seams should be slightly visible through the tape for easy cutting.
Step 3: Cutting Out the Template (Heel)


I made a separate step for this part because it is incredibly time consuming.
Once your heel panel is completely covered in tape use your knife and begin cutting out the shape of the heel piece. Make light cuts so that you don't damage the shoe underneath. I started in a corner piece of the heel and worked around it. Make several small cuts rather than a few long ones, this is much more accurate. I cut the pieces of tape of in about half inch segments, this made it easier to see the shape of the shoe and make more accurate cuts. The tape should perfectly cover the piece of the shoe that you plan on customizing, if it is larger than the piece trim it down with the knife. If you cut it too short, place a new piece of tape over the spot you cut short and re-cut it. In the last picture you can see that the tape perfectly covers the back heel panel.
Step 4: Making the Fabric Overlay (Heel)


At this step we will be cutting out the piece of fabric that will be attached to the shoe. This step was fairly easy but should be done with extreme care if you want a quality product .
I started by picking at a corner of the tape with the knife and then slowly pulled the whole thing off in one piece once I had a corner lifted. At this point the process should pretty much make sense. You can see how the tape fit over the shoe and then you have a template to cut the fabric out.
Once you have your piece of tape removed you need to stick it to the fabric. This part is important if you are using a pattern. Be sure to place the tape over a portion of the fabric that you think will look good on the shoe. I placed mine so that it included flowers, palm trees, and water.
Next we need to cut it out I started by cutting out a piece of fabric that was manageable and then trimmed it down to the exact shape of the tape. Just like the tape needed to be perfect over the shoe, the tape should fit perfectly over the fabric, don't cut the fabric too short but be sure not to leave any hanging outside of the tape.
Separating the fabric from the tape was a little trickier than I thought it would be. I had to get a pair of tweezers to get it apart. I separated a small piece of the corner with the x-acto knife and then pulled the rest off with tweezers and my fingers. DO NOT SEPARATE THE TAPE AND FABRIC QUICKLY I made this mistake and it frayed the fabric really bad so I had to re-cut it out and try again a little slower.
At this point I used the lighter to burn away loose threads on the shoe by holding the flame to the end of the thread and they quickly burned away without damaging the fabric.
Lastly fit the fabric over the shoe with your hands. If it doesn't fit right try again. You don't want to attach an ill fitting piece of fabric to the shoe or it will look awful.
In a perfect world this template would work for both the right and left shoe but mine were a little different and yours most likely will be as well so you'll have to repeat step 1 and 2 for the second shoe.
Step 5: Gluing the Fabric Overlay (Heel)


I glued the fabric overlay down in sections and it worked well for me. I started by squeezing glue down along the edge of the heel piece. I put the glue very close to the edge because you don't want the fabric unglued along the edges or else it will fall apart very quickly. I cleaned up any excess glue with a rag if it squeezed outside the fabric. Once I drew the glue outline I filled it in with glue. Use this stuff liberally, you don't want this fabric to ever come off.
Once I glued the first half down I repeated the same process on the other side of the shoe and pressed it down. I had a little bit of fabric that stuck out over the midsole and I used the X-ACTO knife to cut this off. Try to avoid excess fabric because it was fairly tricky to cut it away with the knife and it started to fray.
After the fabric was attached I applied a thin layer of fray stopper along the edges and rubbed it in with a q-tip, this stuff dries clear so it was okay to add afterwards.
Step 6: The Toe-Box/Tongue


The process for the toe-box and tongue is pretty much the same as the heel but harder. I have seen a lot of people who just customed the toe-box and not the tongue, I'm not sure if they did this because they thought it would be easier or what but it look WAY better if you do the tongue as well and it really wasn't hard.
Prepping the shoe: Start the toe box by removing the laces and stuffing the toe with socks or tissue, you want the toe to hold its shape very well while you tape, dry, and let it glue.
Taping: Start by taping up the little toe piece. This gave me the most trouble throughout the whole custom process. after that just tape it up how ever works best for you. I would recommend several long strips going horizontally across the shoe. I didn't do it this way but I wish I had. To tape the tongue just pull it out and start taping. Leave the part on the middle untaped. I don't really know how to describe this thing but you'll know what I mean when you see it on your pair, it sticks out and you don't want to cover it.
After this the process is the same. Just cut the excess tape off so you have a perfect template of the toe and tongue of the shoe.
Step 7: Gluing the Toe Box/Tongue

Sorry at this point I don't have many pictures because my camera died and I started using my iPhone but I did a bad job of taking lots.
This is where I messed up :( I am making this instructable so you don't mess up though!
Gluing this piece was an incredible pain. The little piece that sticks up on the toe was a huge pain.
The first shoe I did I started gluing at the back of the toe-box and worked my way to the front. I should have done it the other way around. The little toe piece is the trickiest to get it to fit and I would highly recommend that you glue that part first. Once you glue that part work your way back all the way to the tongue. Just like the heel, glue the toe, and then work in halves, its a lot easier to get it to fit this way.
On the second shoe I did I got a bunch of pins and pinned the fabric down in place and it was a huge help. I would highly recommend doing this because this shoe turned out better than the other. I pinned the whole thing down with a ton of pins and then removed them as I glued it down. This helped the fabric stop from sliding all over the place while you try to glue it down.
Step 8: Let Them Dry Then Look Fly


I started this on Sunday morning at 1:00 AM and finished at about 5:00 AM (Hence the need of caffeine) I left the socks in them for 24 hours and didn't touch them during this time. On Monday morning I laced them up and wore them to school.
I have never worn anything anywhere that got so many looks and comments. The school I go to isn't even really full of sneaker heads but I got tons of compliments, a lot of people asked about them and I saw a few people about break their necks checking them out. The shoe was just slightly less flexible and less breathable but it was still 100% wearable. They held up fine in about 9 hours of regular wear, I am a little worried about the toe part on the first shoe I did because it isn't glued completely down but we'll see how they hold up.
I am thinking about trying to stitch the outline of the toe part to make them more durable, I will be sure to post an update and pictures if I stitch them.
Thanks for checking out my instructable! Leave pictures in the comments if you make a pair!
I would really appreciate it if you guys voted for me in the Crafting 101 Contest!

Runner Up in the
Crafting 101


