

Introduction: Custom Arduino Parts


hello world,
.
today I would like to share with you how I make custom parts for my projects. it is a lot of fun and a great beginners project who would like to learn more about basic electronics, gain more experience with soldering etc.
.
but the best part is that you will be playing with "playdough" - in this case paperclay, a modeling material, perfect for product development and to bring your dream device into reality.
.
let's begin
Step 1: Make a List of What You Use Frequently


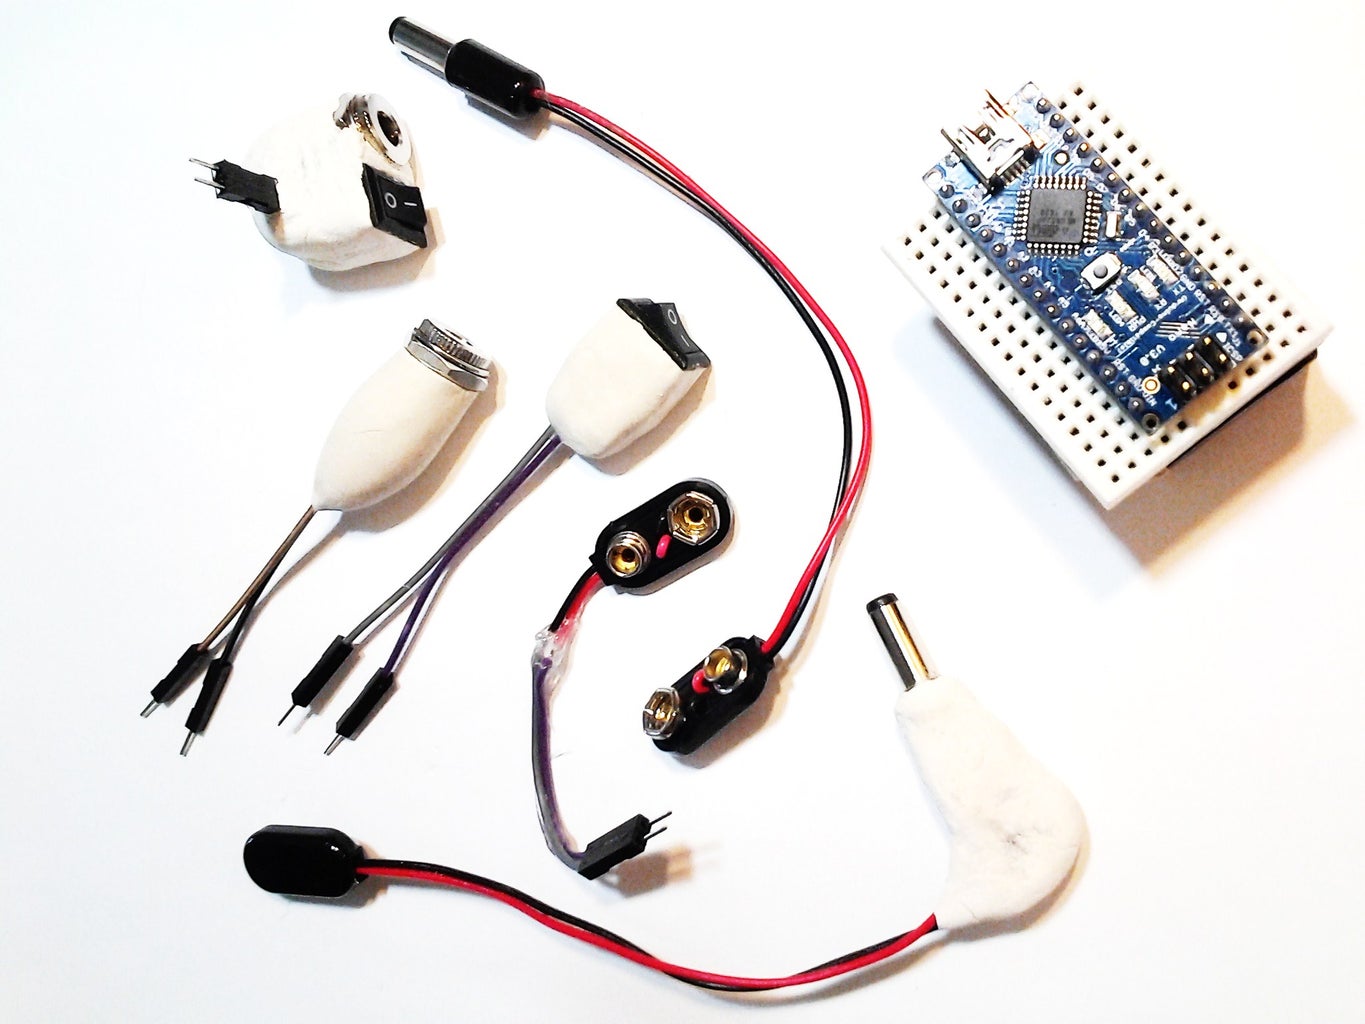
I will be focusing on powering an arduino. I have been developing and testing a lot lately with the arduino and realized that it would amazing to have a few custom parts to make my life easier;
- 9V battery clip
- DC male jack (size m)
- DC female jack (size m)
.
snap in-out jumper cables are a great solution while prototyping but are usually very long and can get in the way. so after deciding what exactly I needed to customize, I cut them to length to keep everything organized better.
- lay out your parts
- cut cables to length
- snip the ends of wires
- glue cables (do not glue cables if the inputs aren't next to each other on your board)
.
Step 2: Solder & Seal


learn basic electronics / learn to solder (ask your question in the comments)
.
now that all of our parts are laid out, we can begin to solder them. take your time and be careful. a set of helper hands can make this process much easier..
.
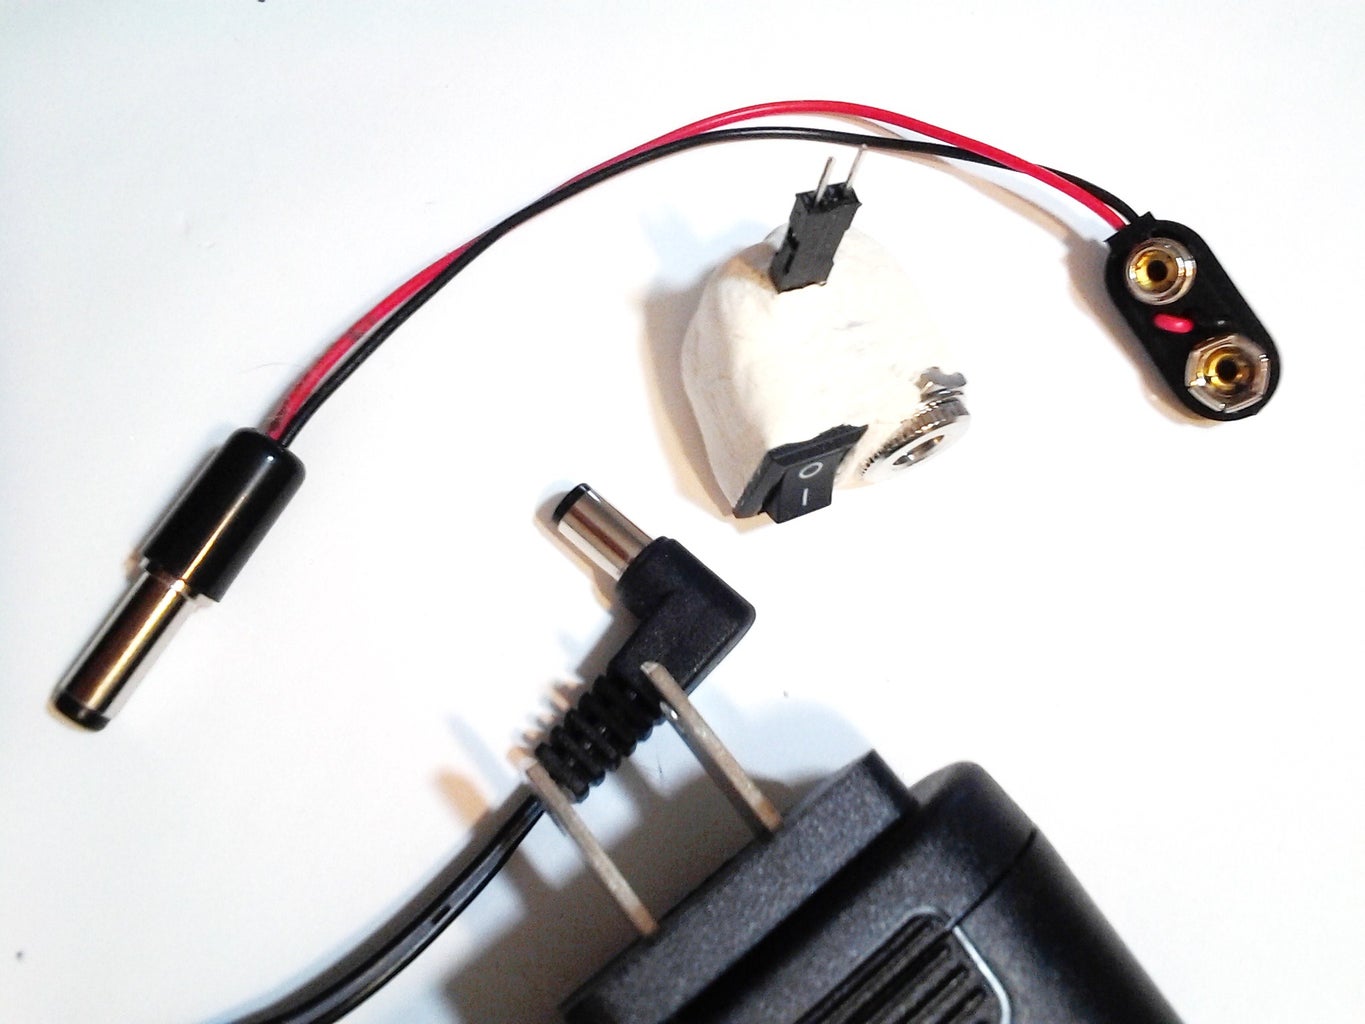
after soldering seal the connections with the hot glue gun. use a generous amount of glue, we want our custom parts to be strong and not break after a few uses.
.
the process is the same with each component. in the pictures above you can see the 9v battery clip and the female DC input jack..
Step 3: "playdough"


i searched online for modeling clays. there are many options to choose from but this creative paperclay looked to me like the best choice. it is air-dry so no need for oven cooking.
.
it is very cheap for the amount you get. and best of all it is extremely simple to use. I have had nothing but amazing results with this product. it is basically powdered paper with water. you can shape it just like playdough and glue new pieces onto each other using simple white paper glue.
.
once dry, it is rock hard and can be sanded + painted. I have made a few other devices with it and am still using them to this day - just perfect.
.
just make sure to never leave the package out to dry. save it in a ziploc bag. rip a small amount of paperclay and divide it into 2 balls, have your glue ready...
Step 4: Start Molding


put one ball of paperclay on the table
.
put your soldered component on top of the first ball and gently press down
.
apply a tiny amount of glue in between the layers
.
add the second ball of paperclay on top and gently press down once again.
.
now it is time to bring out your creative side, work with your hands and fingers to slowly seal everything. make any shape you desire.
.
set a side to dry. don't play with your custom parts until you are sure the clay has 100% dried. otherwise you will end up with cracks. i usually leave mine overnight, and in the morning everything is ready to use :)
.
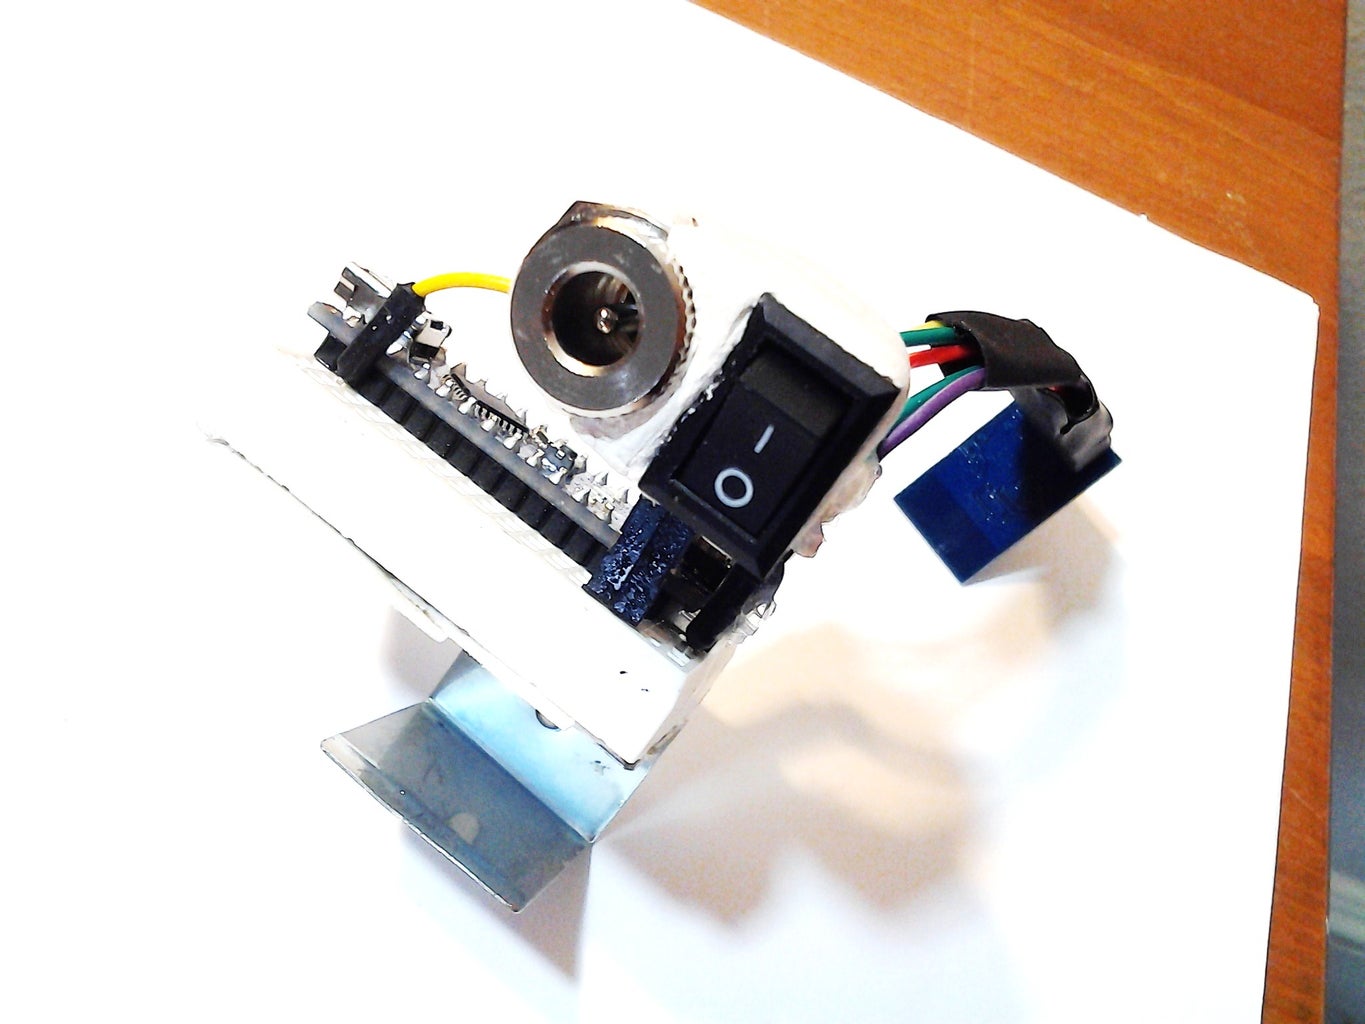
I now can power my arduino via 9V battery or an AC wall adapter. basically anything that is equipped with a size m male jack. i can add a switch to my setup anytime I want. solder-free prototyping from now on !!
.
use your imagination, your frequently used components may differ, but the idea and process stays the same. you can even make them ahead of time for your kids who can't solder yet - what ever the situation may be.
.
I must warn you that this is an addictive project. once you realize what you can do with molding clays, you may constantly want to create things. nothing wrong with that :)
.
thank you for your time & interest
remember to check out my other posts and subscribe to stay tuned !!
love & peace,
akin,
Step 5: More Pictures


i will update this step as I make more custom parts..


