

Introduction: DIY 300 Watt 5.1 Channel Amplifier


Hey! everyone My name is Steve.
Today I'm going to show you How to Make 5.1 Channel Amplifier
Let's Start
Step 1: Gallery


Step 2: Features

Input Power
- 24V DC @ 15A
Input Signal
- 6 channel
Output Power & Signal
- 6 Channel x 50watt @ 4 Ohms = 300 Watt @ 4 Ohms
Operation
- 5.1 Via Sound Card " Windows Computer only "
- 5.1 Via Digital to Analog Converter " Aux Input & Digital Input "
Built-in Protection
- Over Load Protection
- Short Circuit Protection
- Over Heat Protection
Step 3: Things You Need


Recommended Products
- Blitzwolf® Audio Cable - https://goo.gl/6X47VG
- Vantec USB External 7.1 Audio Adapter - http://amzn.to/2zlRPYO
Where To Buy "Cheapest"
----------------------------------------------------------------------
Bangood
1. TPA3116 Audio Amplifier - https://goo.gl/dCeLgE
2. XT30 connector - https://goo.gl/T8uxyC
3. XT60 connector - https://goo.gl/Tm4rRQ
4. Acrylic Sheet - https://goo.gl/T8uxyC
5. PCB Standoff - https://goo.gl/T8uxyC
6. 5.1 Sound Card - https://goo.gl/T8uxyC
7. 5.1 Digital to Analog Converter - https://goo.gl/T8uxyC
8. Blitzwolf® Audio Cable - https://goo.gl/T8uxyC
9. 3.5mm to RCA - https://goo.gl/T8uxyC
10. 24v 360 watts Power Supply - https://goo.gl/T8uxyC
11. Soldering Iron - https://goo.gl/T8uxyC
12. Heat Shrink Tube - https://goo.gl/T8uxyC
Mechanical parts with discount here - https://goo.gl/TTA1Z5
----------------------------------------------------------------------
Amazon
1. TPA3116 Audio Amplifier - http://amzn.to/2gShZaJ
2. XT30 connector - http://amzn.to/2gShZaJ
3. XT60 connector - http://amzn.to/2gShZaJ
4. Acrylic Sheet - http://amzn.to/2gShZaJ
5. PCB Standoff - http://amzn.to/2gShZaJ
6. 5.1 Sound Card - http://amzn.to/2gShZaJ
7. 5.1 Digital to Analog Converter - http://amzn.to/2gShZaJ
8. AmazonBasics Audio Cable - http://amzn.to/2gShZaJ
9. 3.5mm to RCA - http://amzn.to/2gShZaJ
10. 24v 360 watts Power Supply - http://amzn.to/2gShZaJ
11. Soldering Iron - http://amzn.to/2gShZaJ
12. Heat Shrink Tube - http://amzn.to/2gShZaJ
----------------------------------------------------------------------
Aliexpress
1. TPA3116 Audio Amplifier - https://goo.gl/oLzZ46
2. XT30 connector - https://goo.gl/oLzZ46
3. XT60 connector - https://goo.gl/oLzZ46
4. Acrylic Sheet - https://goo.gl/oLzZ46
5. PCB Standoff - https://goo.gl/oLzZ46
6. 5.1 Sound Card - https://goo.gl/oLzZ46
7. 5.1 Digital to Analog Converter - https://goo.gl/oLzZ46
8. Blitzwolf® Audio Cable - https://goo.gl/oLzZ46
9. 3.5mm to RCA - https://goo.gl/oLzZ46
10. 24v 360 watts Power Supply - https://goo.gl/oLzZ46
11. Soldering Iron - https://goo.gl/oLzZ46
12. Heat Shrink Tube - https://goo.gl/oLzZ46
----------------------------------------------------------------------
https://www.utsource.net/ is an online platform for electronic technicians, Makers, Enthusiasts, Kids to find electronic components
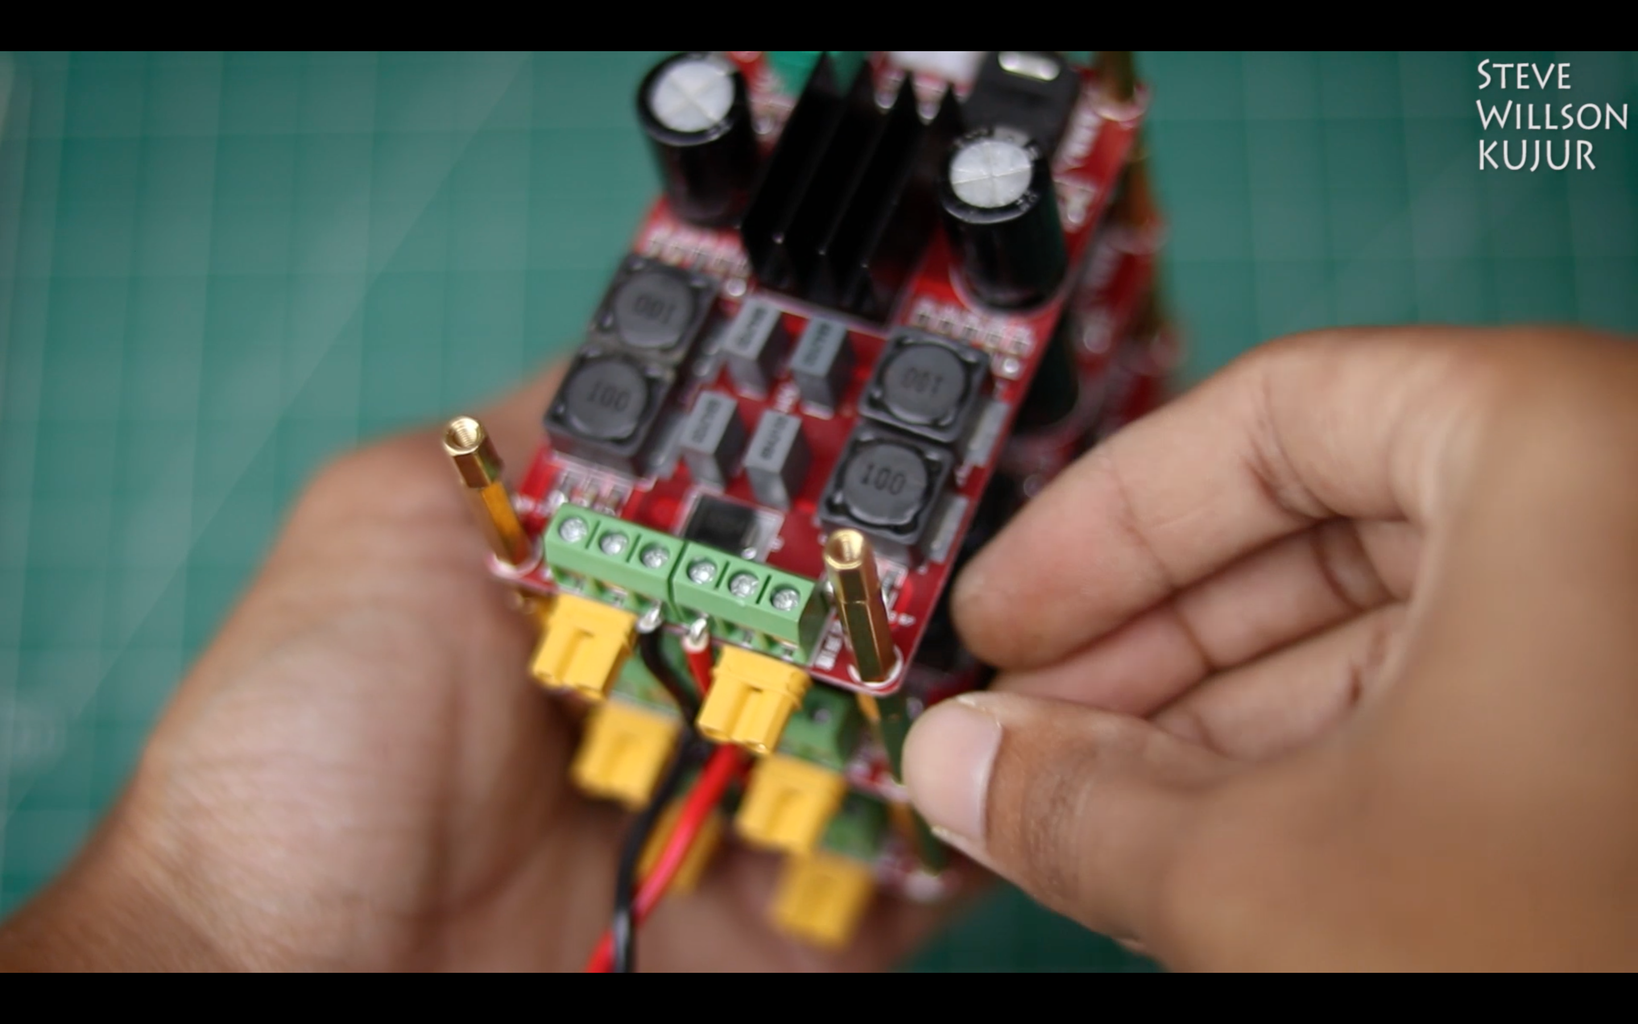
Step 4: Soldering Job


- Solder XT30 Female to the Speaker Output of the Amplifier " See the Image "
- Repeat this process for all Three boards
Step 5: Stand Off Installation


- First, install the standoff "as shown in the image "
Step 6: Wiring


- Now, I used an XT60 with little wire and connected 3 little wire " see the image "
- And, Then I connected that to the board " see the image "
Step 7: The Acrylic


- I took an acrylic sheet and marked the point for drilling " see the image "
- Drilled, and then I peeled off the protective layer
Step 8: Final Assembly


- Now Assemble " as shown in the image "
- Connect all the Power Wire
- Now, Take some screw and install the acrylic sheet
Step 9: Connection


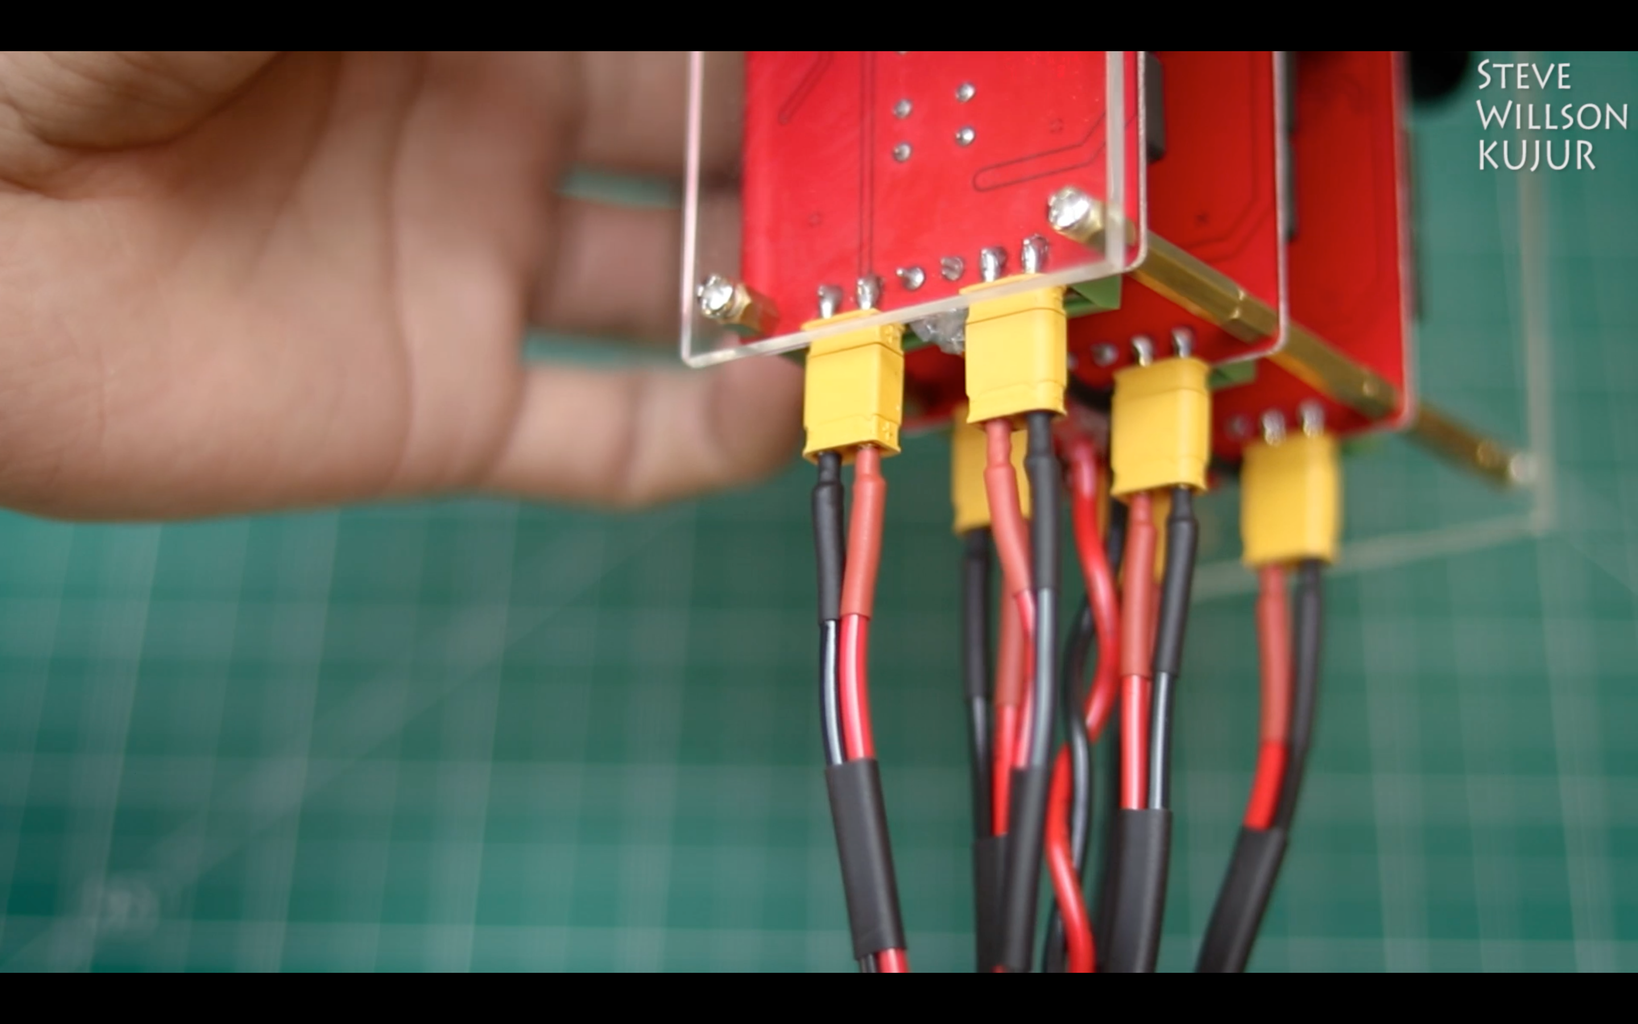

- Connect all the Speaker wire " XT30 " and Power Wire "XT60"
Step 10: Windows 5.1 Setup


- Connect all the signal wire to the amplifier with Sound Card
- And, Plug the USB and Install the Sound Card Driver
Step 11: Digital & Aux 5.1 Setup


- Now connect all the Signal wire to the Digital to Analog Converter " As shown in the image "
Step 12: Finishing

Power Supply
- Connect your Power Supply to the XT60 Connector " 24v "
- Now connect all the Speaker and Power
- And, you are Ready to roll
You Just Made It
Thank you for visiting my Instructables
Stay tuned for next Projects


