

Introduction: DIY Birthday Calendar With Few Tools!!
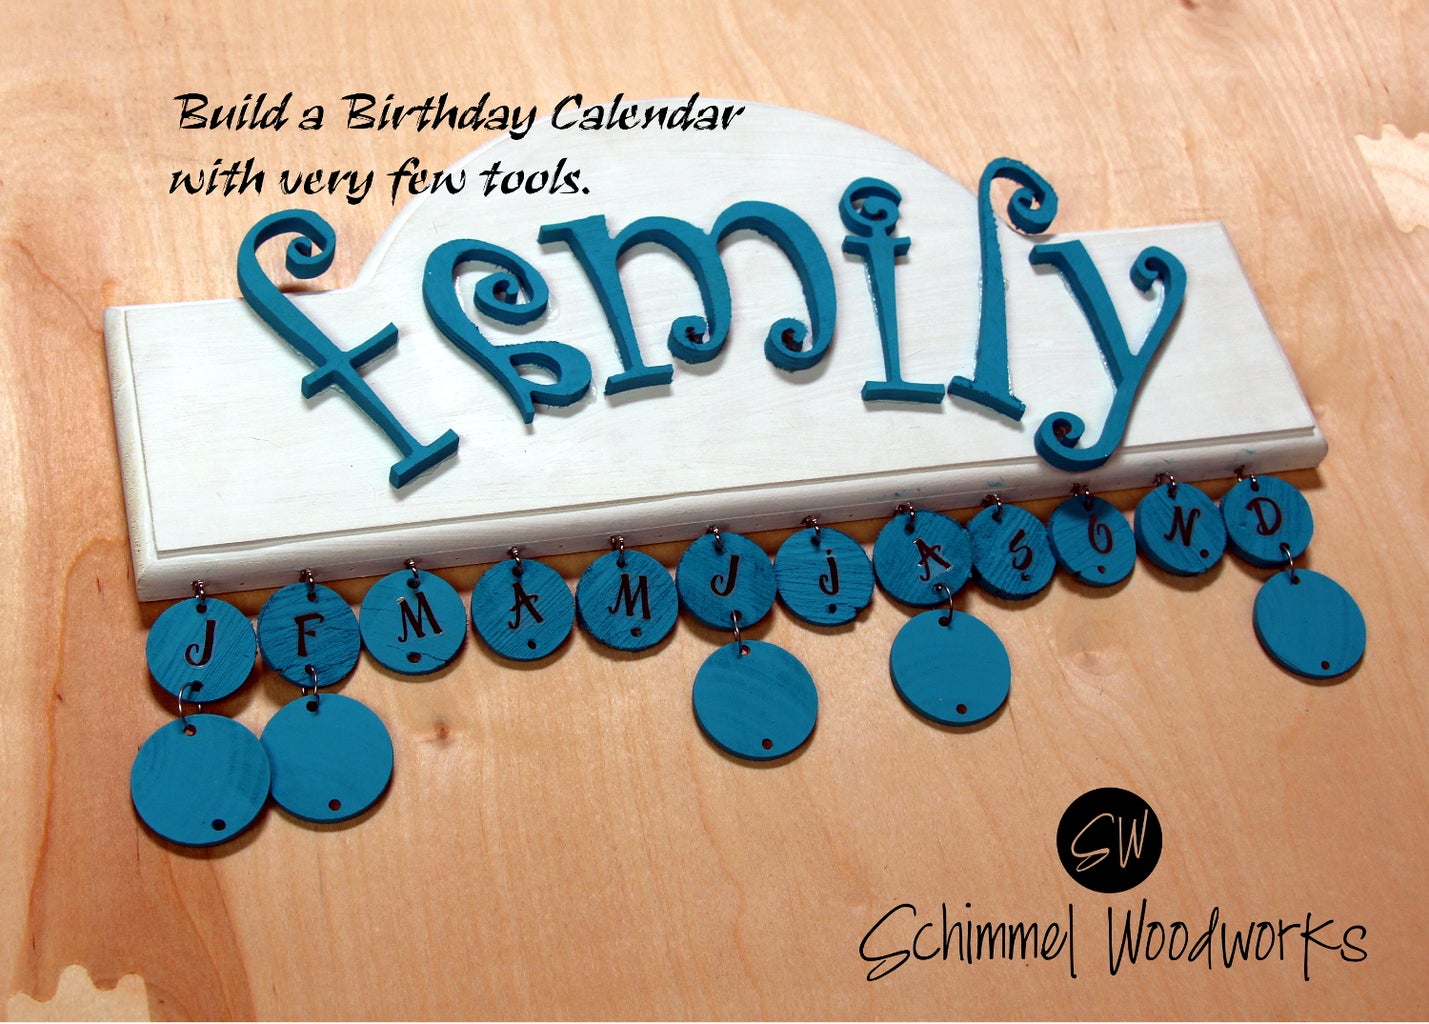


How to build a cute Birthday Calendar with very few tools.
Step 1: Gather Materials and Tools.


You will need to visit the craft store and pick up a topper, what ever letters you want for the front and some little round discs for the dates. I also picked up some screw eyes and wire since the craft store had them. I picked out 2 colors of pain and the only tools you will need are a drill with small bit, pliers, vise grips, and a paint brush.
Step 2: Drill an Paint.


First step is to drill 2 holes in each disc, top and bottom. Then paint all the pieces the color you want.
Step 3: Mark and Install Eye Screws


Next mark the location of each eye screw. It will depend on the length of the top. Slightly bend open the eye screw and twist it into place.
Step 4: Glue on Letters, Make Hangers.


Now is the time to glue on the letters. I use 2p-10 super glue. I then make the hoops by wrapping wire around a bar and cutting into circles.
Step 5: Label the Months and Hang Discs.


Now you can paint or use a sticker on the disc to label the month. I just used the first letter of each month. I then hung some of the discs and you are done. Here is where you would add names and days.
Thanks for checking out this instructable please watch the video also.


