

Introduction: DIY Infrared Proximity Sensor (Arduino Compatible)


Ever looked on Sparkfun or Adafruit for some cool robot parts, and saw those expensive IR and Ultrasonic proximity sensors? I have, and I really wanted one, but they're so expensive ($30-$40 or more) so I decided that I could make one myself with the parts I had on hand for way less.
What I came up with was an infrared distance/proximity sensor that sensed an object up to about 10-12 inches away all for about $3.
It is fully compatible with Arduino and other microcontrollers such as PIC, PICAXE, and Parallax Propeller (although the code would have to be different than the Arduino code I will be showing you).
Step 1: How Does It Work?
The way this sensor works is like this.
1. An IR (infrared) LED emits a pulse of light at the rate of 38KHz. The pulsing rate of the LED is controlled by an Arduino's PWM output.
2. An IR Receiver module is connected to a digital pin on the same Arduino. This module can detect a IR light signal that is pulsing at 38KHz, which is the speed that led Infrared LED next to it is flashing.
3. If there is an object in front of the IR LED and the receiver, the object reflects some of the light back onto the receiver. The receiver detects this light and sends information back to the Arduino.
4. If the receiver detects an object, it sends LOW to the Arduino's digital input. If it does not detect anything, it sends HIGH.
5. The Arduino then processes this and uses it to control a device of your choosing. It can be anything from an LED to a servo motor to a solenoid.
That's it!
Step 2: What You Will Need
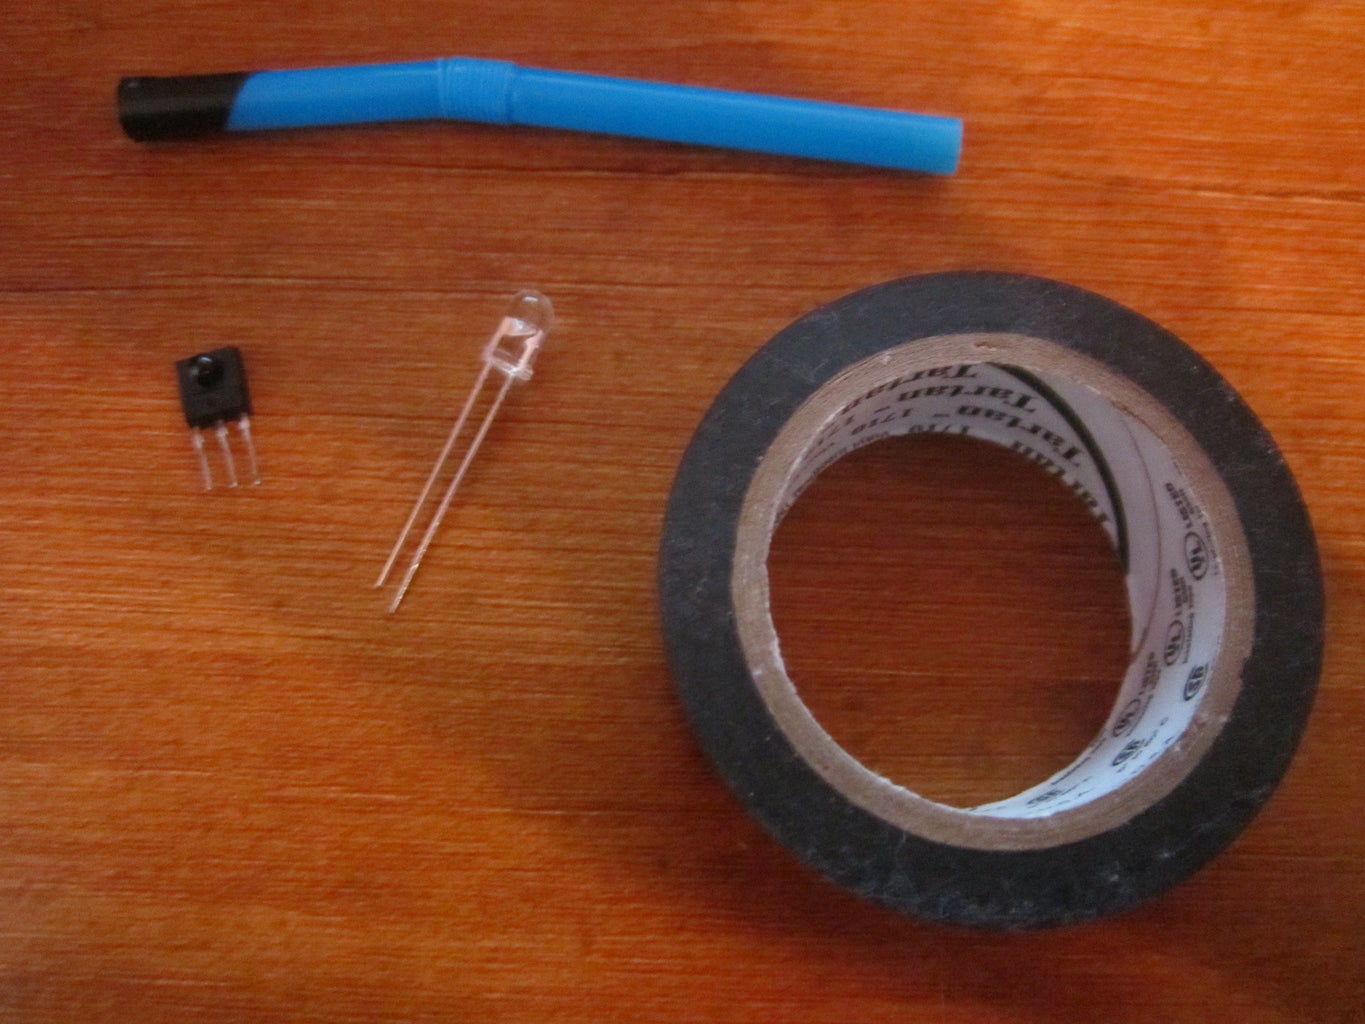
The parts you will need for this are:
1x 5mm IR (infrared) LED (can be narrow or wide angle)
1x IR receiver
1x Regular straw, any color (not those super fat ones you get from some fast food restaurants)
1x 3-4 inch piece of electrical tape
1x Arduino or other microcontroller (to control the LED and pick up signals)
Step 3: Assemble the Sensor


It takes about 2 minutes to so this part. Just cut off about one inch of straw, and wrap it in electrical tape, but don't cover the ends. Then stick the LED into one end of the straw, it should fit snugly. You can hot glue the end of you want.
That's all for assembly!
Step 4: Program the Arduino
First of all, you need to download the Infrared Library for the Arudino IDE. I attached the folder to this step, so you can just scroll to the bottom and download it. It will be in a .ZIP file, so you will need to extract it first. To install the library in Arduino 1.0.1, refer to this helpful page.
After you have installed the library, upload this sketch to the Arduino.
//CODE STARTS HERE
#include <IRremote.h>
#define PIN_IR 3
#define PIN_DETECT 2
#define PIN_STATUS 13
IRsend irsend;
void setup()
{
pinMode(PIN_DETECT, INPUT);
pinMode(PIN_STATUS, OUTPUT);
irsend.enableIROut(38);
irsend.mark(0);
}
void loop() {
digitalWrite(PIN_STATUS, !digitalRead(PIN_DETECT));
}
//CODE ENDS HERE
Attachments

Step 5: Wire It Up!


Follow this schematic diagram to connect the LED and receiver to the Arduino.
Note: Your IR receiver may have a different pinout than this, so consult the datasheet for your receiver and check the pinouts. If you are not sure, then connect it the way shown in the schematic and see if it works. Most receivers have this pinout.
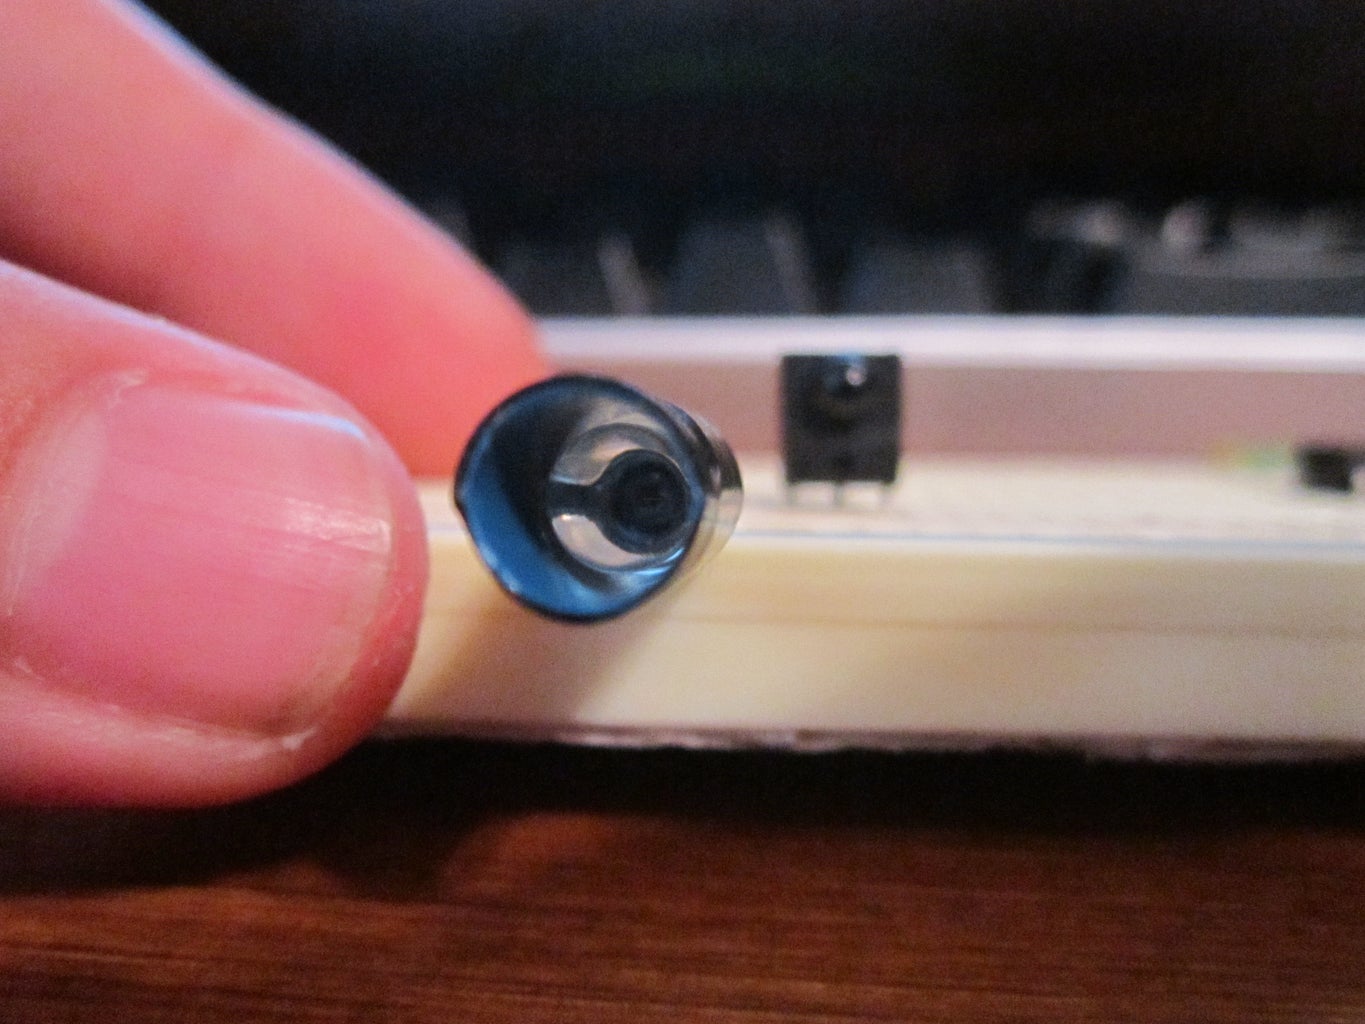
Note #2: You must have the LED and the receiver next to each other, but not facing towards each other. You must have them pointing in the same direction as shown in the second and third pictures.
Step 6: Try It Out!

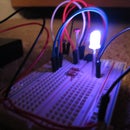
Just connect the Arduino to a power source (USB cable or a 9 volt battery) and put your hand in front of the receiver/LED. The LED on pin 13 of the Arduino (there is one built in, it is located on the Arduino board near pin 13, labeled "L") should light up. When you move your hand away, the LED should turn off.
Awesome!

Participated in the
Hurricane Lasers Contest

Participated in the
Hack It! Contest


