

Introduction: DIY Jigsaw Puzzle


Want to learn how to make your own personalized jigsaw puzzle? Well, if so, you've come to the right place! This DIY Jigsaw Puzzle measures approx. 6.35 inches by 9.5 inches. This instructable will tell you how to make a puzzle using a Silhouette machine. This is good for those of us who can not afford a laser cutter! It's a 54-piece puzzle, but that can be easily changed through Silhouette Studio®.
Step 1: Supplies
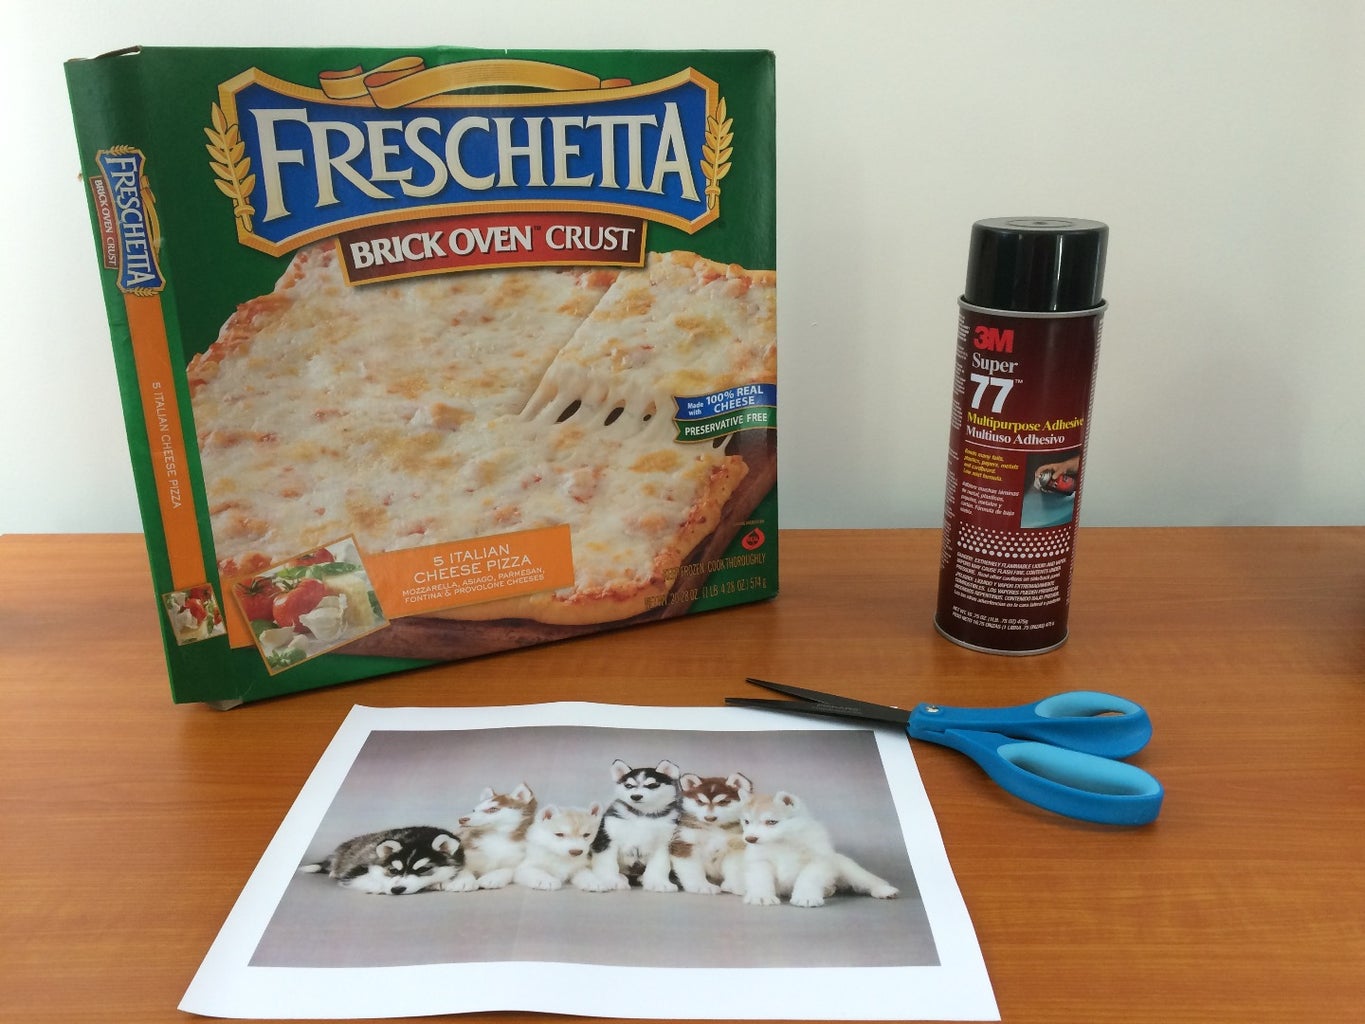
To make the puzzle, you will need:
- A Silhouette Machine (Not Shown in Photo)
- A Printer (Not Shown in Photo)
- Spray Adhesive
- A Frozen Pizza (You only need the box, so choose a yummy one!)
- An 8 1/2" by 11" Sheet of White Printer Paper (Glossy or Regular)
Step 2: Choosing Your Photo


Begin by choosing the photo you want to be on your puzzle. Try to find one with a lot of color and one that isn't too monochromatic or uniform, otherwise it might be too hard to complete. The photo must measure approx. 6.35 inches by 9.5 inches. Cropping your photo may be required. If you are not sure what kind of photo to choose some ideas include:
- A picture of you, your, friends, family, or pet(s).
- A poster of your favorite movie/video game.
- The cover of your favorite book.
- A place you've been or dreamed of going to.
- Pictures of animals
- Pictures of nature
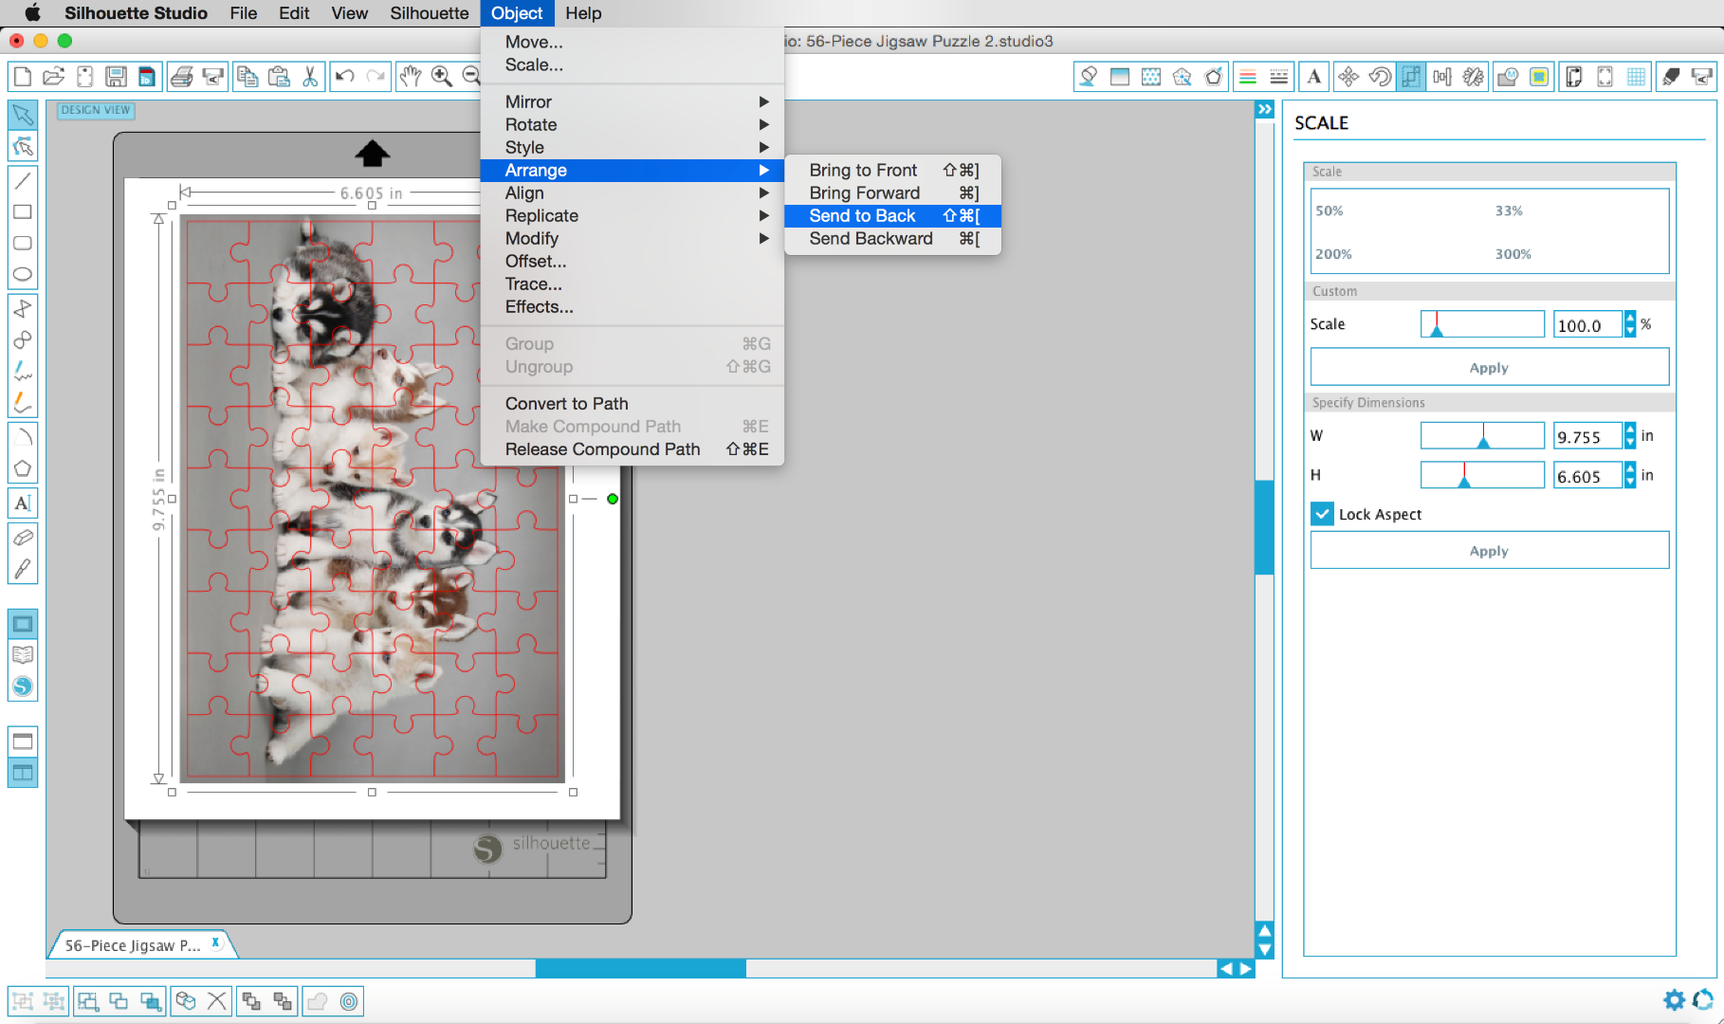
Then, download the ".studio3" file from this step and open it with Silhouette Studio. Once, you have picked your photo insert it into the file you just opened. After you have the photo within the application select your photo and choose Object > Arrange > Send to Back from the top of your screen. Make sure you scale the photo to match the size of the puzzle (approx. 6.35 inches by 9.5 inches). If the edges of you photo are unimportant, I recommend scaling it a little bit bigger than the puzzle and let the machine crop out the extra. Then, open the Align window and center the photo to the page. Once, all the changes have been made, print it out onto an 8 1/2" by 11" sheet of paper.
If you'd like to change the amount of pieces, simply copy and paste the pieces until you have the desired amount then drag them around until they are in the desired places. They will overlap a little, but that's okay. If you'd like to change their size, select all of the pieces and scale them down to the desired size. By doing this, you can add and subtract pieces or even change their size!
Attachments

Step 3: Adhering the Photo to Cardboard.


Cut a piece of cardboard a little over 8 1/2" by 11" out of pizza box (Use the cardboard from a frozen pizza box because it is thin; The kind you order and get delivered is too thick. You want something ever so slightly thinner than a cereal box.)
Next, lay out some newspaper, a drop cloth, or something that can easily be disposed of. Place the card board on the newspaper and use your your spray adhesive on the printed side of your cardboard pizza box. Then carefully place your photo in the center of the cardboard, avoiding any air bubbles. Once the photo is adhered, trim off any excess cardboard.
Alternatively, you can try printing your photo onto white sticker paper and then simply peel the backing off and stick it to your 8 1/2" by 11" piece of cardboard.
Step 4: Cutting


Next, change your cut settings by making the following adjustments:
- Material Type: Coverstock
- Ratchet Blade: 10 (Change both the actual blade and the file's cut settings)
- Speed: 1
- Thickness: 33
- Double Cut: On
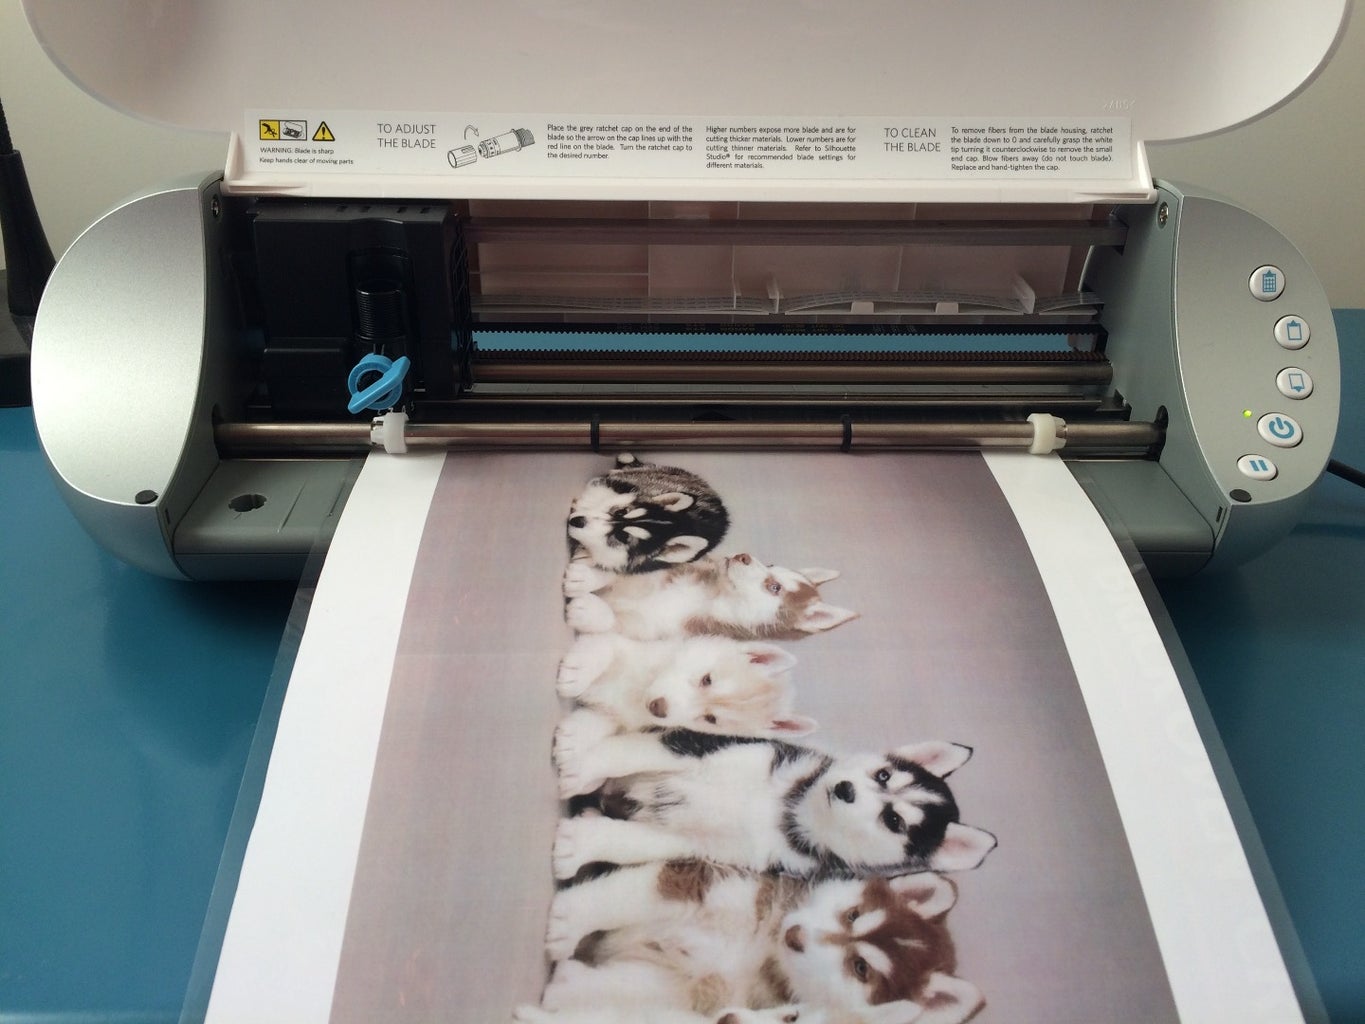
Once that is done, place the 8 1/2" by 11" piece of cardboard on your machine's cutting mat. Be sure to line it up correctly. Load the mat into the machine and send the cut file through. This is gonna take a while so if you haven't had that pizza yet, now is a good time!
Once the machine completes the job, check to make sure it mad complete cuts all the way the through. If not, go over the lines again with an X-ACTO to ensure that the pieces are completely cut out.
Step 5: Finishing
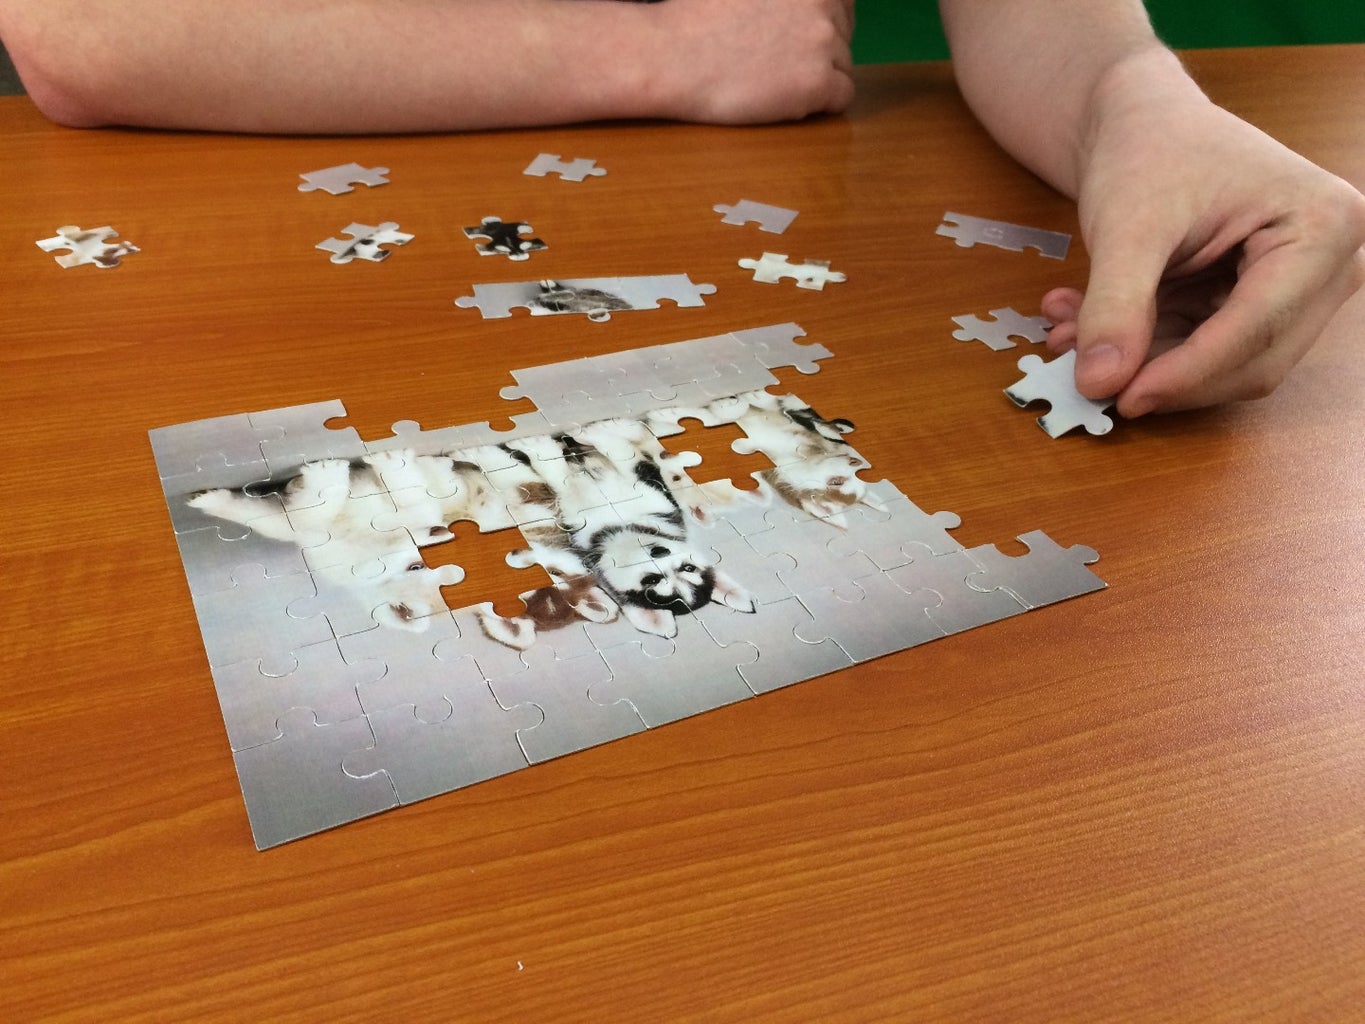

That its it! You're done! Make sure all the pieces are detached from each other and that none are still stuck together. Now have fun assembling your puzzle! Or maybe you'd like to a give one as a personalized gift!

Participated in the
Crafting 101

Participated in the
Backyard Contest


