

Introduction: DIY Micro Camper


I love camping, and I spend almost all my free time camping or building toys for camping. I am into all types of camping, but my favorite is getting back up in the mountains far from anything or anybody.
It is great to get back to nature... However as I continue to get older, I find I need a few things to be comfortable... The primary one being a comfortable place to sleep.
A couple of years ago I decided I needed a small trailer that would haul all my camping toys, it would also be nice if I could sleep in this trailer on a real mattress.
When I was thinking about what i would build, the primary rule was the trailer had to ride behind my vehicle and be no wider or taller than my vehicle so that it could go anywhere my SUV would go. So with that one simple idea in mind I built this trailer.
After I built the trailer, it turned out to be my favorite way to go camping!!!
Other people started noticing it in campgrounds and while I was out traveling. So I started building them for friends.
Several people have said they would like to build one. So without any further commentary, here is a overview of the last one i built.
Step 1: The Frame


This trailer is built on a 4 foot by 8 foot Harbor Freight trailer frame.
I assembled the frame right out of the box. I did not install the lights or fenders at this time because I did not want them in my way while I was building the box on the frame.
To make the trailer extremely sturdy I laid 3/4" inch plywood on the frame, then laid a 2x3 stud around the outside edge of the floor. I then drilled through the 2x3, plywood, and frame and bolted them all together. This really stiffens up the frame, and it also gives me a good anchor point for the walls to the frame.
Step 2: Camper Materials


The micro camper is built with 2x3 studded walls with 1/2 inch exterior plywood on the outside and 1/8 inch underlayment on the inside walls.
The roof system is 2x4 rafters with 1/2 inch OSB on the outside and 1/8 inch underlayment on the ceiling.
Step 3: Framing the Walls


I framed up the walls in the shop. The walls are framed 16 inches on center and laid out to have a window on each side and a door in the back.
Step 4: Installing the Walls


I installed the walls on the trailer. The walls are nailed to the 2x3 that is bolted to the frame. When I install the outside sheeting it will be fastened to the rafter system, the walls, and the 2x3 that is bolted to the frame, making it a very sturdy box. Notice the top plate that goes around the walls tying them all together.
Step 5: Installing the Roof


To install the roof I first laid a piece of 1/8 inch underlayment on top of the walls.
Then I framed the rafter system with 2x4 rafters 16 inches on center. I installed blocks in between the rafters to help tie everything together. The rafters are nailed into the top plate of the walls and into the blocks.
Finally I installed a 1/2 inch OSB piece to the top of the rafters. The camper is now framed up.
Step 6: Sheeting the Walls


Next up I installed the exterior sheeting. This is pretty straight forward. The walls are attached with 1.5 inch deck screws.
To cut out the windows and door I used a roto-zip. That makes the job go quickly and easily.
Step 7: Installing Aluminum Trim and Roof


After installing sheeting on the walls, the next step is to install aluminum trim and roofing. I used aluminum trim stock. It comes in a variety of sizes, and I used the 24 inch wide material. I installed aluminum on the corners to cover the exposed edges of the plywood sheeting. I also installed gutters over the windows and doors. Finally I installed aluminum sheeting on the roof with a double bend connection to make sure that it would be totally waterproof.
Step 8: Sheeting the Interior

Inside I ran some electrical wires for the interior light and outlets and then installed 1/8 inch underlayment on the walls.
Step 9: Door and Window Trim

Next I made the door by gluing and screwing 3 pieces of 1/2 inch exterior plywood together.
I cut out the interior trim for the windows and door.
Finally I gave everything a coat of primer.
Step 10: Painting the Trailer


Everything inside and out was given a coat of exterior primer paint.
Then I applied a coat of Semi-Gloss exterior paint.
Then I filled all the screw holes (all 4 million of them) with caulk and gave it another coat of paint.
That is 1 coat of primer, and 2 coats of paint for those of you keeping count....
Step 11: Electrical


Next I did all the final electrical work. I installed a 110 volt 15 amp inlet on the outside the powers an outlet and light on the inside.
I also applied another layer of paint inside and out (That's 3 coats of paint!!!)
Step 12: Finishing Up...


Next I Installed the windows and screens.
I installed the interior window and door trim.
I hung the door. It has bolts on the inside and outside (the outside can be locked open or closed to help prevent 'accidentally' getting locked inside).
Finally the fenders and outside lights were installed.
And... One last coat of paint just to say I did it... 4 coats of paint in all.
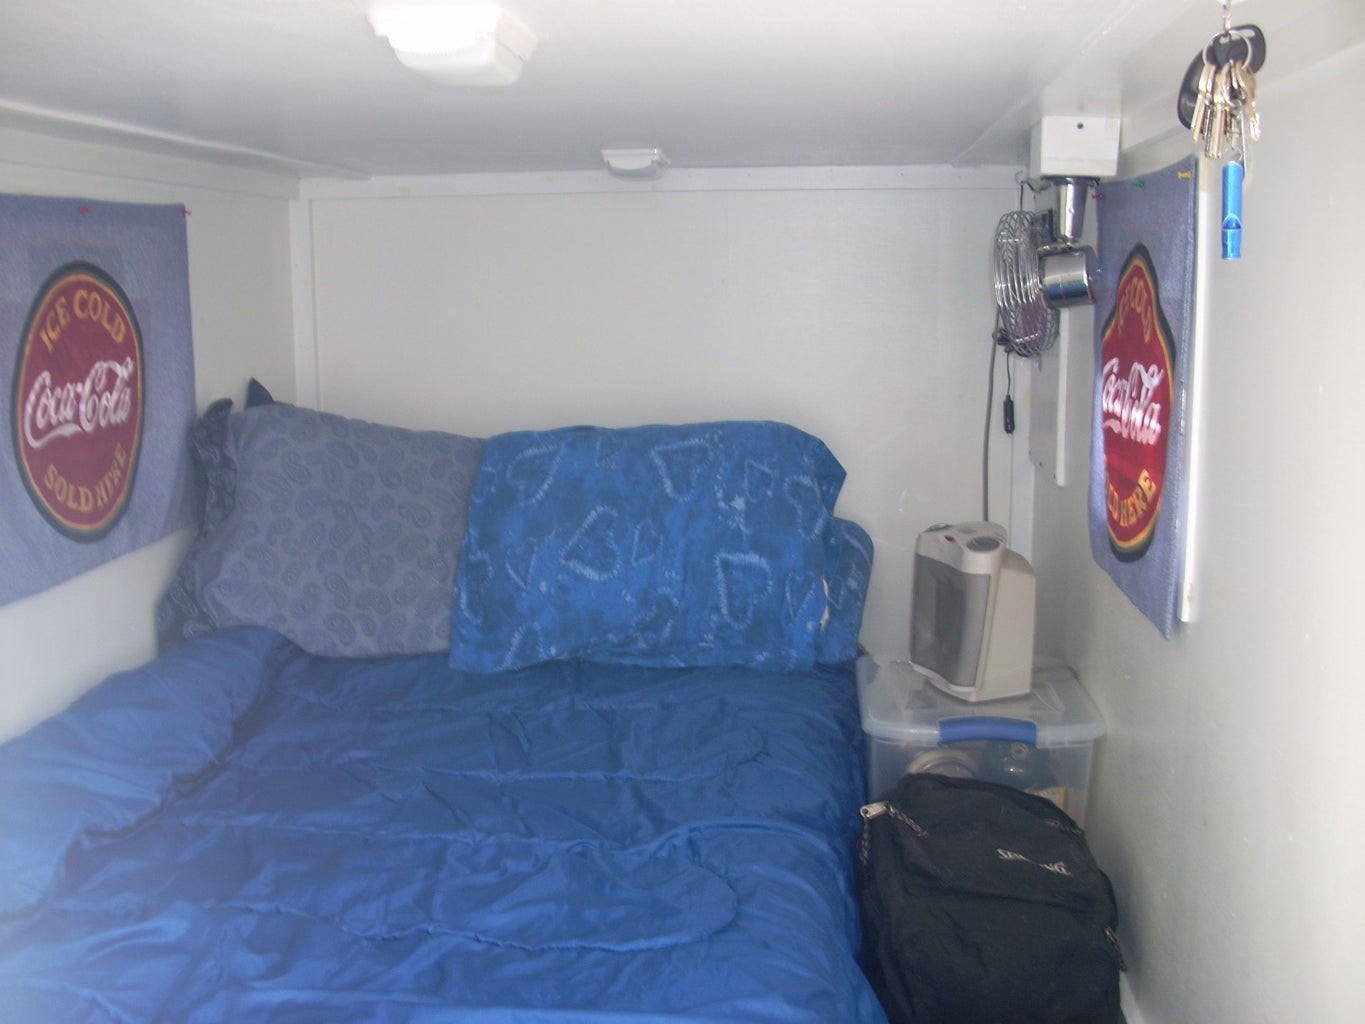
Step 13: Finished!!!!


The entire project takes about a week of working evenings to build.
The final cost for the trailer you see here was about $700 for everything.
I delivered this trailer to it's new owners and they have happily been camping in it ;)
I am starting another one soon...
Thanks for checking this out!!!


