

Introduction: DIY Nutrient Film Technique (NFT) Hydroponic System!


Hydroponics is a type of agriculture that uses no dirt, and usually results in larger, fuller plants. I recently became interested in the topic, and decided to make my own vegetable garden using the Nutrient Film Technique (NFT). It uses a channel of nutrient enriched water flowing past a plant's roots, which feed the plants. This system is very small meaning it can fit into an urban area. This system is also very cheap to construct as it does not involve many components.
Step 1: Materials


-10-ft Vinyl Downspout- I used 10-ft because I put the system into a large Greenhouse, but get a size that fits your needs
-1/2" Black Irrigation Tubing- I used about 30-ft
-Submersible Water Pump
-Large Opaque Tote/Container- I'm using a 27 gallon heavy duty black tote
-Plants
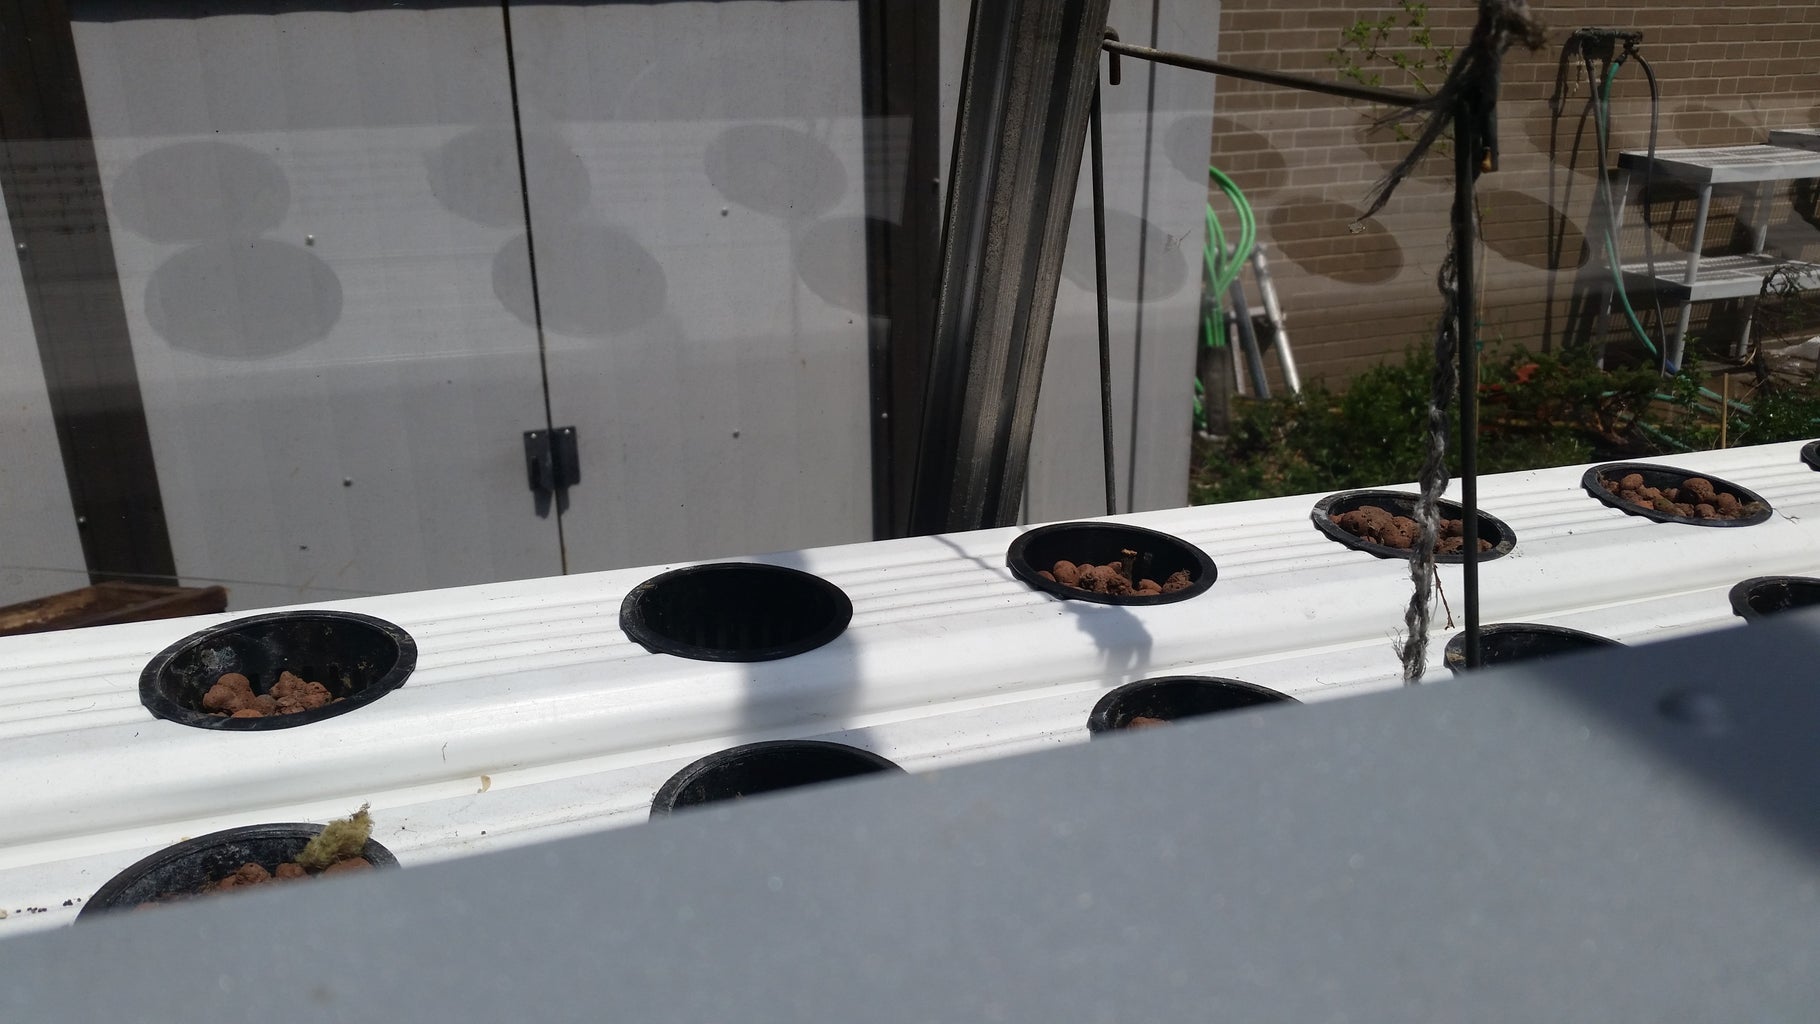
-3" Net Cups
-Rockwool
-Growing Medium- I'm using expanded clay pellets I'm using these
-Large Zip Ties
Tools:
-Drill
-3" Hole Saw
-Saw-Zaw or Hacksaw
-Tape measure
Step 2: Measuring and Cutting!

Depending on your plants, the spacing of your holes will be different. I wanted 3 inches between each plant, so I measured 3 inches from the end of the gutter, and cut a hole every 6 inches using the hole.This leaves me with a 3 inch gap between each net cup which is what I want! I cut the whole all the way to the end but with 6 inches from the end of the gutter. I cut 4 10-foot gutters with these measurements to fit into the Greenhouse.
Step 3: Hanging the NFT Tower!

To hang the gutters, I hung them with wire shelf hangers that were in my greenhouse but you can also use large zip ties. In order to due so, you connect two zip ties together to make them longer, and put them under the gutter and zip the whole thing to your stand or in my case to the ceiling. But one very important thing is to make sure the gutter assembly is a few inches taller than your water reservoir.
Step 4: Plumbing!

For the plumbing I used the irrigation tubing, this is because the tubing is black which and won't have algae growing in the tubing from the light. So for the plumbing, you need to connect the tubing to the out barb on the pump, then put the end of the tubing into the end of the gutter assembly which is at the assembly. Make sure the whole gutter assembly is at an angle so the water pours back into the tank that is on the end of the gutter. Check the diagram above to see a more detailed view.
Step 5: Finished!

Now that everything is hung, cut, and plumbed, we are ready to grow our vegetables and plants. All of the vegetables I planted were first germinated in rockwool then transferred to net cups with clay pellets. When putting the plants into the net cups, make sure the roots make contact or very close contact with the water. Also another thing to mention is I do use nutrients in the NFT system. I make sure that the tank has above a 800 ppm. Once you put all of your net cups with plants in them into the previously cut holes, you have officially completed your hydroponics setup. Enjoy your crop and Vote this instructable in the Urban Farming Contest!

Participated in the
Urban Farming Contest

Participated in the
Home Hacks Challenge


