

Introduction: DIY Penny Wrappers


Hello everyone! Following you will find instructions on how to print and make your own penny wrappers. I found an instructable for quarter wrappers, but no penny. I think most of us wrap pennies more often than other change, so I decided to make a print-off. While mine may not be near as fancy as the quarter template, it is easy on ink and a cheap way to wrap those pennies!! I have also included a "pretty" template, for those wanting a more stylish wrapper. ;0) This document is in Word 2007 format, I apologize ahead of time for anyone that can't use this format, however I believe there are online document converters you can use for free to convert it into the format you need.

Step 1: Download and Print Template

Download the template located at the bottom of this instructable. I have also uploaded this same document to google docs, easily findable with the search term Penny Wrappers. Print out your template on any paper type.
Step 2: Cut!

Now that you have your template printed, cut out each box. I have placed a marked line where the fold should go and also be taped. However, make sure that the penny will fit before taping permanently.
Step 3: Fill!


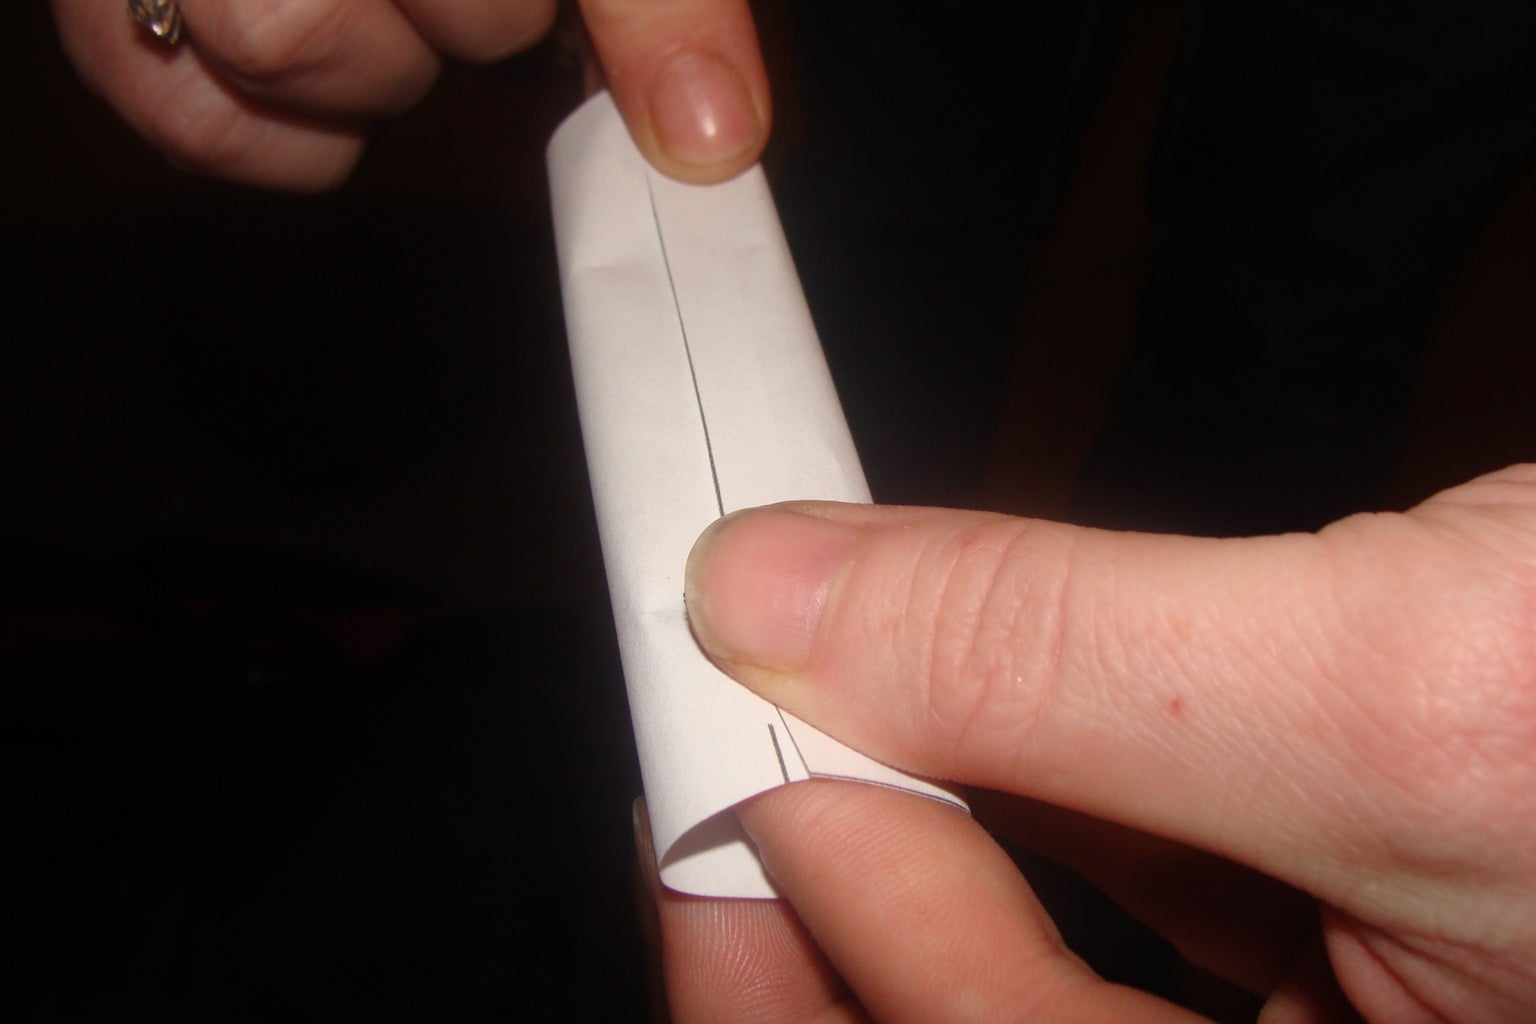
Beginning with your taped or glued penny roll, place your index finger inside and begin to slide pennies into the sleeve. Once you have it filled, fold over the first end, taking care to place your finger inside the other end so they don't spill out. Depending on your paper choice, you may be able to just fold over each end, but I prefer to tape them. Viola, you have wrapped pennies, pat yourself on the back, you did a good job!!! *cheer* (Below is a screen shot of the decorated penny rolls. It's a little blurry but the actual template is clear.)


