

Introduction: DIY Portable and Powerful Bluetooth Speaker


Hello Guyz! In this instructable, I'm making a simple portable and powerful Bluetooth speaker. We need some professional tools or 3d printer to make an awesome Bluetooth speaker but these tools are so expensive and not everyone able to buy these tools, That's why I'm making this awesome Bluetooth speaker, you don't need any professional tools or 3d printer to build this speaker, just some basic handtools is enough to make this speaker, now anyone can make a simple and awesome portable Bluetooth speaker like this bt speaker. So let's get started :)
If you like this project then please do vote for me, I really need your support guys :)
I'm making this Bluetooth speaker using the acrylic sheet, I really love this material cause it easy to cut, bend and shape. it is also so affordable and it can be found at any hardware store. If you are making bt speaker the first time then use this material, you can also go for wood or plywood.
Specs & Features:
- PAM8403 High-Efficiency Amplifier Module(Class D)
- Bluetooth 2.1
- Dual 3W Full-Range Speaker(4ohms)
- Long Lasting 2700mAh Li-Po battery
- USB Charging
Here is the video of full tutorial and sound demonstration :)
Step 1: Parts List


We need these following parts and tools to make this Bluetooth speaker.
Parts List:
- PAM8403 Stereo Amplifier module.(
- 3W Full Range Speaker (2x)
- Bluetooth Module.
- 2700mAh Li-Po Battery.
- DC On/Off Switch.
- Micro USB Battery Charging Module.
- 4mm Acrylic Sheet (Black and White).
Tools List:
- Mini Handsaw.
- Rotary Tool/Dremel(optional)
- Soldering iron.
- Hot Glue Gun.
- Cutter.
- Masking Tape.
- Superglue.
- Sandpaper.
- Marker Pen.
- Metal File.
Step 2: Cutting the Acrylic Sheet


Here I'm using the acrylic sheet to make the enclosure for my bt speaker.This is a pretty good material, it is to cut, bend and sand, it is also so affordable if you compared it with wood or plywood. But in terms of sound quality wood and plywood can provide better punchier bass and crisp sound than the acrylic sheet. You can use any of these options according to your need.
- Take the measurement of the acrylic sheet for the enclosure then mark it with a marker pen.
- Use your handsaw or jigsaw to cut the acrylic sheet pieces.
Step 3: Making the Holes for Speaker


In this step, I'll make holes for the speakers. Follow the steps below to make the perfect holes for speakers.
- Take the measurement of the speaker and note it.
- Next, use your ruler and compass to draw the holes for speakers.
- Drill holes in the circle.
- Then put your mini handsaw's blade inside the hole and cut the internal area of the Circle.
- Use the metal file to make the cut completely round.
Step 4: Sanding the Pieces


First, remove the paper cover from acrylic sheet pieces, then rube the pieces with sandpaper to get a smooth and clean surface.later it'll be very helpful while well attach the pieces by superglue.
Step 5: Mounting the Speakers


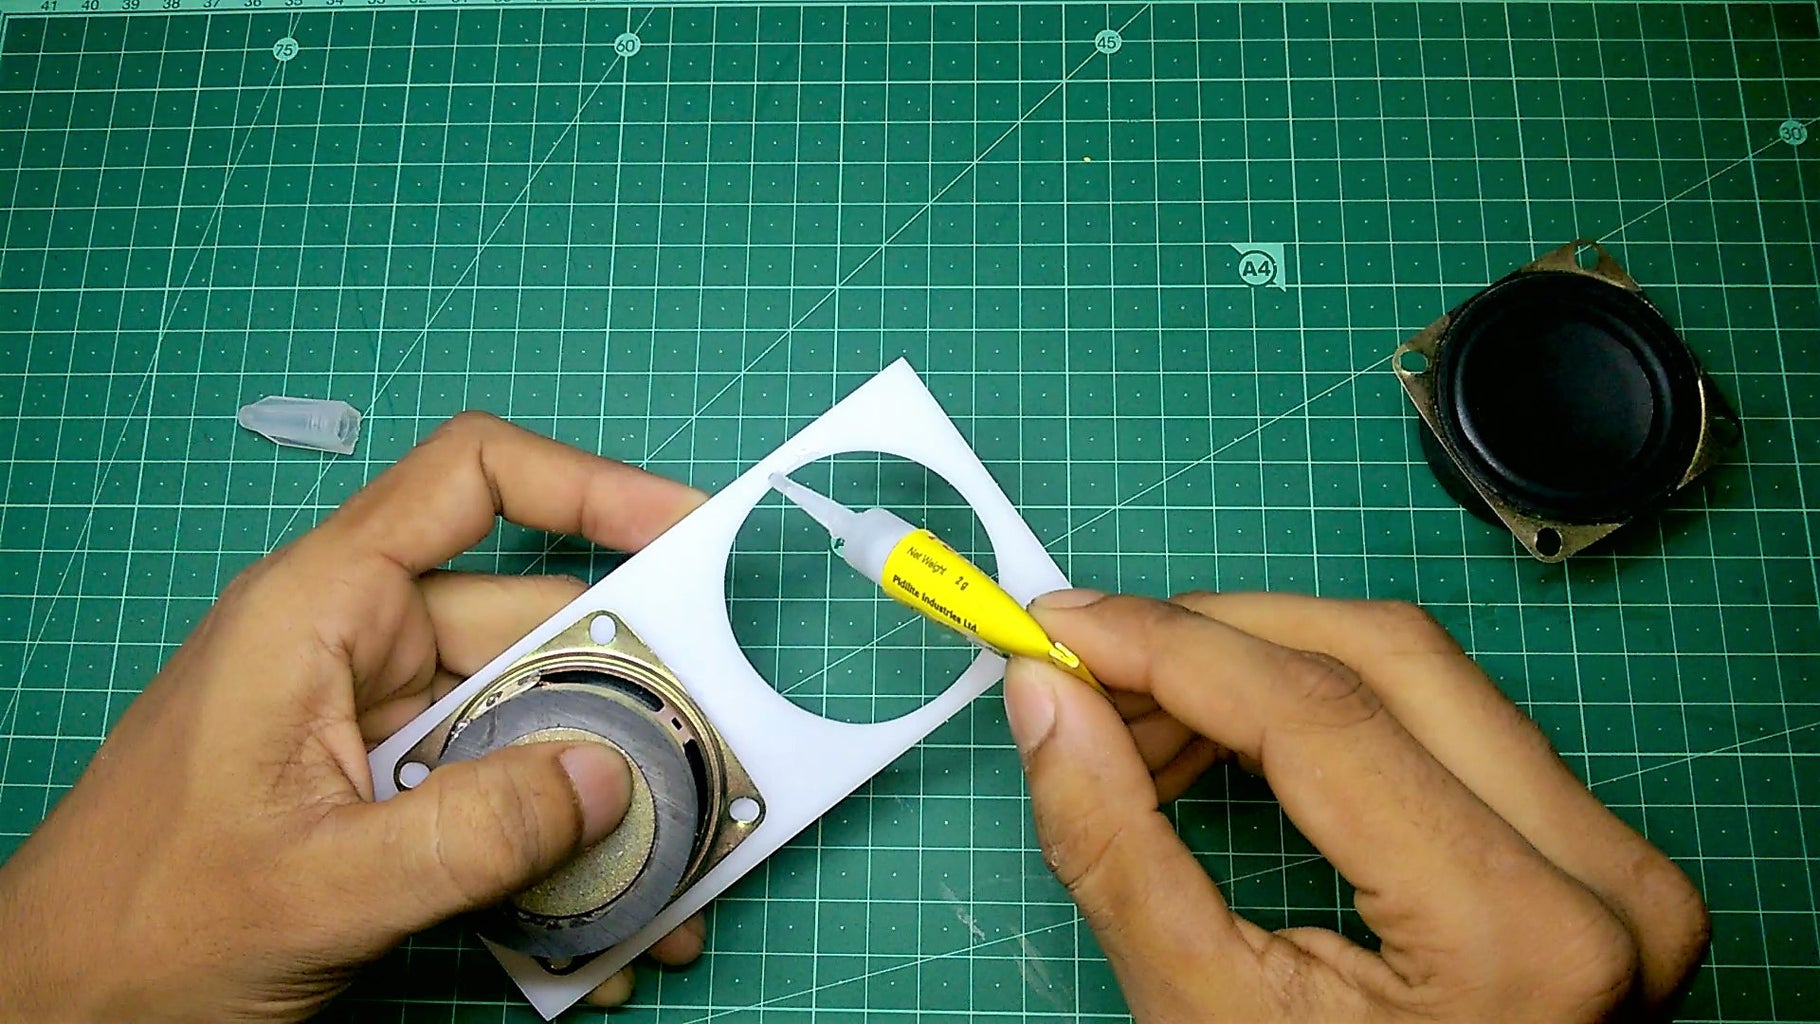


In this step, I'm going to mount the speakers, so follow the step below
- First, apply a thin layer of superglue around the edges of the speaker hole.
- Then attach the speaker and hold it still for a couple of minutes.
- repeat the same method to attach another speaker.
- Finally, add a thin layer of hot glue around the speakers to make them 100% airtight.
Step 6: Attaching the Lower and Side Panel


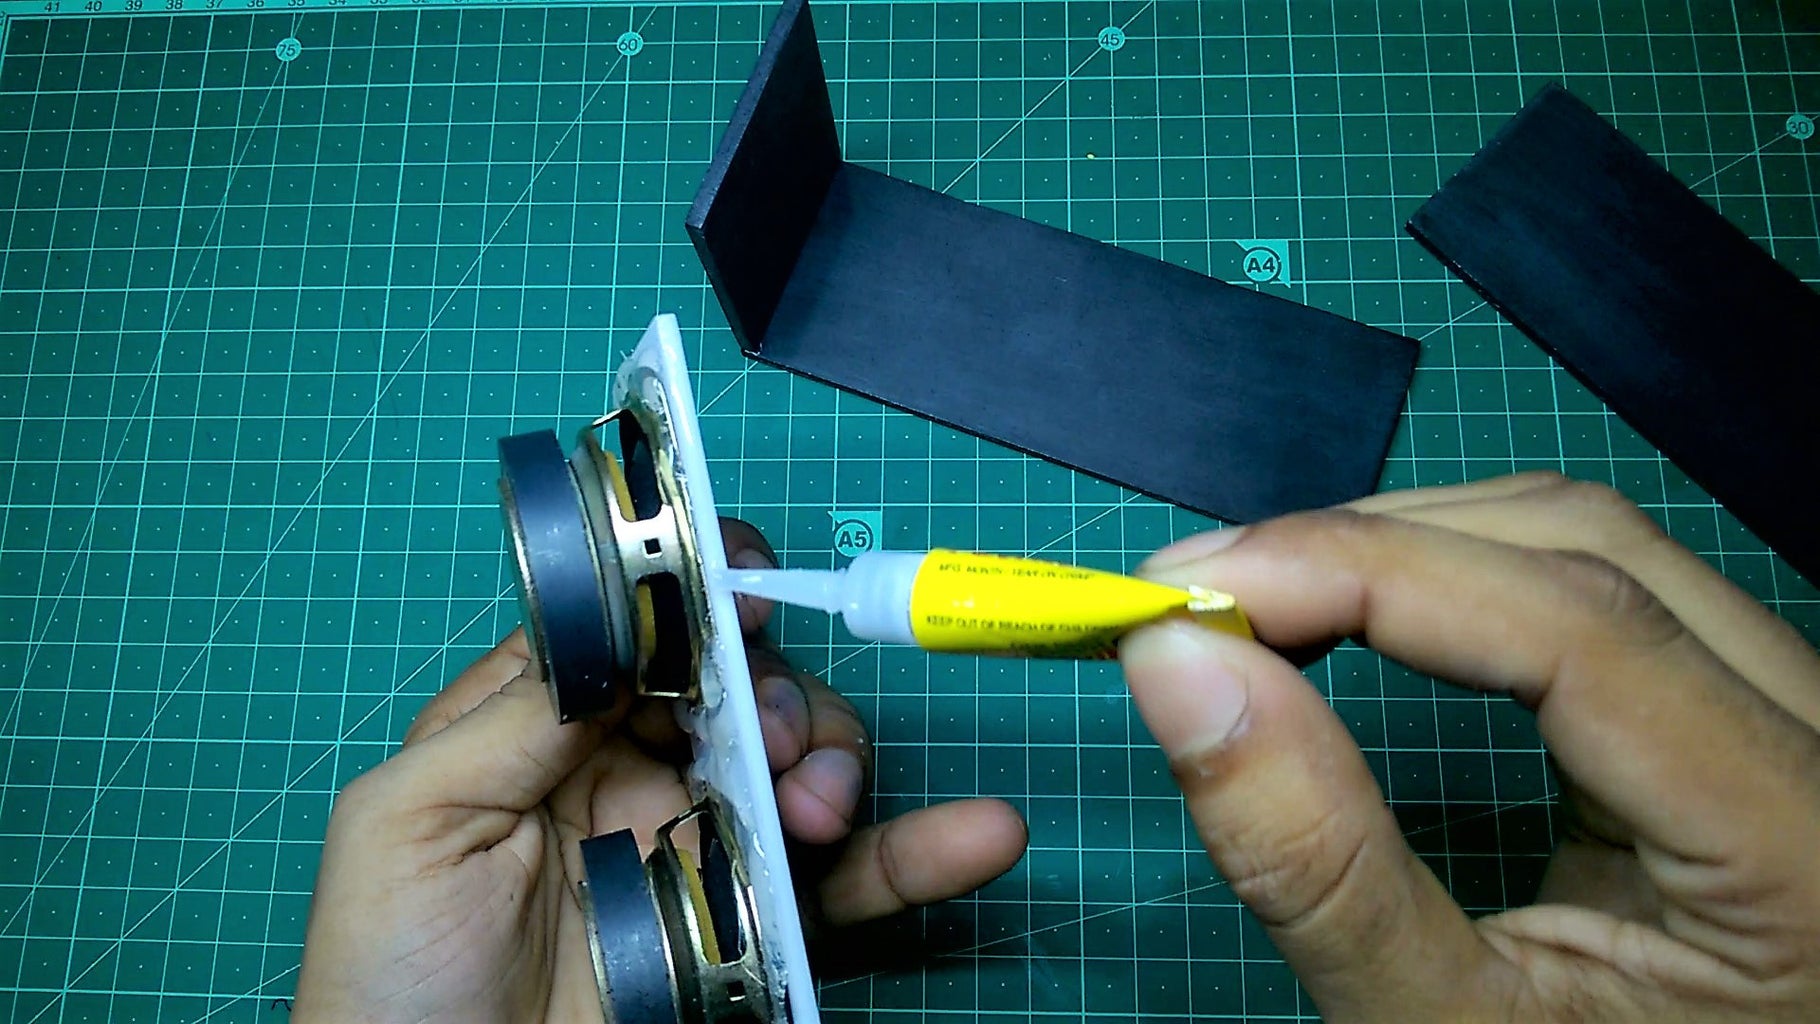


Now we'll attach the side panels and the lower panel. Follow the step below
- First, apply superglue on the lower panel then attach the side panel.
- Again apply some superglue on edges of the front panel then quickly attach it to the lower panel.
- Use the same process to attach the another side panel.
Step 7: Circuit Diagram

Here is the complete circuit diagram. Connect every module according to this circuit diagram.
Step 8: Soldering Wires


Now It's time to solder some wires to all modules. So take your soldering iron and follow the step below.
- First solder wires to amplifier module, there is very little difference between the soldering holes in amplifier module, so you have to solder all the wires very carefully. Use a crocodile clip or alternative something to hold the module steady, Then you can do soldering very easily.
- Before solder wires with the Bluetooth module remove the aux port and USB port for future use. Then solder wires according to the circuit diagram.
- Use the same method to solder wires with battery charging module like above.
- Finally, solder audio output wires with both of the speakers.
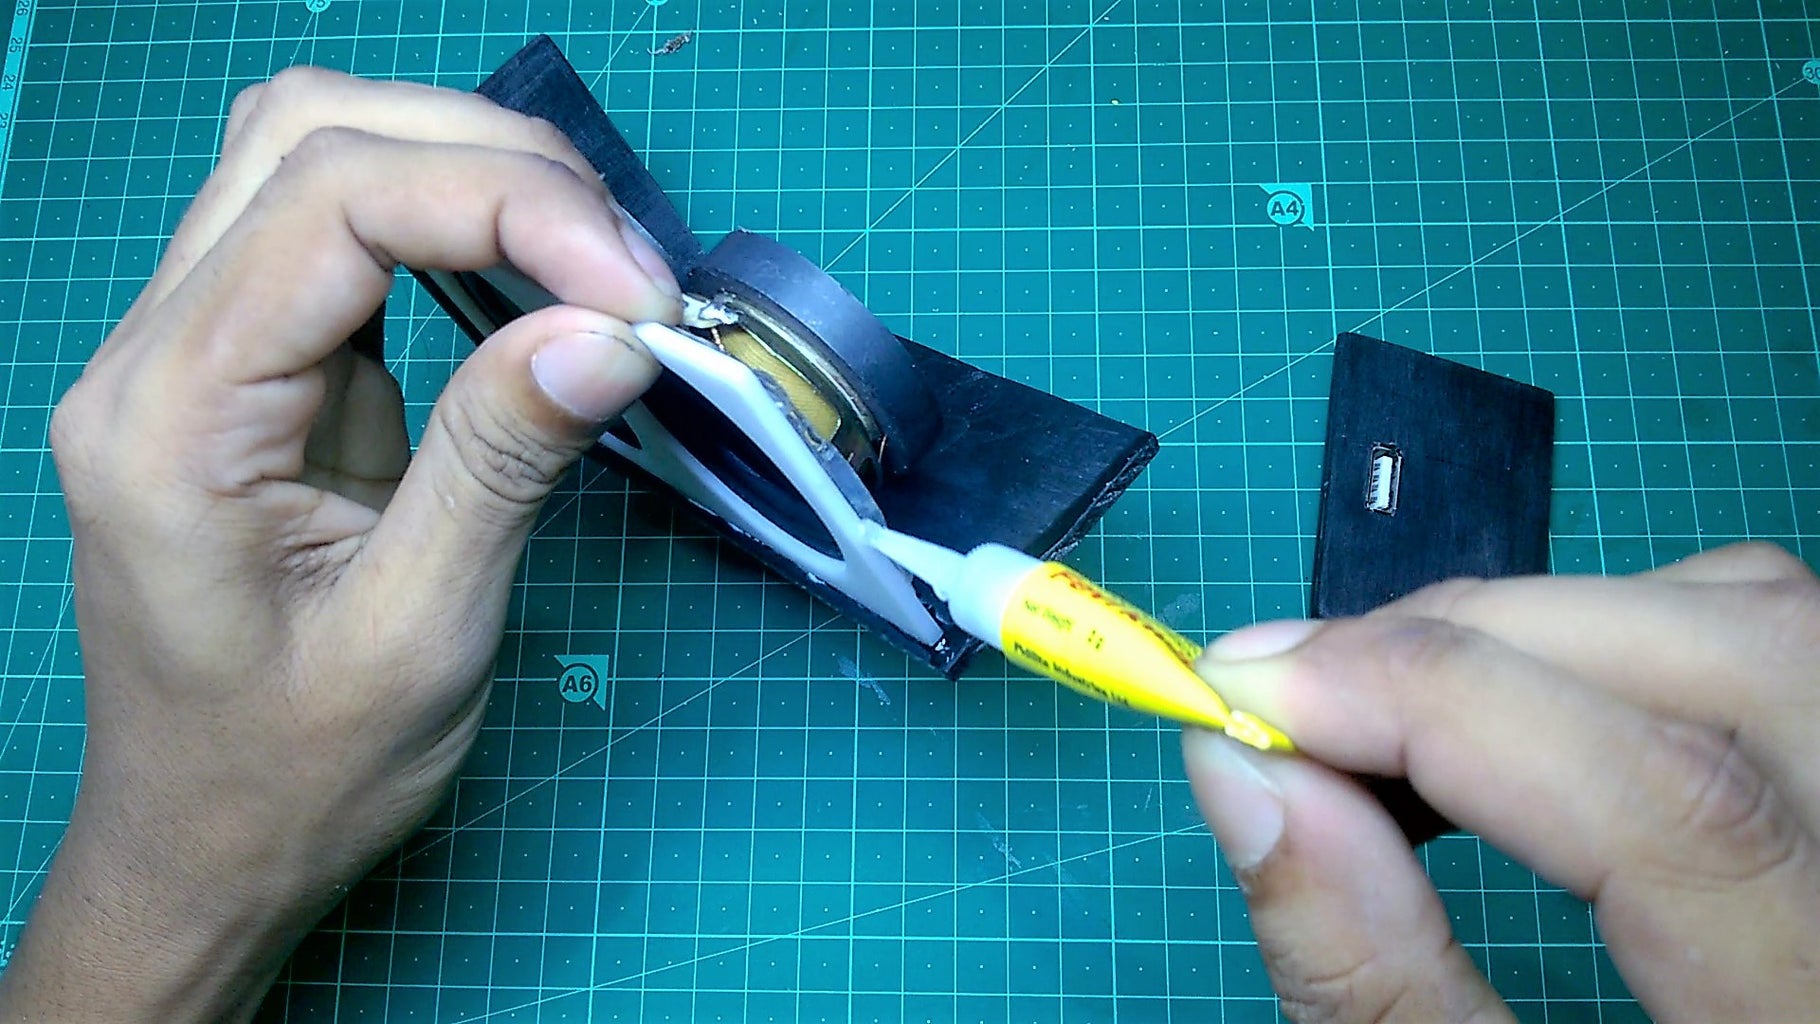
Step 9: Attaching the Modules


In this step, we'll attach all the modules using hot glue. At first, apply some hot glue on the back of amplifier board then attach it to the enclosure like the picture shown above. Similarly, attach other modules like Bluetooth module, battery charging module and the battery.
Step 10: Assembling Final Pieces


Now we'll attach the back and the upper panel. Use the previous method to attach the final pieces.
- First, apply some superglue on the edges of the lower panel then attach the back panel.
- Use hot glue to make the joints airtight.
- Again apply some superglue on the edges then attach the upper panel. hold it tightly for a couple of minutes.
- After attaching all the pieces, use your sandpaper or sanding block to get a smooth and clean finish like mine.
Step 11: Further Improvements
You can customize your Bluetooth speaker as your choice. you can paint it using spray colour to give an awesome look. I'll add rubber feet to reduce the vibration.
Thanks for watching this project. I hope you'll like this project. If you like this project then Please do VOTE for me, I really need your support guys and I have a youtube channel(DIY Builder) you can find many projects on my channel.

Runner Up in the
Plastics Contest

Runner Up in the
Audio Contest 2017

Participated in the
Hand Tools Only Contest 2017


