

Introduction: DIY Studio Condenser Mic
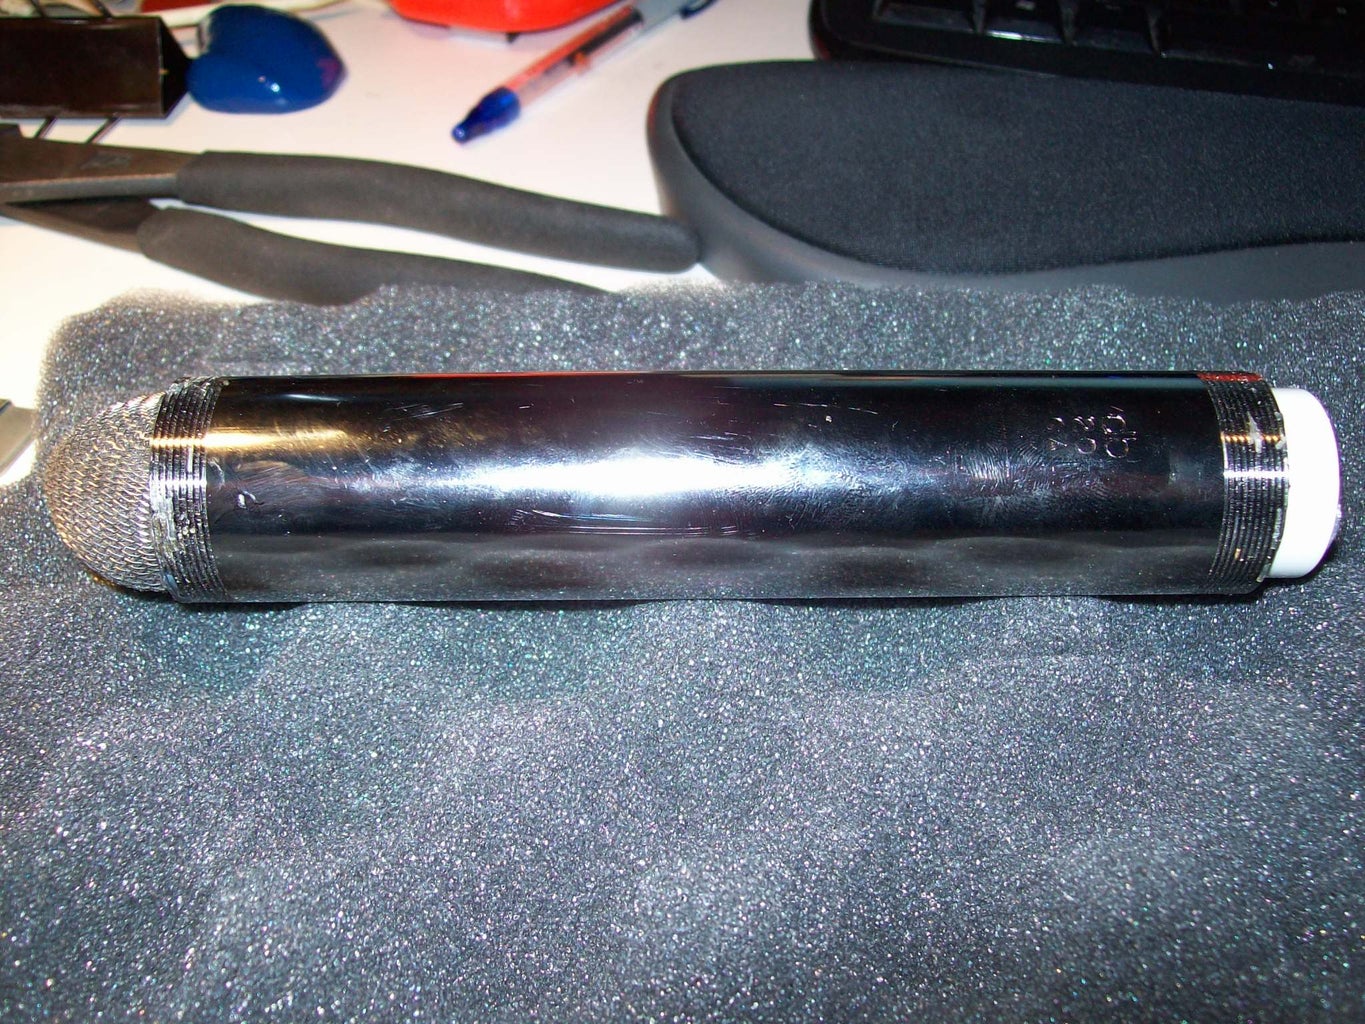
Build a studio quality +48v phantom powered Condenser Mic for under $35! - http://www.diycondensermics.com
These Mics are highly sensitive, and be setup to use a 9v battery if you don't have phantom power. You can put them into pretty much anything, and they can be made pretty small.
Step 1: Phantom Power?

Phantom power is a +48v (typically) dc current that is applied to two of the pins on an XLR connector, that is used to create a reference for the Mic capsule. Condenser Mic elements work similarly to capacitors, who's capacitance varies when the diaphragm vibrates. Condenser Mics use this to produce a signal, as opposed to Dynamic Mics, which use magnetic vibration to produce a signal. Because Condenser Mics use the capacitance variation to create the signal, the element must be electrically charged. Thus we have Phantom Power! Most newer Mics that require phantom power, also have the option of using a (or sometimes 2-3) 9v batteries, just in case phantom power is not available.
The schematic below shows the 9v circuit. You know that you'll always be able to use phantom power with you mic, you can just leave it out to make it simpler.
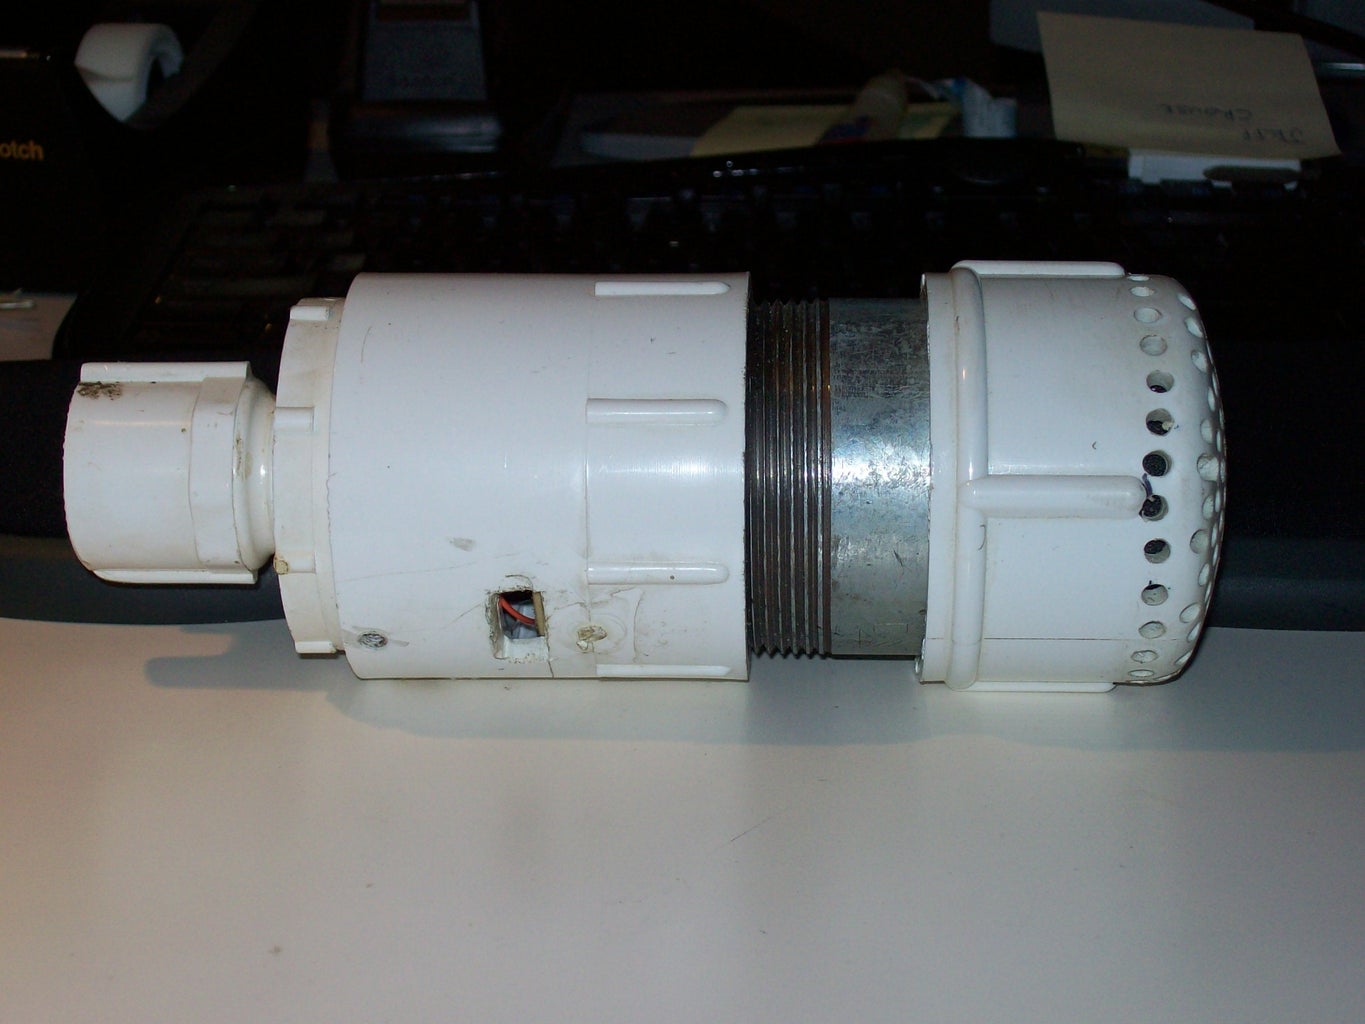
Step 2: Build It!
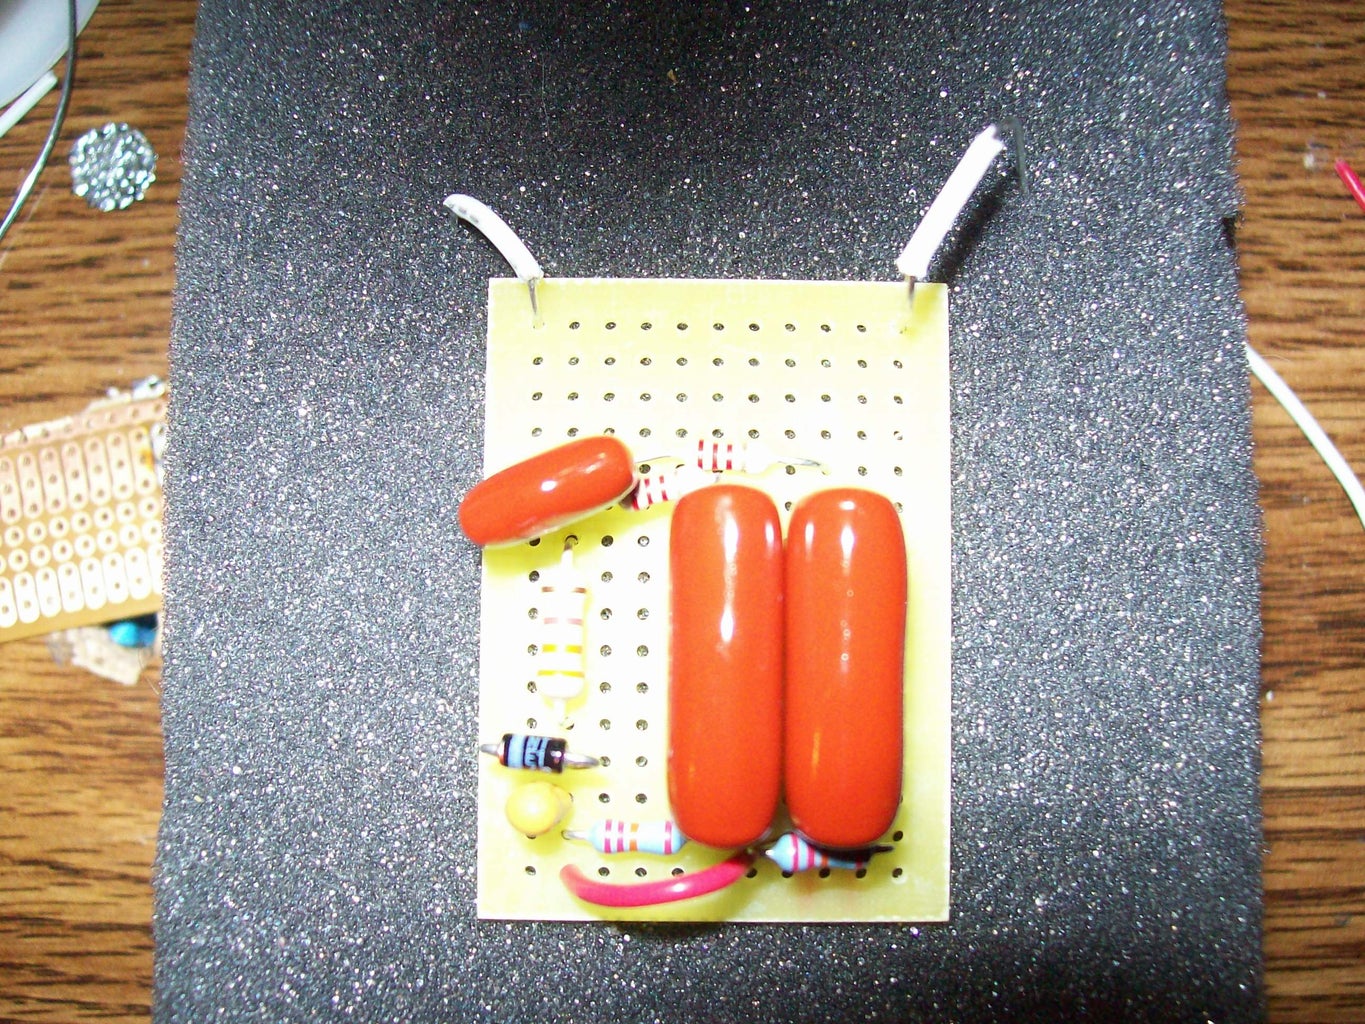
Once you have all the parts, get your soldering Iron out and start building. Use the schematic as reference. I have found it easiest to try to assemble it as close to the schematic (in actual layout) as possible, at least if not using a printed board.
Step 3: Build It!
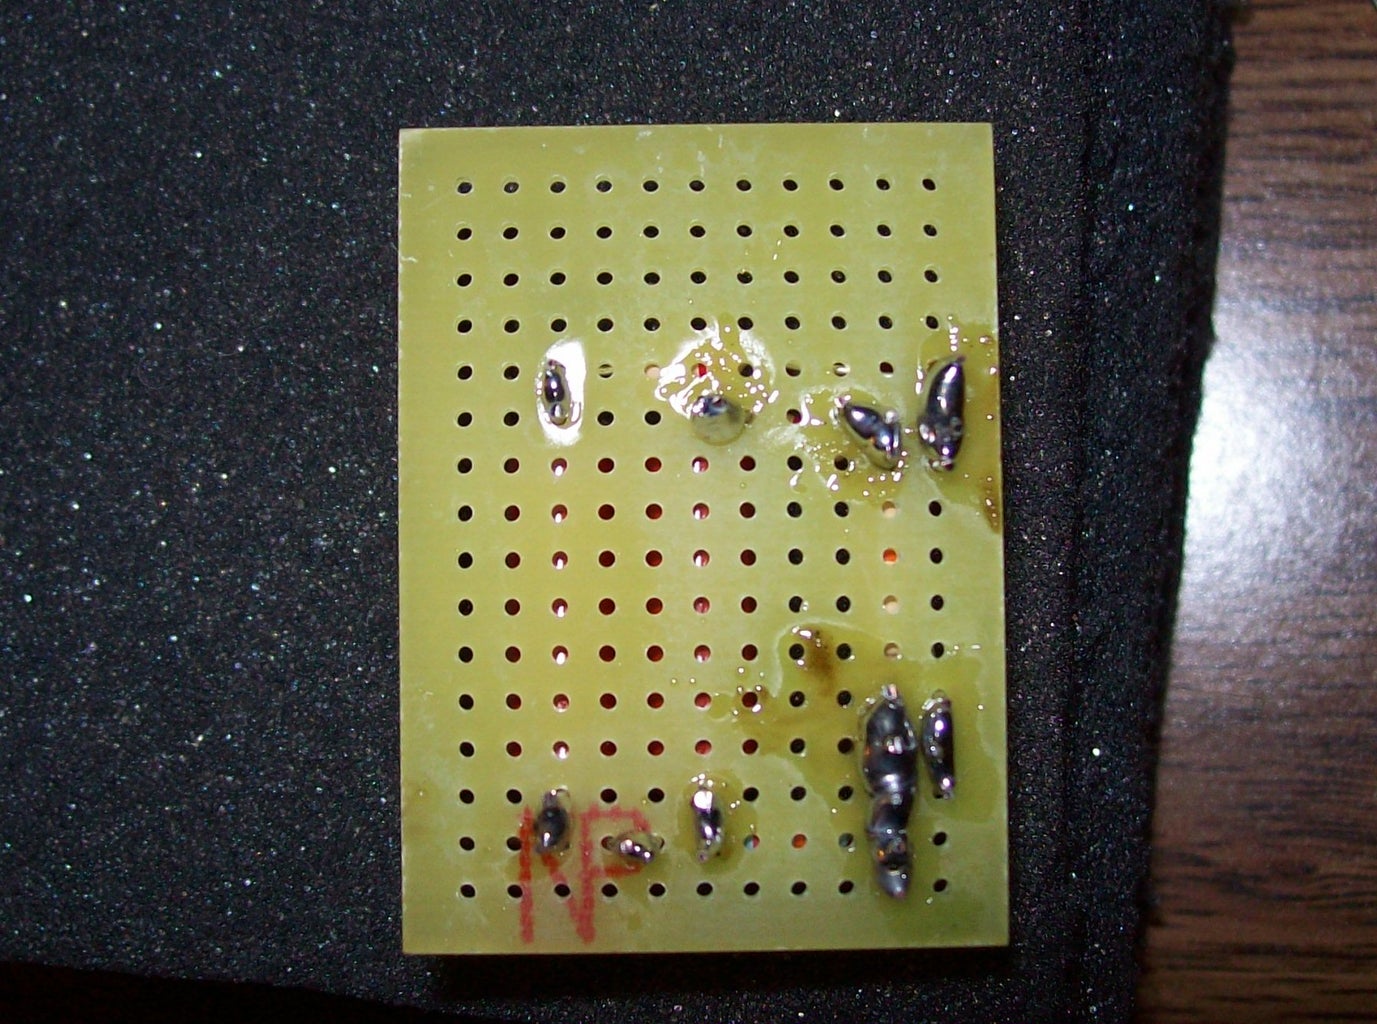
Here is a view of the bottom side of the board, so you can see how I soldered everything.
Step 4: Try It Out!
Once everything is inplace and soldered down, give it whirl! Try it out. If it works congrats! If not, go back and check everything.
For more info, and more detailed instructions, check out this web site:
http://www.diycondensermics.com


