

Introduction: DIY T-shirt Screen Printing


This project came about because I wanted to create some t-shirts to be able to wear and represent my makerspace at Maker Faire Atlanta. I didn't want to pay the inflated prices online for just a few shirts, so I decided I could try to make my own screen prints. The process was relatively easy and turned out better than I expected.
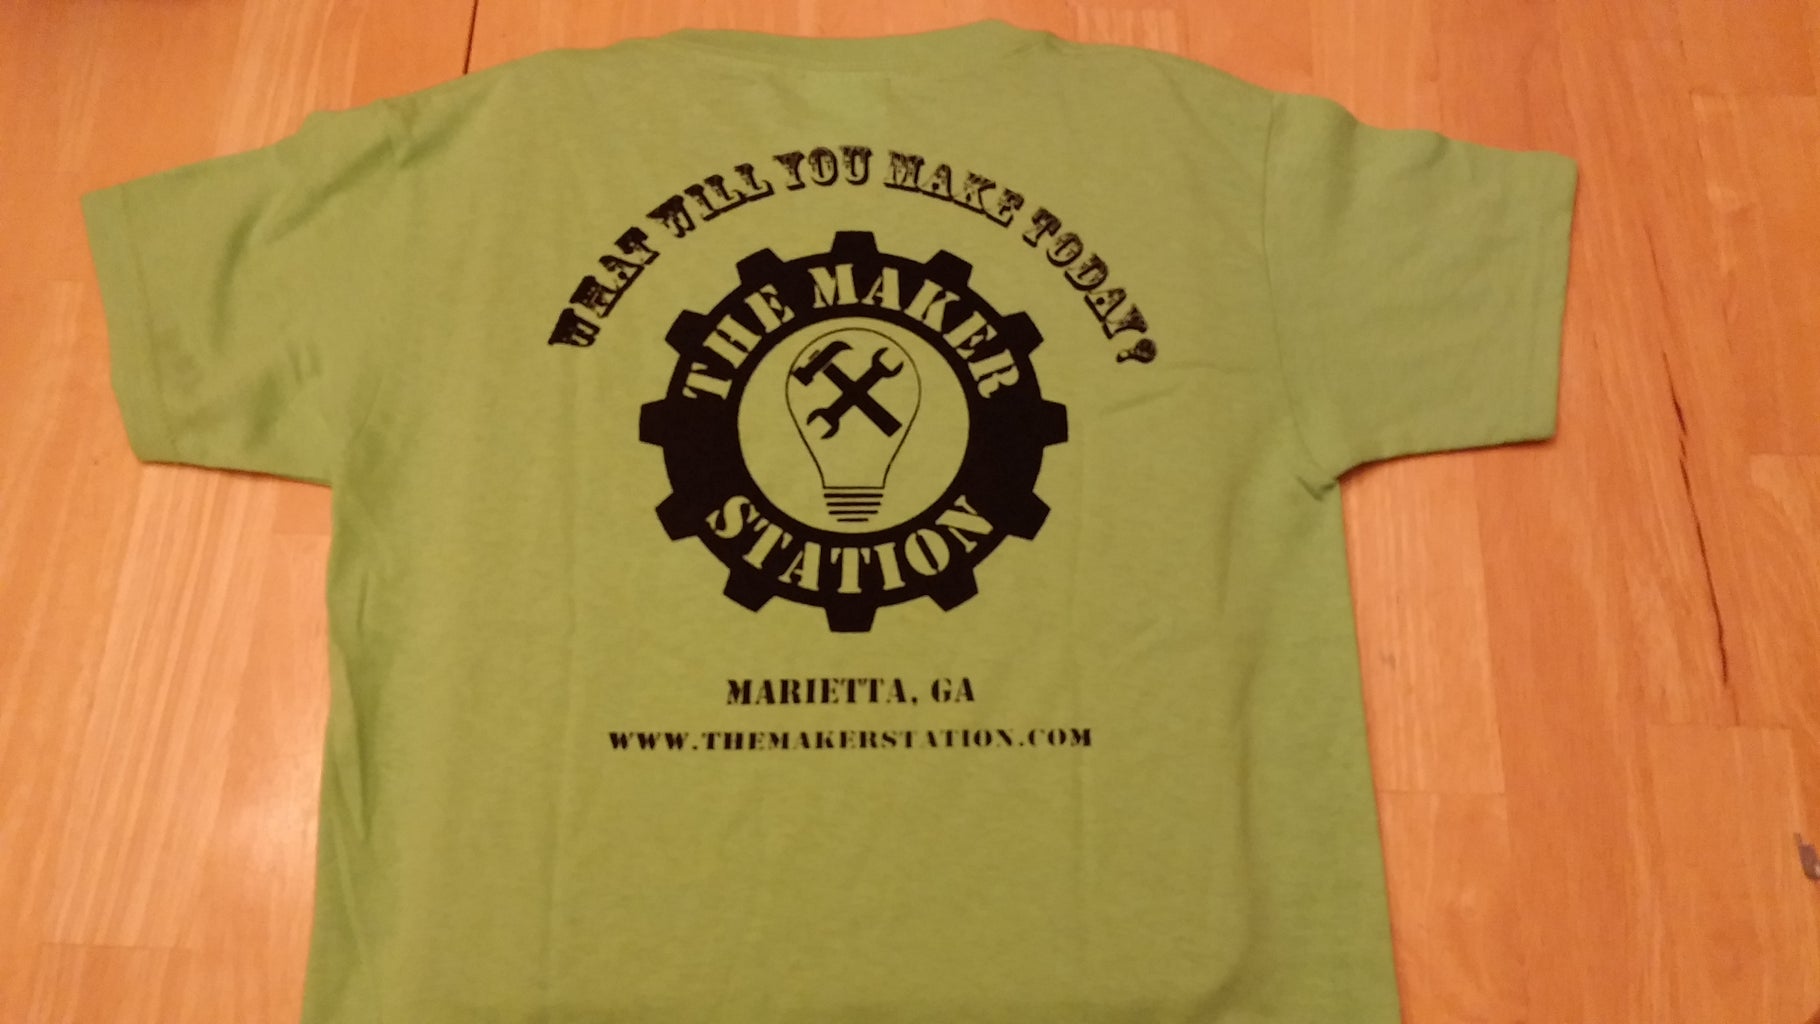
In order to get started, I needed an image for the shirts. I took our makerspace logo and added a nifty maker-themed phrase, "What will you make today?", and our location and web site address. This yielded a nice yet simple shirt design. In order to print adult and youth sizes I decided to create two screens of different sizes. Trying to use one size for both just didn't look right in my samples. The main image is about 12 inches across for the adult sized shirts and about 9 inches across for the youth sized shirts. The design will be printed on the back of the shirts and I will also print a smaller image of the logo only, on the front breast pocket area of the shirt. The small logo is about 2.5 inches across.
Step 1: Creating the Frames


In order to create the screens for printing, I needed frames. I took the sizes for the images and then added a few inches of buffer space around them to come up with the frame sizes. The adult size frame is 16"x16", the youth frame is 12"x12" and the small frame is 7"x7". This should give me enough room to work with the images on the frames later and still have room to tape off the sides to prevent bleed through.
The frames were constructed with some scrap wood from my shop. The wood for the larger frames was from 2x2 stock (1.5"x1.5" nominal). This yields a heavy, sturdy frame with plenty of lip to contain the ink when printing. After measuring and cutting the pieces, I glued and screwed them together. Now they are ready to have the screen applied.
Step 2: Attaching the Screens


The screen material I'm using is 110 mesh fabric. I found about a yard of this fabric on eBay for less than $10. Cut a piece of fabric for each screen leaving enough overhang to wrap around the frames. I attached the screen fabric to the frames using a staple gun. This part is easier if you have another pair of hands helping, because you need to make sure the screen is applied under tension.
The easiest way I found to tension the screen is to pull it taut at the center of opposite sides of the frame and put one staple in the center of each side. Then rotate the frame 90 degrees and repeat. Now repeat that process expanding out from the center of each side and slowly work your way to the corners. By alternating sides and moving from the center out, you minimize the possibility of inconsistent tension in the screen. At the corners, just fold the screen as neatly as possible and staple down in place. Trim off any excess to the edge of the frame being careful to not cut or damage the screen surface.
Step 3: Preparing the Photo Emulsion


I used Speedball photo emulsion to create my screens. Follow the directions on the bottle for mixing the two bottles together to activate the photosensitive chemicals. These chemicals can be harmful to your skin so wear gloves. Once the photo emulsion is thoroughly mixed, use a squeegee to apply a smooth coat to your frames. You will need to alternate inside and outside of the frame to ensure an even, smooth coating. This was a very messy step. I was either applying too much emulsion, or pressing too much through the screen, or both. By the time I coated the third frame I was starting to get a better feel for how to apply it. Make sure you have papers or drop cloths down to protect against any spills.
After coating the screens, you need to place these in a dark place to dry. I placed mine on risers inside cardboard boxes that I could tape closed to keep light out. These need to stay in a dark place to prevent curing the photo emulsion.
Step 4: Setup Exposure Lighting


Since I had two large frames that would take a while to cure, I wanted to expose them simultaneously. To do this, I built a dual exposure rig using some scrap wood, a couple of short extension cords, light bulb adapters and foil casserole pans. I first screwed each foil pan, which will be my reflectors, to opposite ends of some scrap wood about three feet long. Then I hot glued the extension cords in the center of the pans and ran the cord to the center of the wood. I connected these to a powered extension cord using an adapter. The light bulb adapters were plugged into the extension cords in the center of each reflector pan. I used 150 watt bulbs to cure the photo emulsion. This entire rig was suspended above my work table using some sturdy twine. I tied off one side as well to anchor the rig and prevent it from drifting or spinning.
Step 5: Creating Transparency Masks

To transfer my image to the screens, I printed the designs on transparencies. My designs were larger than standard 8 1/2x11 paper so I had to split the images across several pages. I assembled the pages by aligning the overlapping images and held them in place with clear packing tape. On inspection of my transparencies, I was not confident that the light from my exposure rig would be blocked appropriately. I'm not sure if this is due to the quality of my laser printer, the transparency prints, or both. To solve this problem, I simply printed two sets of the transparencies and assembled them with two layers. I also touched up a couple of bare spots with a black permanent marker. This gave me a very opaque mask for the design.
Step 6: Curing the Emulsion
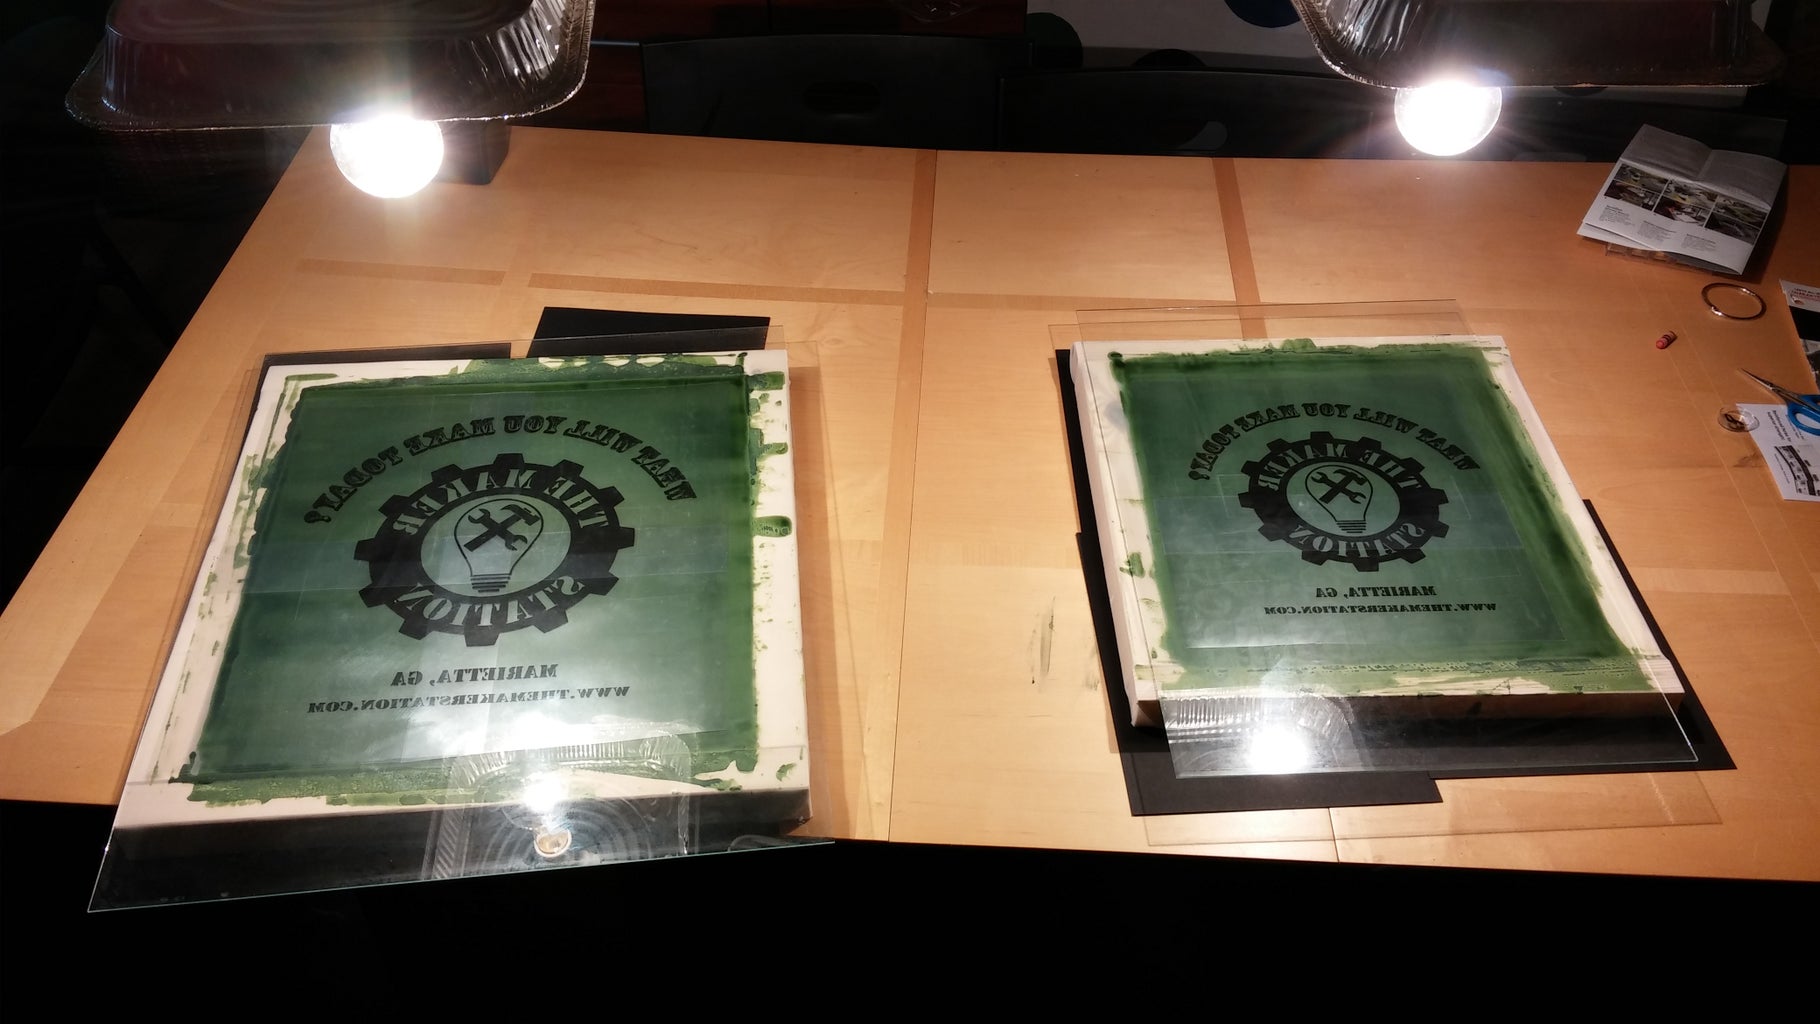
After the photo emulsion has dried on the screens in a dark place, you can go ahead an expose them to set the image on your screen. I placed the screens under my exposure rig and carefully centered and aligned the transparencies on the frames. Remember to place them backwards as this side of the frame will be next to the fabric when printing. I used pieces of glass from photo frames to hold the transparencies tightly on the frame while they were being exposed. For the frame sizes, light bulbs and distances I used, I had to cure these for about 1 hour and 15 minutes.
Step 7: Washing Out the Frames


After the curing time has passed, you should see a color variation on the screen. The lighter shade is where the emulsion was blocked by the transparency print and did not sure. You can wash out these lighter areas with cool water. It will take a few minutes to the areas clear. It is best to use the spray nozzle from your sink to force out the uncured emulsion. Smaller detail areas may require a fine bristled brush or an old toothbrush to clear it away. Be careful on the small areas to make sure you don't scrub away cured material. Check your screen by looking through it towards a light source to make sure the image areas are clear and your edges are clean and clear.
Step 8: Taping the Frame

Now that your screen is prepared, you need to do one more step before printing. Wrap the entire frame in duct tape to prevent any of the printing ink to seep through gaps onto your material. Leave a little room around your image, but make sure all corners and crevices are covered. Overlap the tape onto the screen edges on both the front and back of the screen.
Step 9: Print Your Shirts!


Now your screen is ready to be used in printing shirts. Make sure you place a board or insert inside the shirt to avoid bleed through. Simply align the screen on the shirt and place some ink across the screen above your image. Using your squeegee, gently "butter" the ink across the image area the screen but do not press down on it yet. Once the image is covered, use your squeegee to scrape down the ink across the image as your "print" stroke. Re-position and repeat if your image is larger than your squeegee, as it was in my case. You can make additional strokes if you want to apply the ink thicker. But keep in mind that if you have small details, and you "print" stroke too many times, then you might have some bleed through in your print.
You can see from the images that these turned out great! I definitely learned a few things from the first couple of shirts. Alignment is very important, take your time. Don't over print because the bleed through can wash out detail from your image. Also, in general, even though great details are possible, a more simple design makes the process easier. My youth size screen has a few letters where the tiny bits of cured emulsion came off during cleaning, so they lose some detail on prints now.
Overall this was a very rewarding project. It cost somewhere around $50 in materials (not counting the t-shirts) to set these up. The bulk of that cost was due to the photo emulsion kit itself which was around $30. But the screen is reusable, just wash it clean with cool water when you finish printing. Blank shirts only cost a few dollars so this is a low cost, DIY way to make a really cool product.

First Prize in the
Wear It! Contest


