

Introduction: DIY Mini Pinatas


Thinking of what to get a friend or family member for a special occasion? Often times this seems like a monumental task, but in this tutorial I'll show you how to make a mini pinata that ANYONE would love to receive as a gift! Packed with candy and home-made goodness, what's not to love?
Let's get started!
Step 1: Materials

For this project, you will need
card stock or cardboard
Ruler (or any straight edge)
masking tape (avoid scotch tape)
tissue paper (the kind used for gift bags)
Elmer's white school glue
candy or other small surprises to put inside
string or yarn
scissor ot exacto knife
Step 2: Cut Out Shapes on Card Stock


The best part about this project is that you could literally make any shape possible, depending on your level of 3-d paper product experience.
I started off making a diamond shaped pinata. I traced and cut 4 shapes that would be taped together to create a 3 dimensional object.
Step 3: Tape It Up and Add String & Candy


After all the shapes were cut out, I began to tape it all together. Using masking tape and avoiding the use of scotch tape as the latter does not work well with white glue (which we'll work with in the next step)
Take your time matching and taping up the different sides of your pinata, as this will be the basic form and if you have gaps, the candy may fall right out.
Before I taped the entire thing closed, I tied a knot in a length of string and fed it through the topmost part of the pinata and taped it in place. Next, I filled the pinata's belly with yummies. Tape closed.
Take a minute to examine your shape and add tape to any potential problem areas.
Step 4: Cut Tissue Paper


Using a scissor and a sheet of tissue paper, fold the tissue paper in halves again and again, cutting about a strip that is 1.5 inches in width. Begin to cut small slits or a fringe along the bottom of the strip, make sure the slits aren't too close to the top so as to sever the strip.
Once you're happy with your fringe, open the tissue paper back up. It's ready to use!
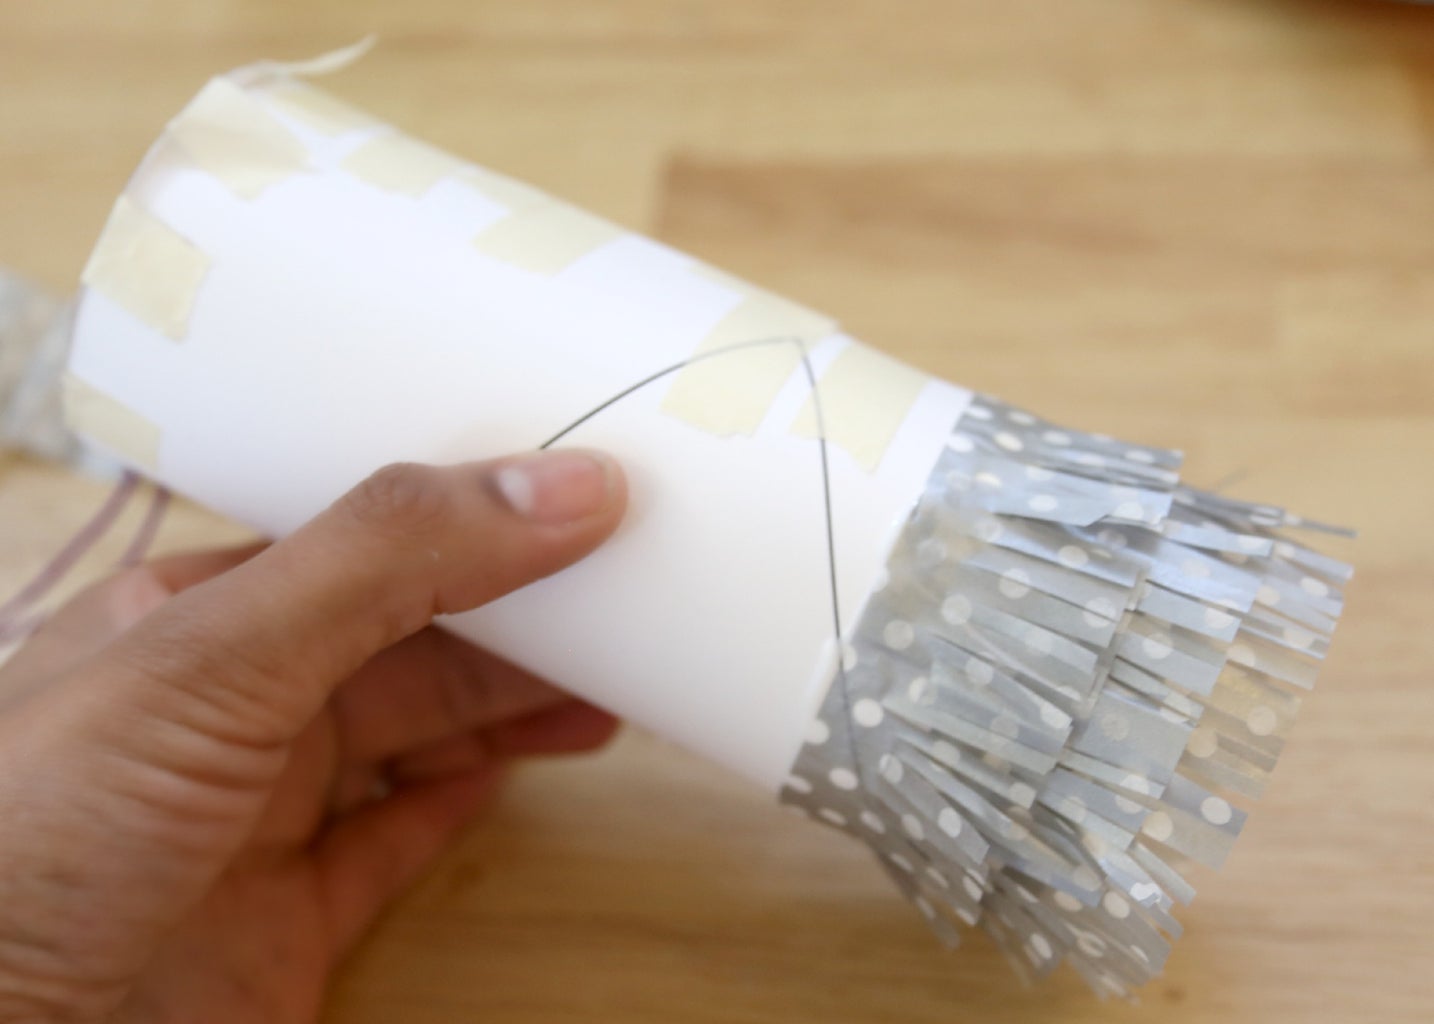
Step 5: Glue on Tissue Fringe


Taking the white glue, begin gluing a line towards the very bottom of the pinata. We will be adding the fringe starting with the bottom working our way up. Begin to add your fringed tissue paper in rows, spacing about a 1/4 inch apart. Your hands may begin to get quite sticky!
Step 6: Cylinder Shape


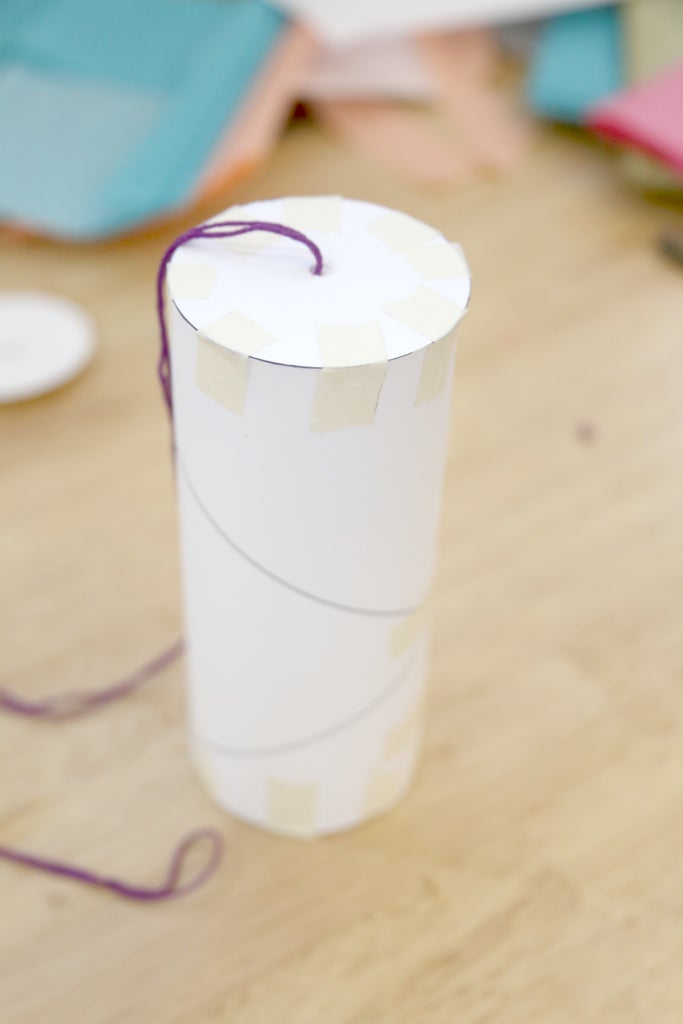


The sky's the limit with all the different shapes you can make, but I'll go through two additional shapes to give you an idea on different techniques.
For this pinata, I made a cylindrical shape simply by cutting to exact sized circles, and taping it to a length of cardstock. Instant cylinder! You can even cheat and just use a toilet paper roll!
I made a small hole in the center of one circle and fed a length of string through it then added in a bunch of yummies inside. Taped it all up, and glued on the fringe. For the circle ends, I cut the shape shape in tissue paper and glued it right on top. You can fringe this as well, if you want.
Step 7: Complex Shapes


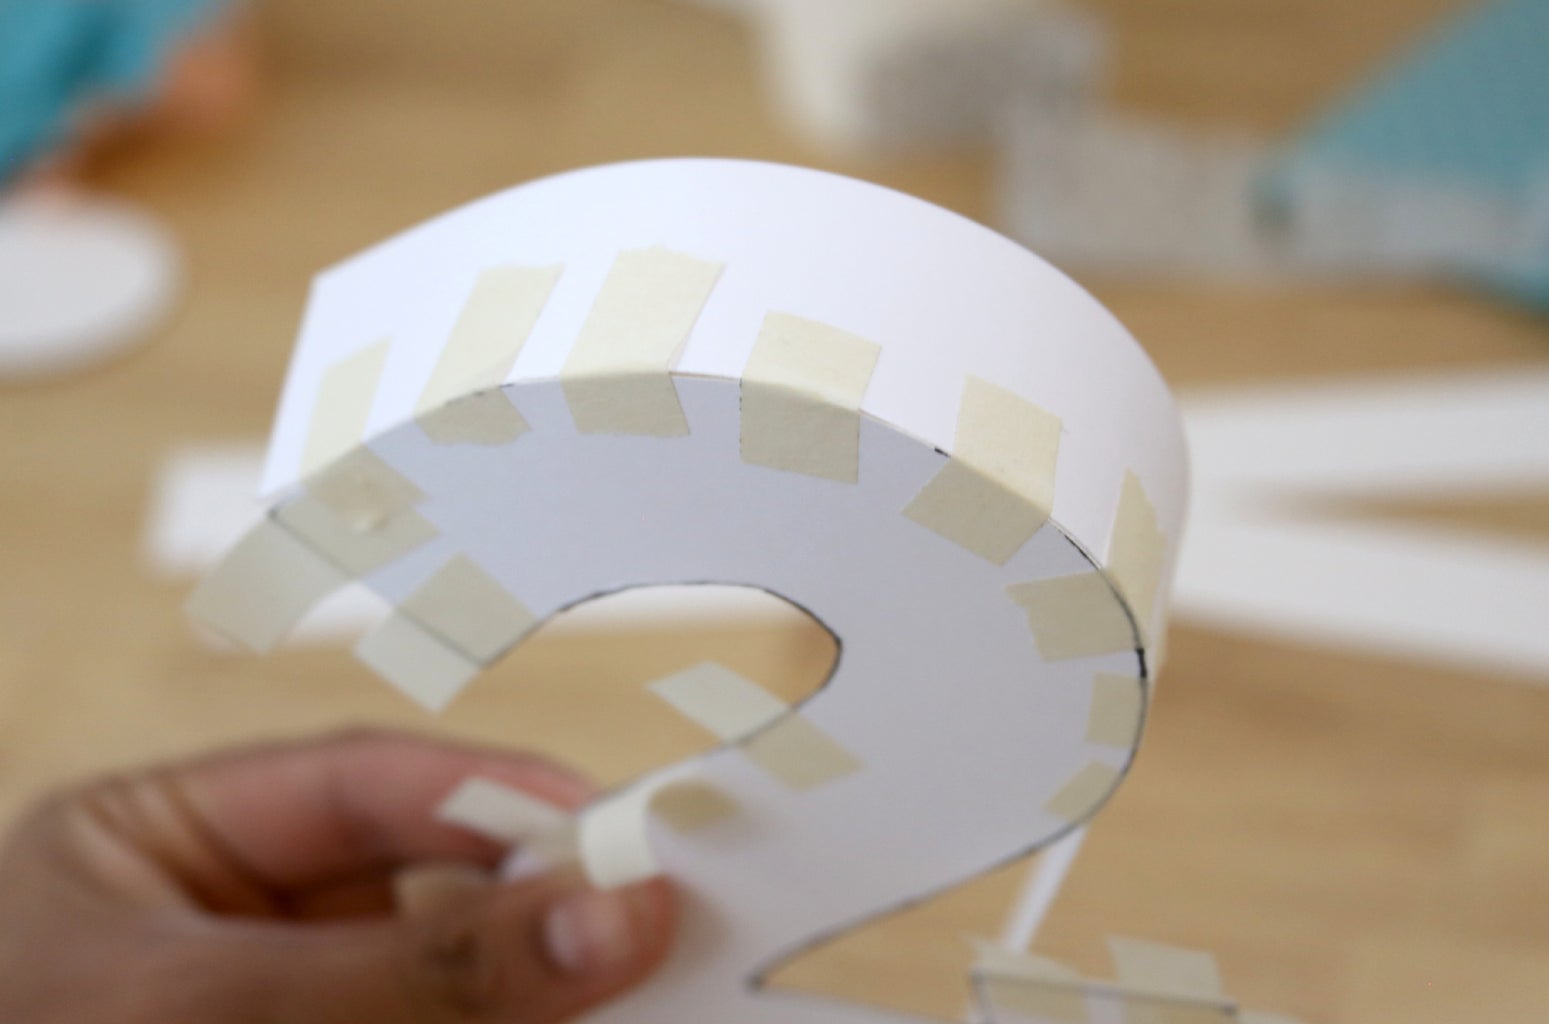


I wanted to make a number shape, which actually did not prove to be difficult at all. I started off by cutting two identical shapes of card stock. Next, I thought about how thick I wanted the pinata to be, and cut lengths of this width in strips from the card stock.
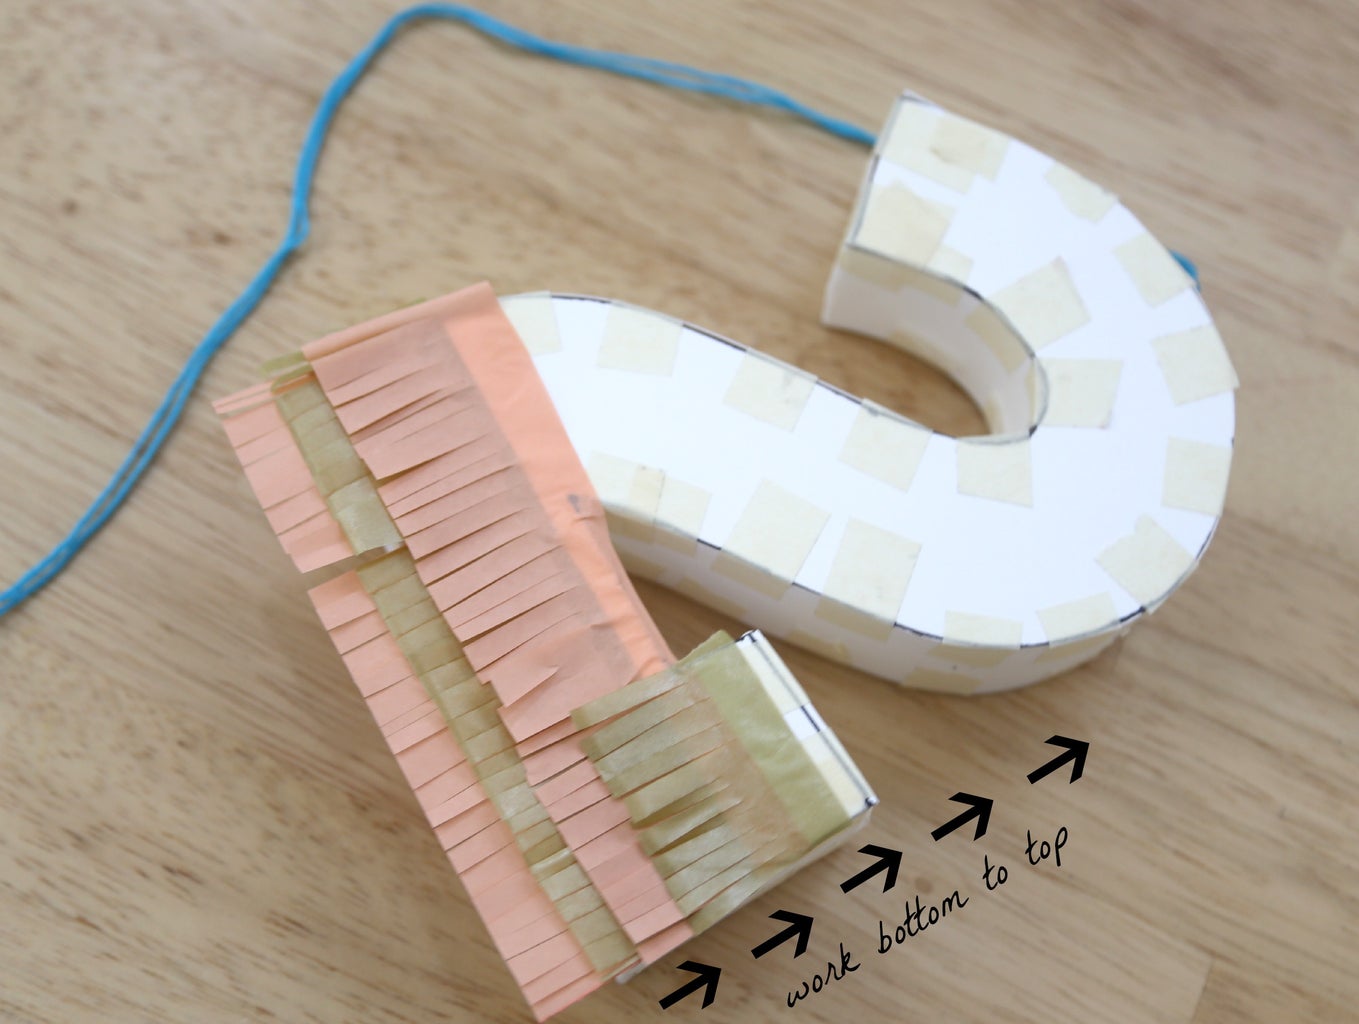
I put small pieces of tape around the perimeter of one of the shapes, so that I could easily begin to add the stripes of card stock that would create the 3 dimensional look. Once I had taped up one side entirely, I added a small hole to the top most portion so the string could be inserted and taped. Next, I added in all the goodies. Now I was ready to tape up the second shape (which would have to be flipped so that it's mirror image would match with the first shape). Then I proceeded to add the fringe, having to trim periodically so that the original shape was more obvious.
Step 8: Whacking Stick


No pinata is safe without a trusty whacking stick, but of course we'll need a mini one to break our mini pinatas!
I removed the stick end off of a sponge brush and wrote on it with a sharpie, but you could also use a pencil- anything that is sturdy enough to break through the pinata.


