

Introduction: Design and Build a Portable USB Charger


In this guide i will show you how to design and build a portable USB charger.
Lets start..
Step 1: Materials

What you'll need:
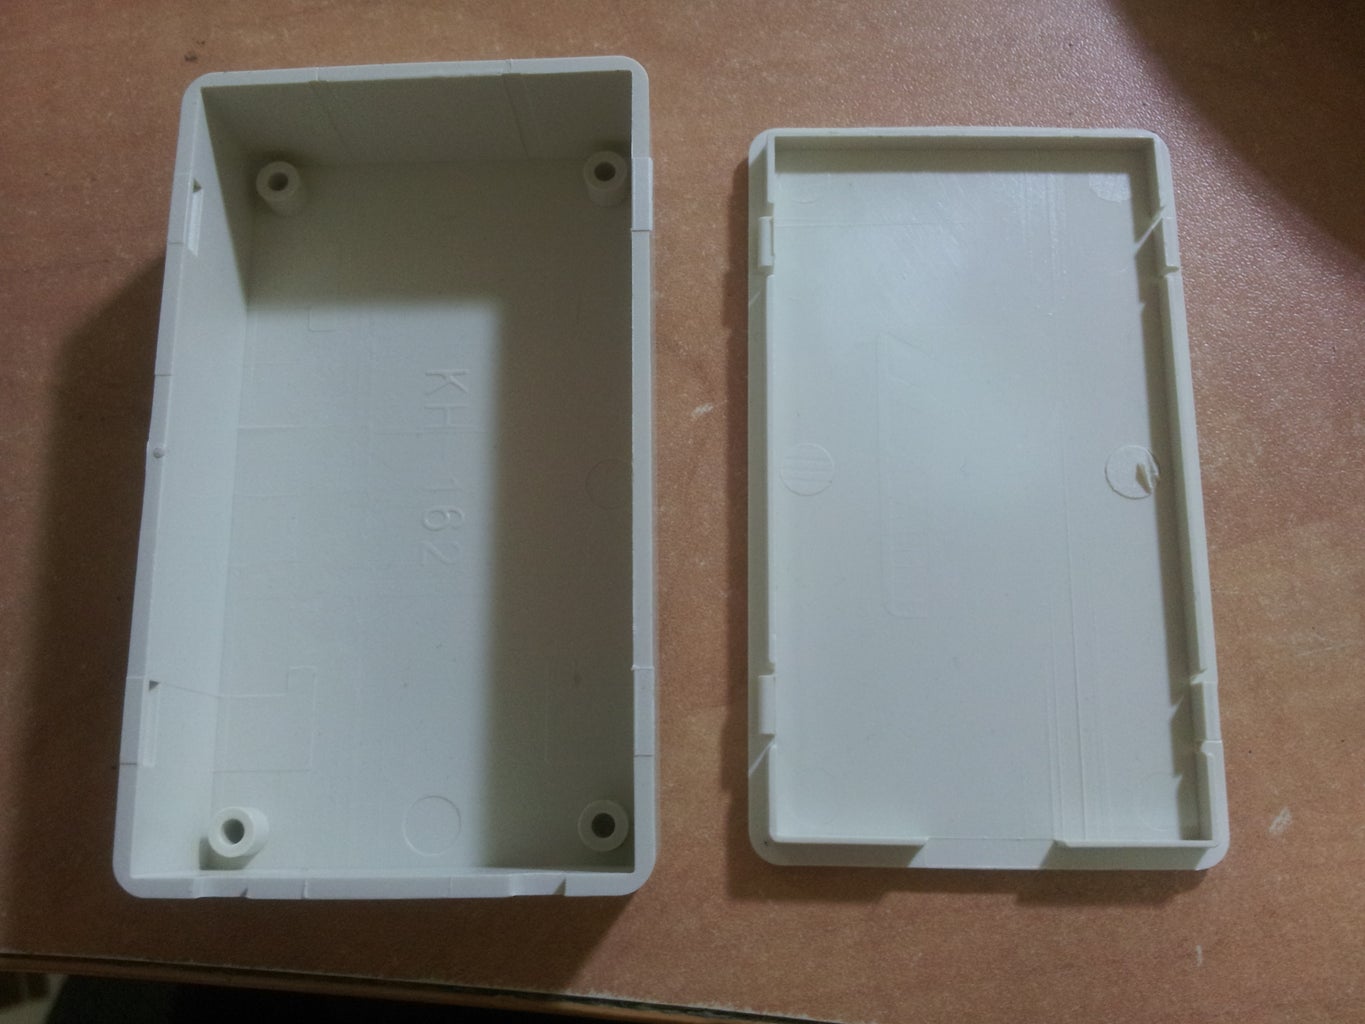
1) Project enclosure: 3.34"L x 1.96"W x 0.83"H.
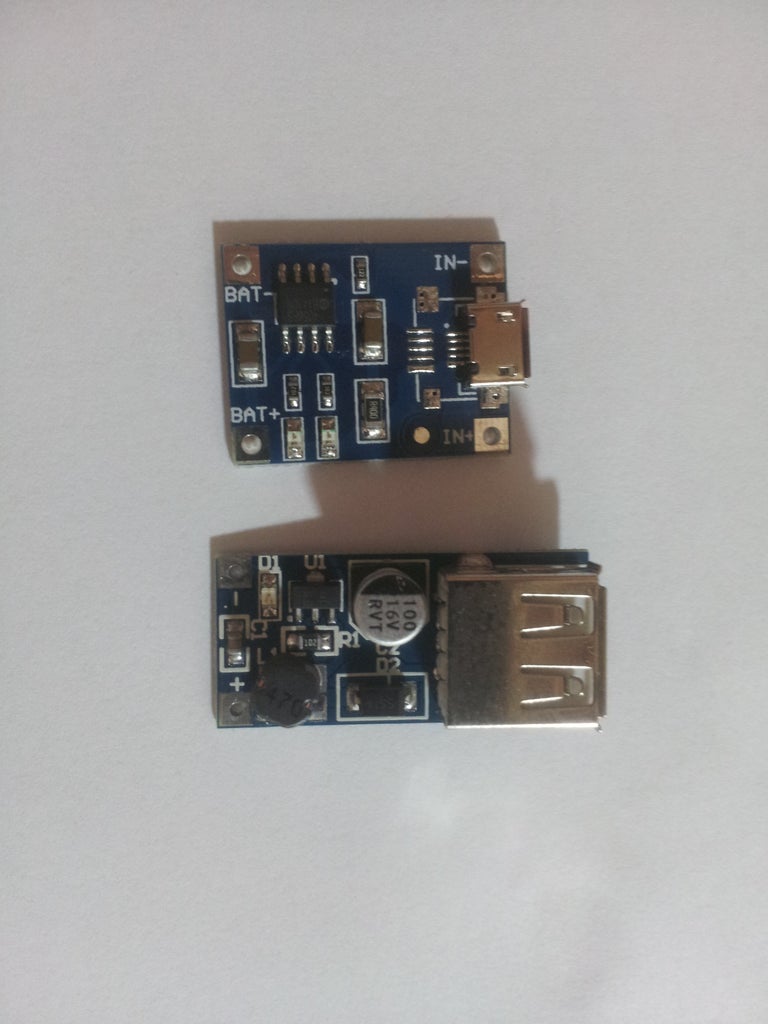
2) USB 0.9V-5V to 5V DC Boost Step-up Power Supply Module.
3) 5V Micro USB 1A Lithium Battery Charging Board Charger Module.
4) Wires.
5) Battery holder 3XAAA.
6) Duct tape.
7) Shrinking isolation tube.
8) Hot glue gun.
9) Spray color (Black and Varnish).
10) Switch.
11) s
Step 2: Designing the Box


First, spray the box with black, I recommend spraying a few layers.
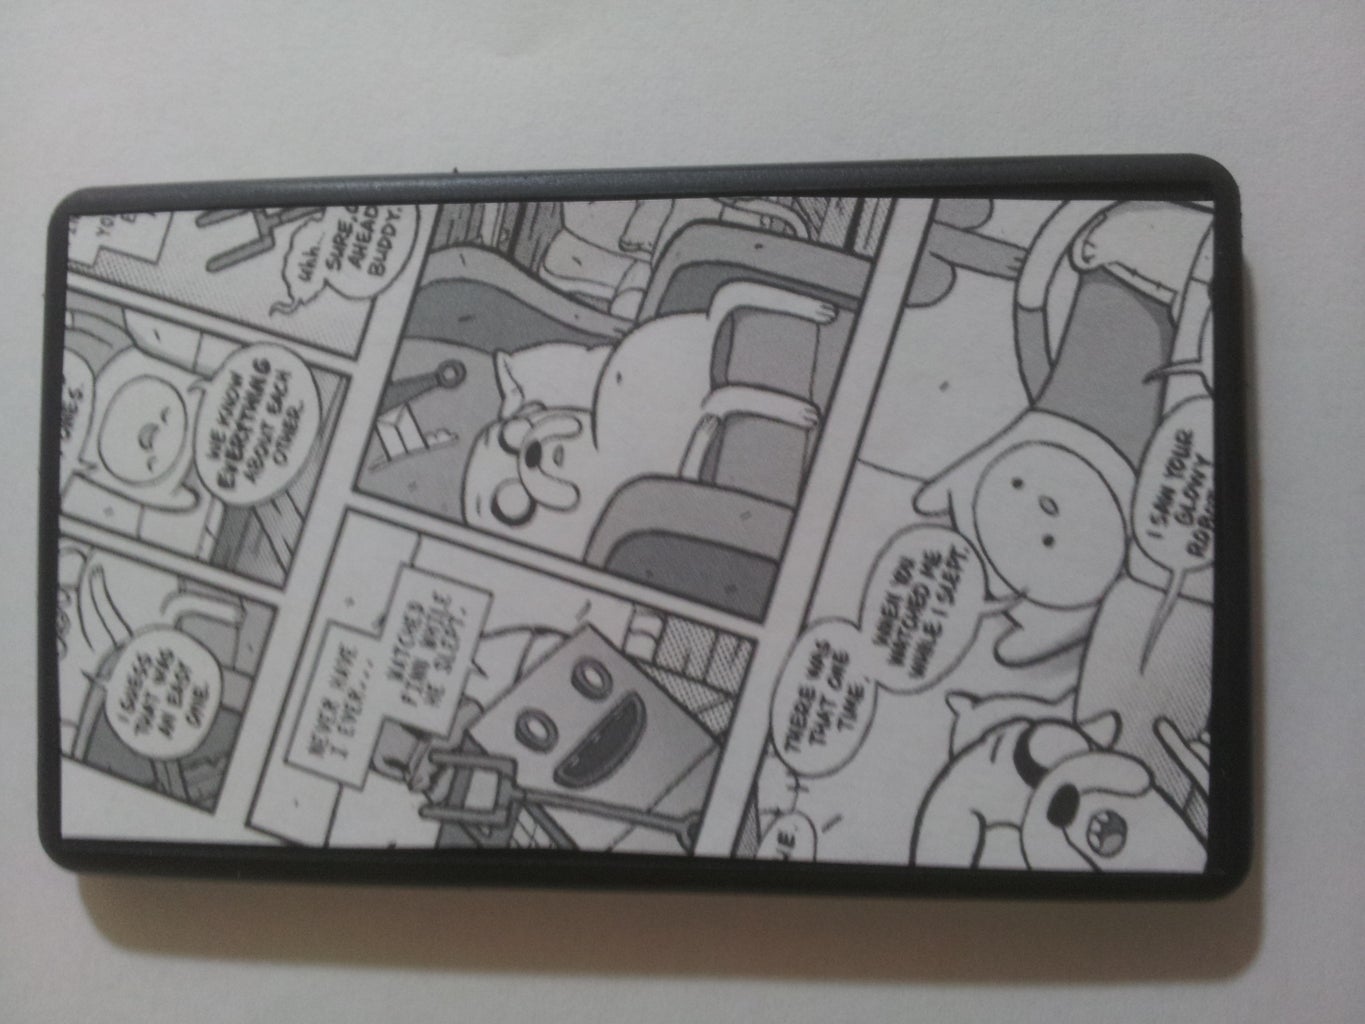
I decided to print comic and to glue it on the top of the box but you can put there anything you want..
I printed my favorite comic and i used a pencil to mark the box's size.
After that i cut the comic to the size of the borders (pic No.4) and glued it on.
Later on i removed all of the plastic pins inside the box (use pliers).
Now mar on each side of the box the size of our USB and mini USB connections.
Cut holes where you marked, start by making a small hole in each corner, use a file tool to make the hole prettier.
Step 3: The Inside Parts


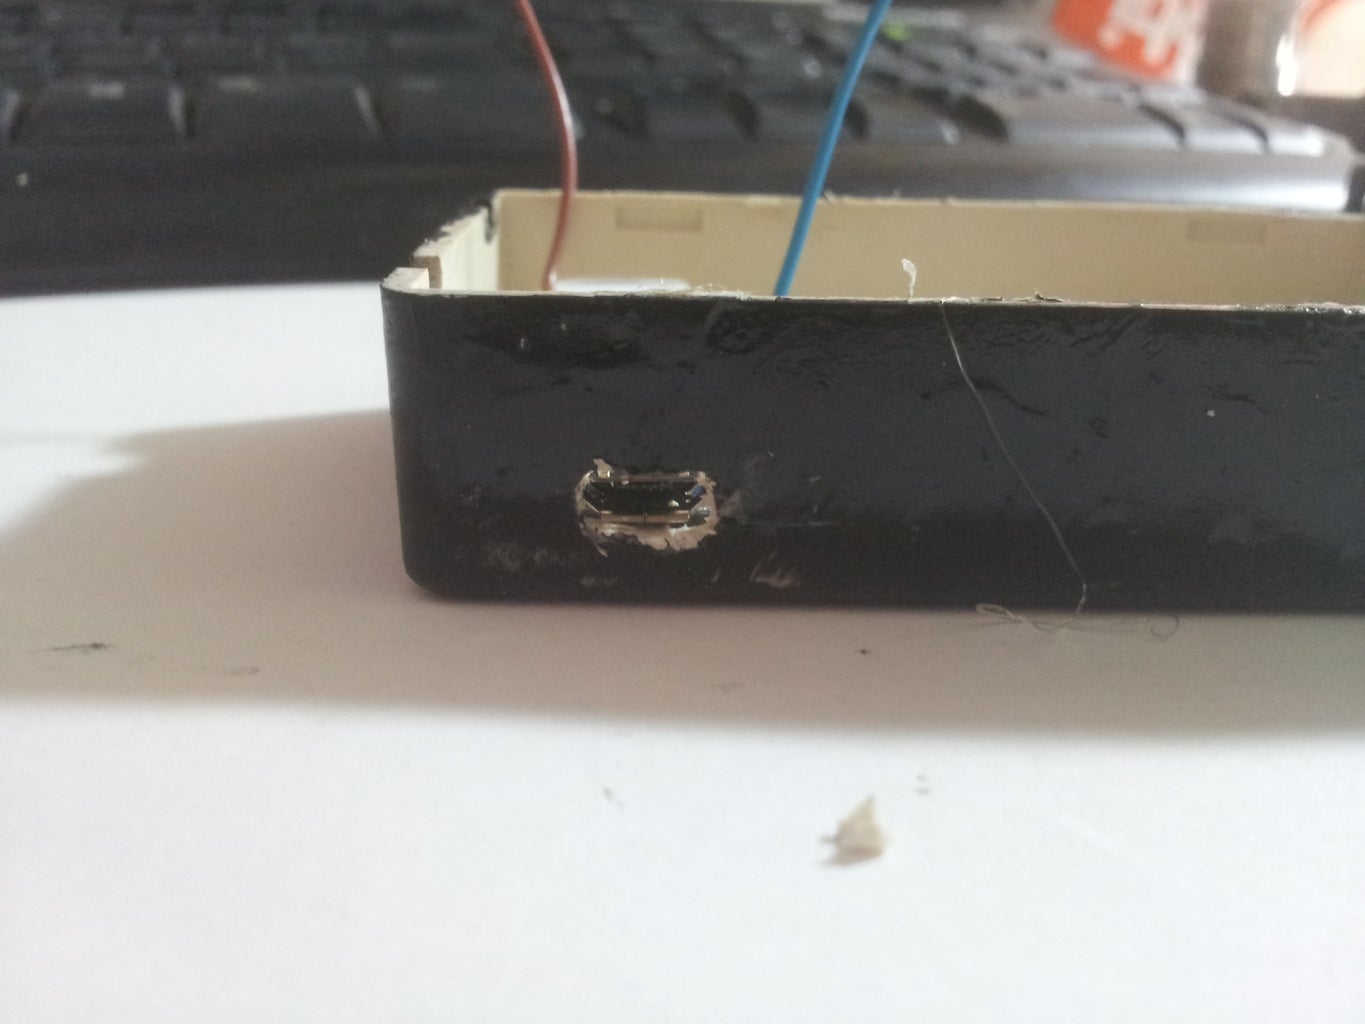

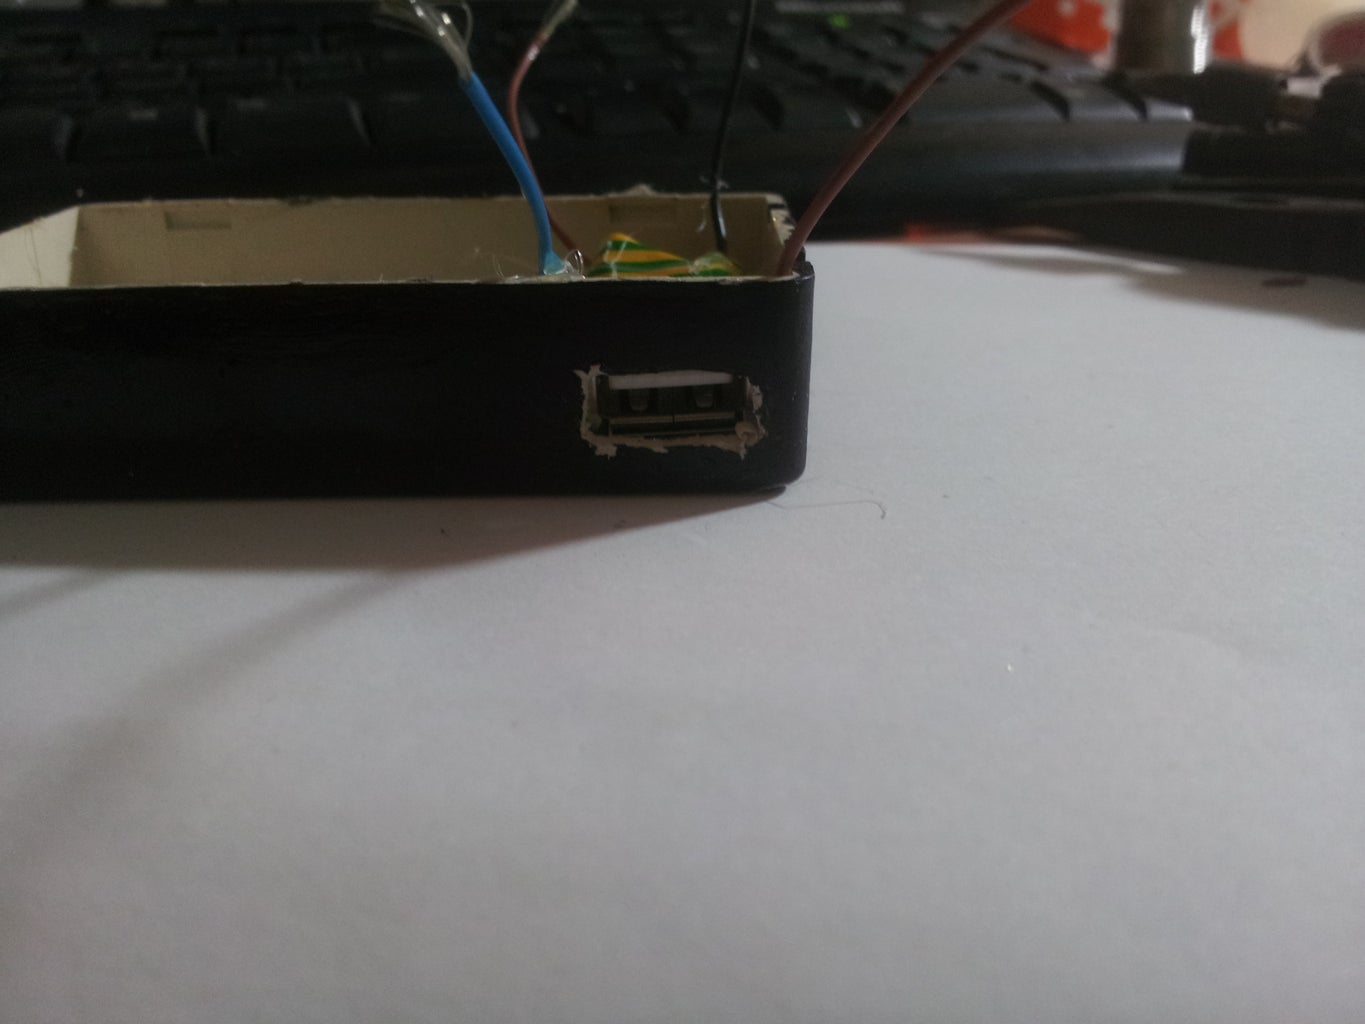
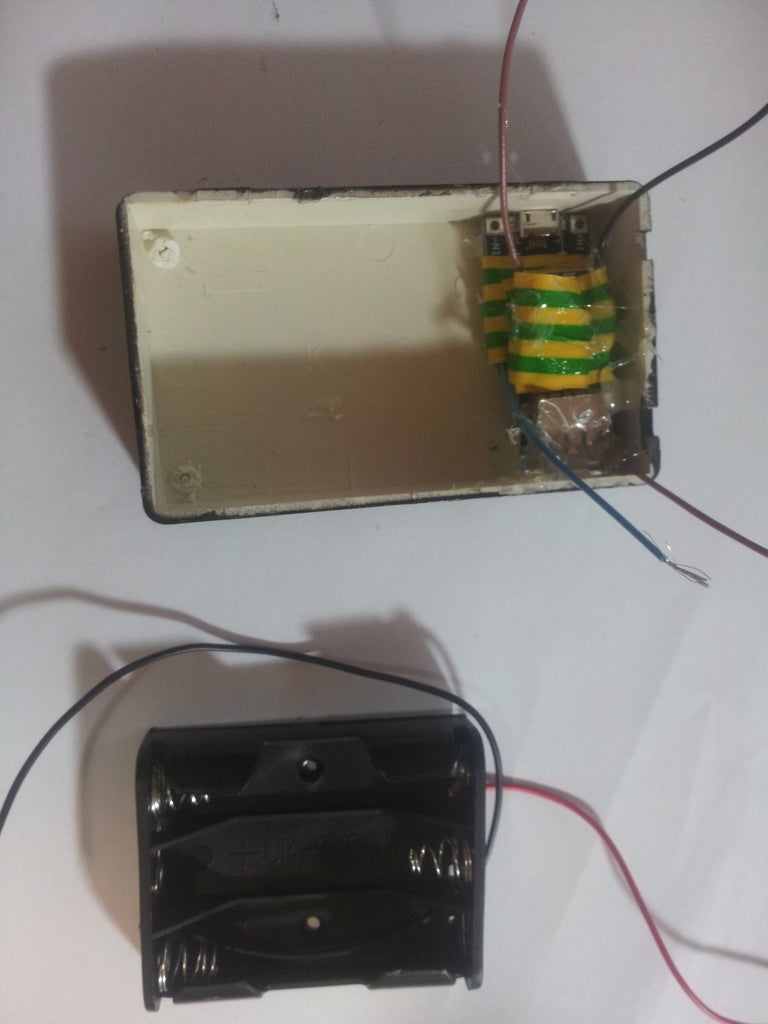


Start by soldering wires to the modules, wrap each of them with duct tape and glue each one in its hole.
Now insert the battery holder (if its too big use sand paper to make it a bit smaller so it could fit your box).
Now there are two options:
1) Recommended- solder the positive wires of the mini USB module and the wires of the battery holder together, than solder the positive wires to a switch and to it solder the USB module wires. Solder all the negative wires together (the switch will turn of and on your charger).
2) Solder all of the positive wires together and all the negative ones together.
Last thing: insert rechargeable batteries and you're finished!!
A great benefit of this charger is that if your rechargeable batteries are empty you can insert normal ones and use them to charge your phone.
Please leave any comments notes or questions I will be glad to answer them. Please also vote for this instructable on the epilog, green design and home design contests.
Step 4: That's It

Participated in the
Home Technology Contest

Participated in the
Epilog Challenge VI

Participated in the
Battery Powered Contest


