

Introduction: Distance Measurement Using HC-SR04 Via NodeMCU


Hey Maker's,
I'm back with a new instructable.
In this Instructable we will learn about HC-SR04 widely known as Ultrasonic Sensor, how it works and how to interface with the NodeMCU. And also how to measure the distance using HC-SR04.
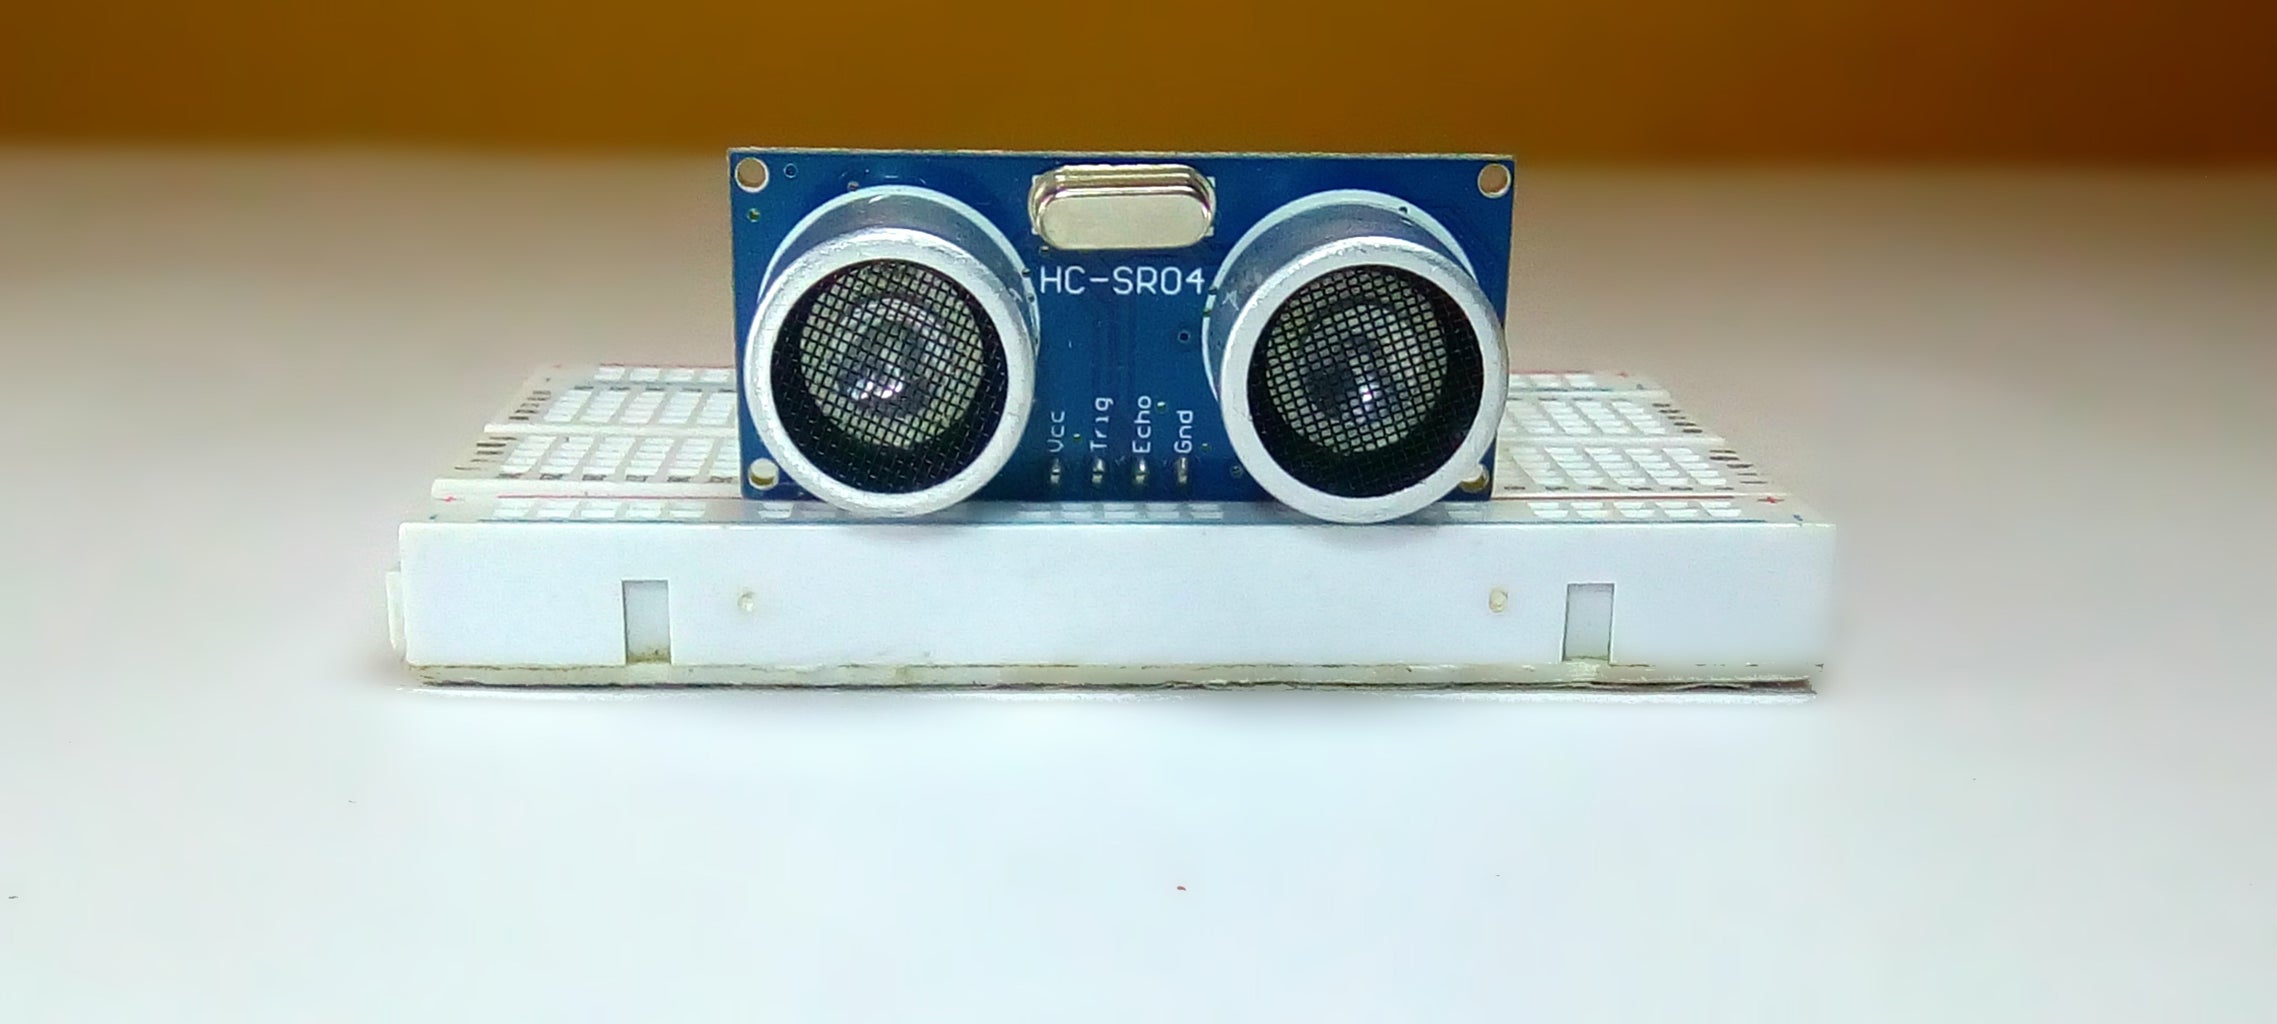
Before building the circuit let me explain what is a HC-SR04 sensor??
As the name indicates, ultrasonic sensors measure distance by using ultrasonic waves.
But how?
The sensor head emits an ultrasonic wave and receives the wave reflected back from the target. Ultrasonic Sensors measure the distance to the target by measuring the time between the emission and reception. So there ends the technical definition, I don't know how many of you understood.
In simple words, An Ultrasonic sensor is a device that can measure the distance of an object by using sound waves. It measures distance by sending out a sound wave at a specific frequency and waits for that sound wave to bounce back. By recording the time taken between the sound wave being generated and the sound wave bouncing back, it is possible to calculate the distance between the sensor and the object.
Now let's get into constructing the hardware.
Step 1: Components Required

List of components required for the instructable :
Hardware Requirements
- NodeMCU
- HC-SR04 (Ultra-sonic Sensor)
- Bread Board
- Jumper Wires
- Micro USB Cable
Software Requirements
- Arduino IDE
Let's start implementing it.
Step 2: Description


SPECIFICATION of HC-SR04
- Power supply : 5v DC
- Ranging distance : 2cm – 500 cm
- Ultrasonic Frequency : 40k Hz
Step 3: Working of HC-SR04

HOW IT WORKS?
Hmm, well actually we have to figure out the distance because the sensor itself simply holds it's "ECHO" pin HIGH for a duration of time corresponding to the time it took to receive the reflection (echo) from a wave it sent.
- The module sends out a burst of sound waves, at the same time it applies voltage to the echo pin.
- The module receives the reflection back from the sound waves and removes voltage from the echo pin.
On the base of the distance a pulse is generated in the ultrasonic sensor to send the data to NodeMCU or any other micro-controller.
The starting pulse is about 10us and the PWM signal will be 150 us-25us on the base of the distance. If no obstacle is there, then a 38us pulse is generated for NodeMCU to confirm that there are not objects detected.
Before getting the reading of the HC-SR04 know about the calculation.
FORMULA
D = 1/2 × T × C
where D is the distance, T is the time between the Emission and Reception, and C is the sonic speed.
(The value is multiplied by 1/2 because T is the time for go-and-return distance.)
Step 4: Interface HC-SR04


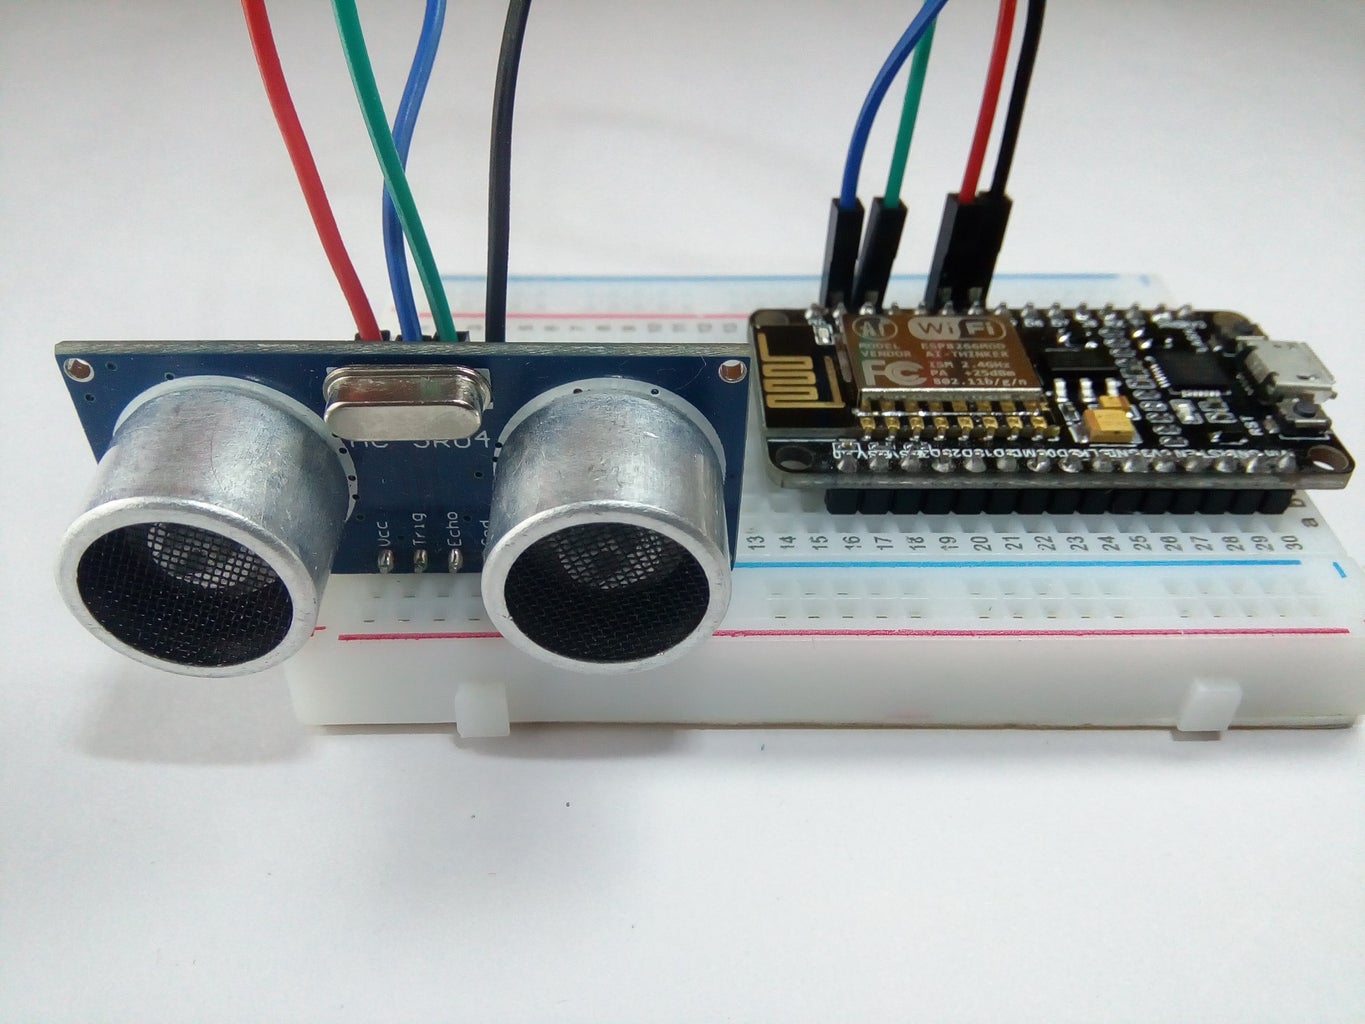
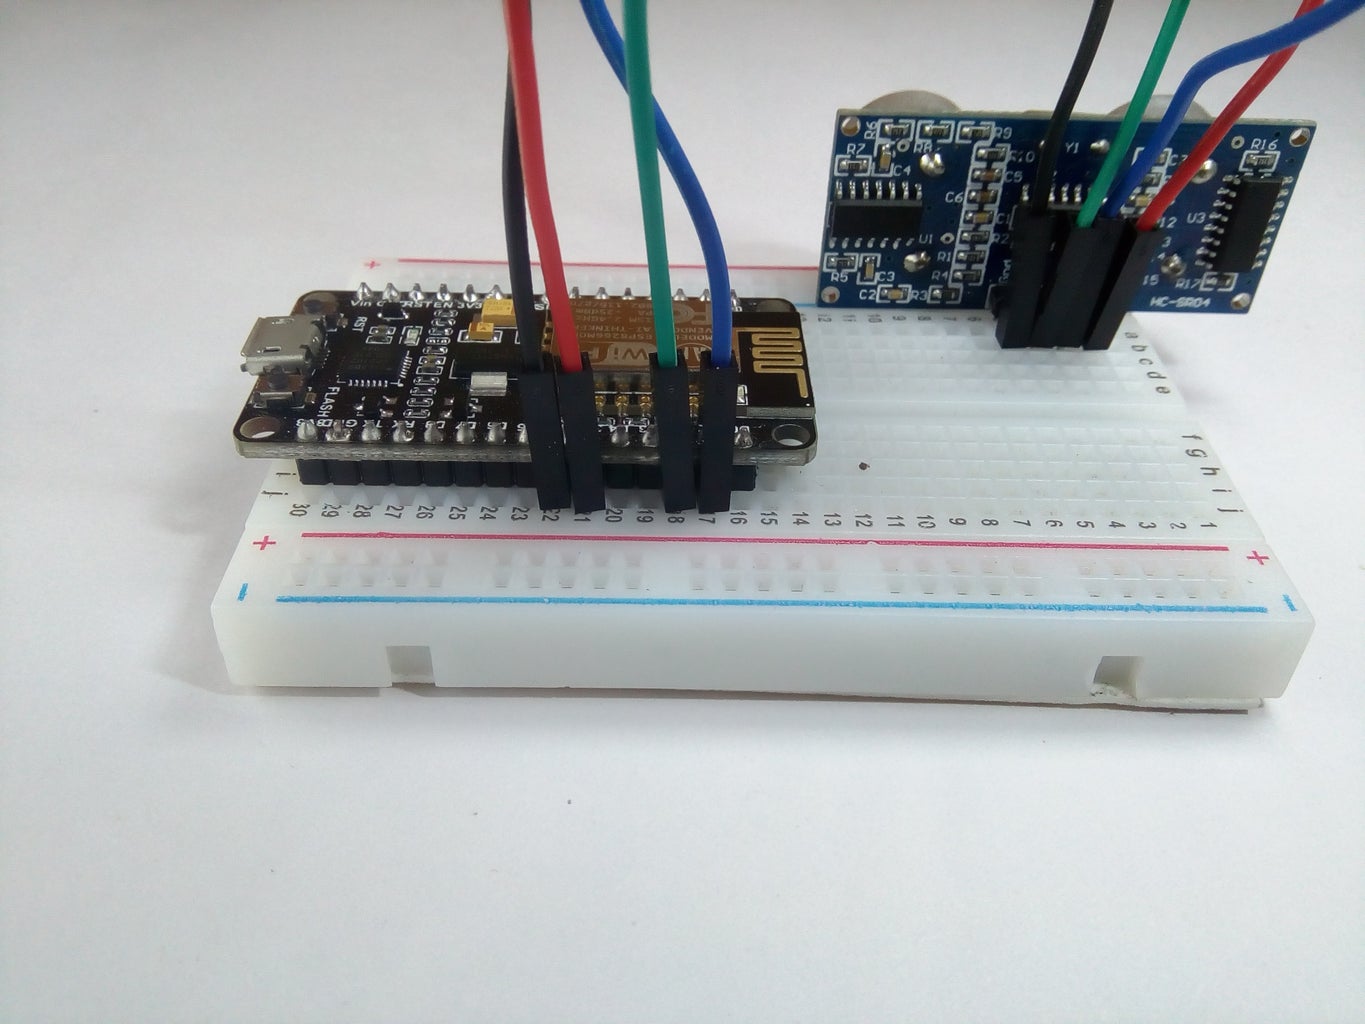
The circuit connections are made as follows:
The HC-SR04 sensor attach to the Breadboard
The sensor Vcc is connected to the NodeMCU +3.3v
The sensor GND is connected to the NodeMCU GND
The sensor Trigger Pin is connected to the NodeMCU Digital I/O D4
The sensor Echo Pin is connected to the NodeMCU Digital I/O D3
Before you get started with coding you need Arduino IDE.
To download Arduino IDE and for NodeMCU setup, you can check my previous instructacle.
Step 5: Coding Time

// defines pins numbers
const int trigPin = 2; //D4
const int echoPin = 0; //D3
// defines variables
long duration;
int distance;
void setup() {
pinMode(trigPin, OUTPUT); // Sets the trigPin as an Output
pinMode(echoPin, INPUT); // Sets the echoPin as an Input
Serial.begin(9600); // Starts the serial communication
}
void loop() {
// Clears the trigPin digitalWrite(trigPin, LOW); delayMicroseconds(2);
// Sets the trigPin on HIGH state for 10 micro seconds
digitalWrite(trigPin, HIGH); delayMicroseconds(10); digitalWrite(trigPin, LOW);// Reads the echoPin, returns the sound wave travel time in microseconds duration = pulseIn(echoPin, HIGH);
// Calculating the distance distance= duration*0.034/2; // Prints the distance on the Serial Monitor Serial.print("Distance: "); Serial.println(distance); delay(2000); }
Download the "Ultrasonic_Sensor.ino" file and open it up in the Arduino IDE.
Then Create a new sketch and paste the code below in the Arduino IDE and hit Upload.
You can tinker with it if you like based on the application, or just use it as it is.
Attachments

Step 6: Output Demonstration


Now, you're done with your interface.
You can see the readings of the ultrasonic sensor in the serial monitor.
Well, now lets measure the distance of the object.
Note : You can also interface LED's and Buzzer to make your project look crazy.
Step 7: Measurement of Distance


We can determine the distance because we know how long it took for the sound waves to travel out from and back to the module (by how long the echo pin was HIGH) and we know the speed of sound in the air. But I am not getting into that. We're going to let NodeMCU figure out that stuff.
Look at the distance in the serial monitor of the object placed in front of the sensor, the sensor gives an accurate measurement range from 2 - 400cm.
That's all makers! That's how the Ultrasonic sensor works.
Stay Tuned for more Projects!

Participated in the
Makerspace Contest 2017


