

Introduction: Diy Timer Switch !!!


As you can see from the picture below. Its a simple diy timer switch. Most of the part salvage from a discarded fan. I will show you steps and building material needed to build this timer. It can be use as a timer switch for fan, phone charger and so on......The application is unlimited........Enjoy.
Step 1: Build of Material


BOM List.
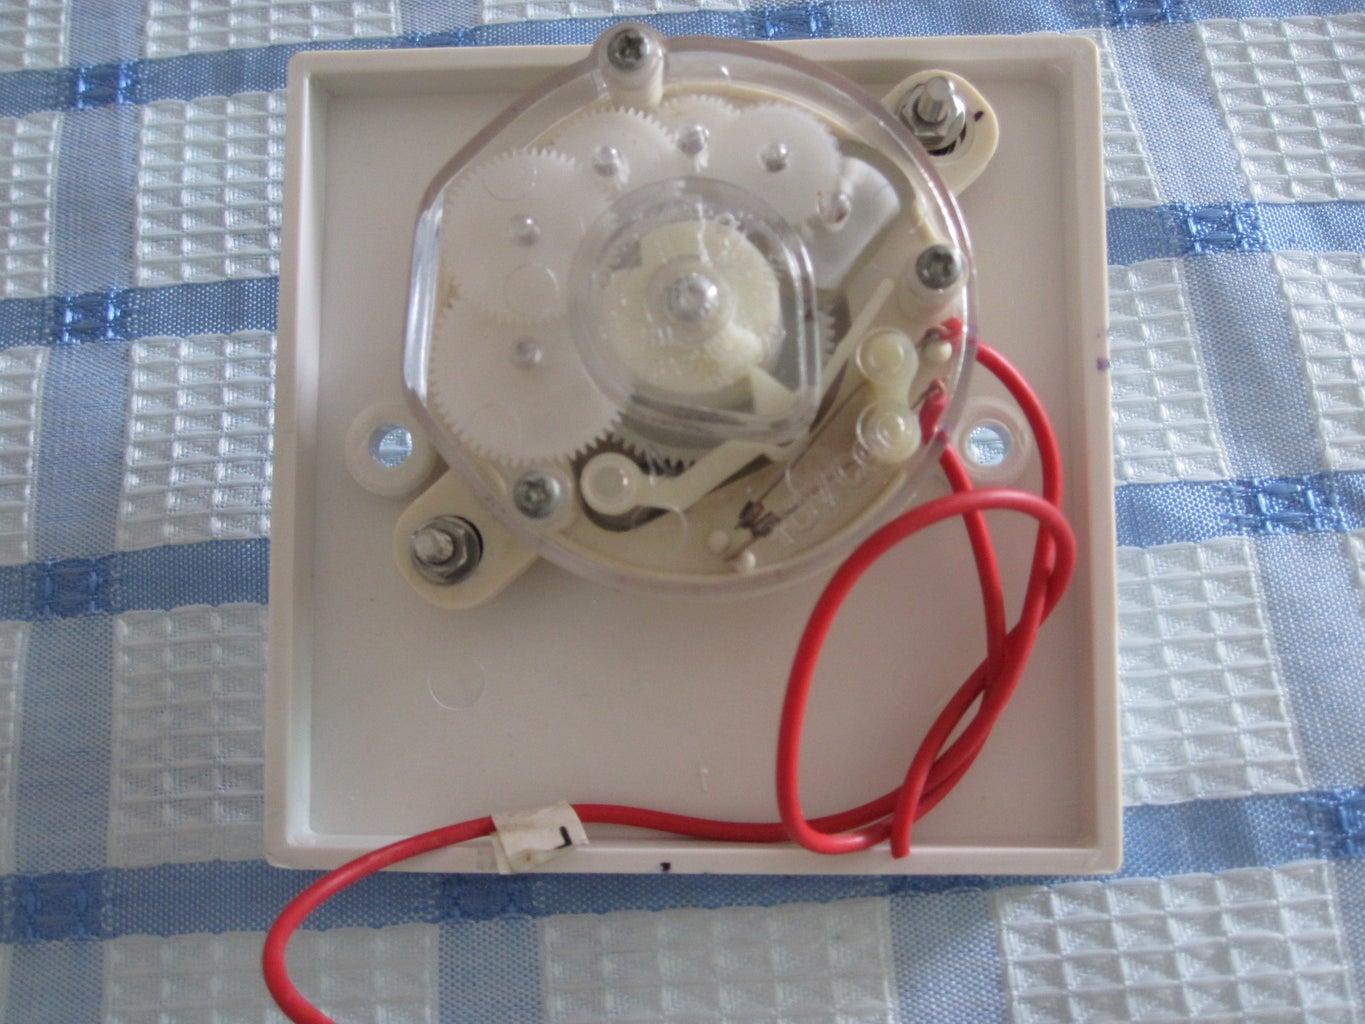
1. Salvage timer from old fan.
2. Salvage power plug and wire from the same old fan.
3. Two gang wall socket housing. ( Must select the one as per attached picture )
4. One socket face plate.
5. One cut out terminal block.
6. Three pin wall socket.
Step 2:

Align the old timer switch with the face plate and drill 3 holes as shown in the picture. Two holes for screw and one hole for timer shaft.
Step 3: Assemble Timer Switch
Now, please assemble the timer switch and label the face plate accordingly. Insert the 3 core wire and use the terminal block to link the life (L) wire to timer switch as show in picture. Now use a cable tie to secure the external 3 core wire.
Step 4: Connect the 3 Pin Wall Socket
Now, connect the 3 pin wall socket to the remaining wire with the schematic diagram shown and close the cover. Now we are done.
Happy viewing......cheers.....

Participated in the
Spring Cleaning Contest

Participated in the
Unusual Uses: Kitchen Challenge


